
Capabilities
- To manage capabilities, the admin can click on the Capabilities sub-tab.
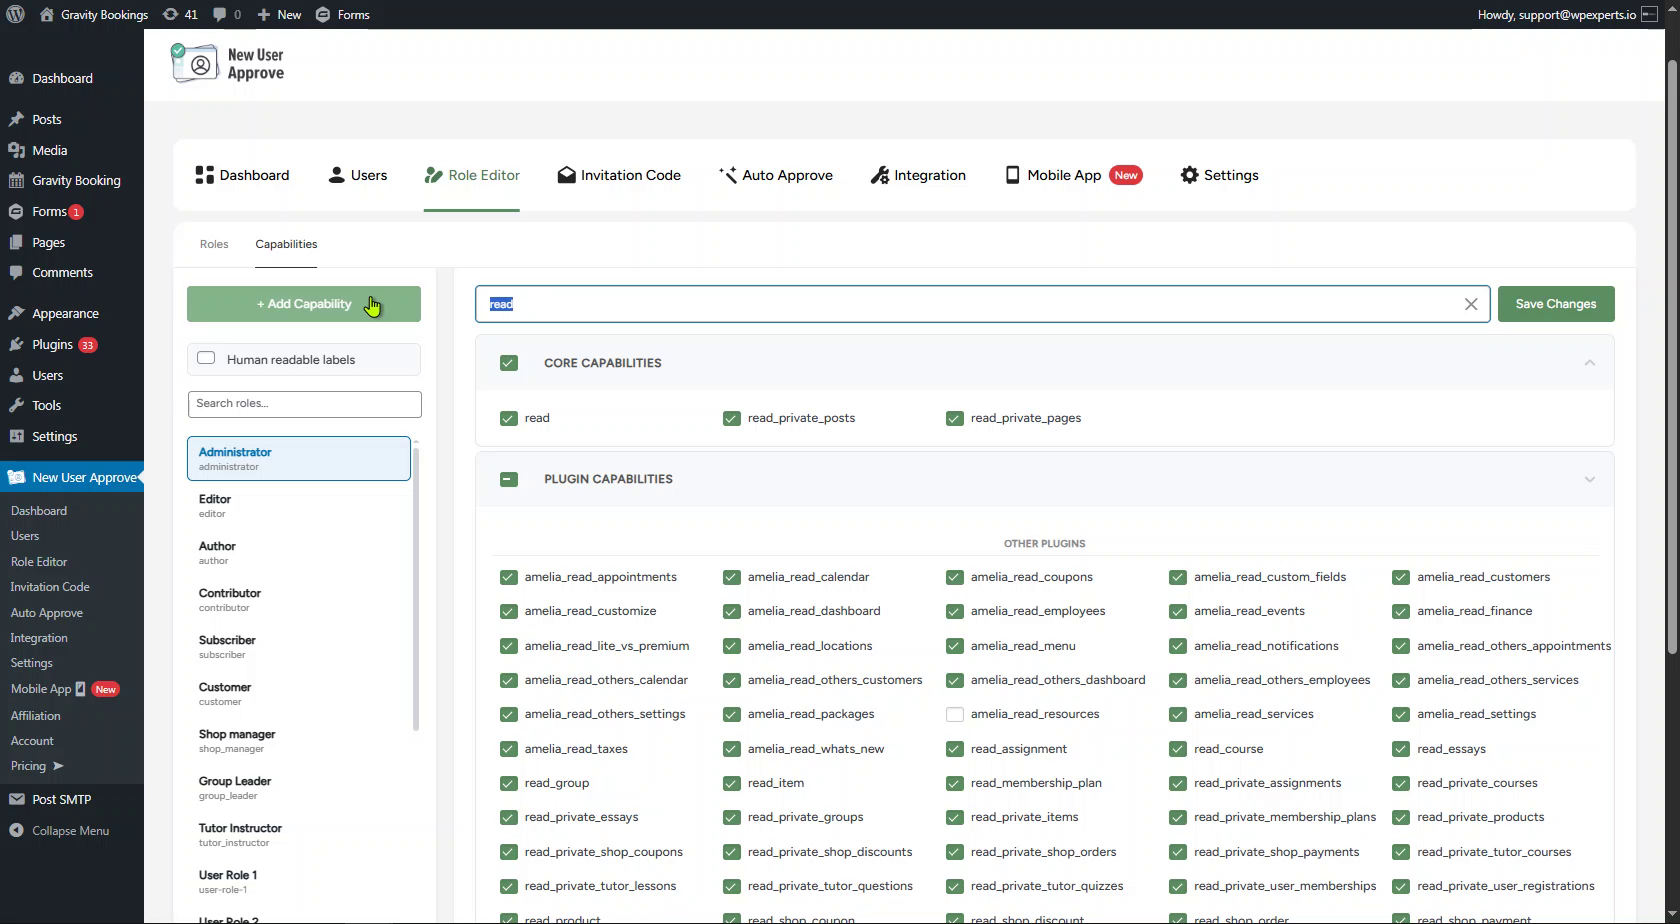
- The Capabilities tab displays all available capabilities grouped under three sections:
- Core Capabilities – Standard WordPress capabilities (e.g., read, edit_posts, delete_posts, etc.).
- Plugin Capabilities – Capabilities added by installed third-party plugins.
- Custom Capabilities – Capabilities created manually by the admin.
Selecting a Role
- On the left side panel, the admin can see a list of all available roles. The admin can:
- Use the Search roles bar to quickly find a specific role.
- Click on any role to view and manage its assigned capabilities.

- Once a role is selected (highlighted in blue), the right panel will display all capabilities, with the ones already assigned to the role marked with a green checkbox.
Search Capabilities
- The Search capabilities bar at the top of the right panel allows the admin to quickly find specific capabilities by typing a keyword (e.g., “read”, “edit”, “delete”).
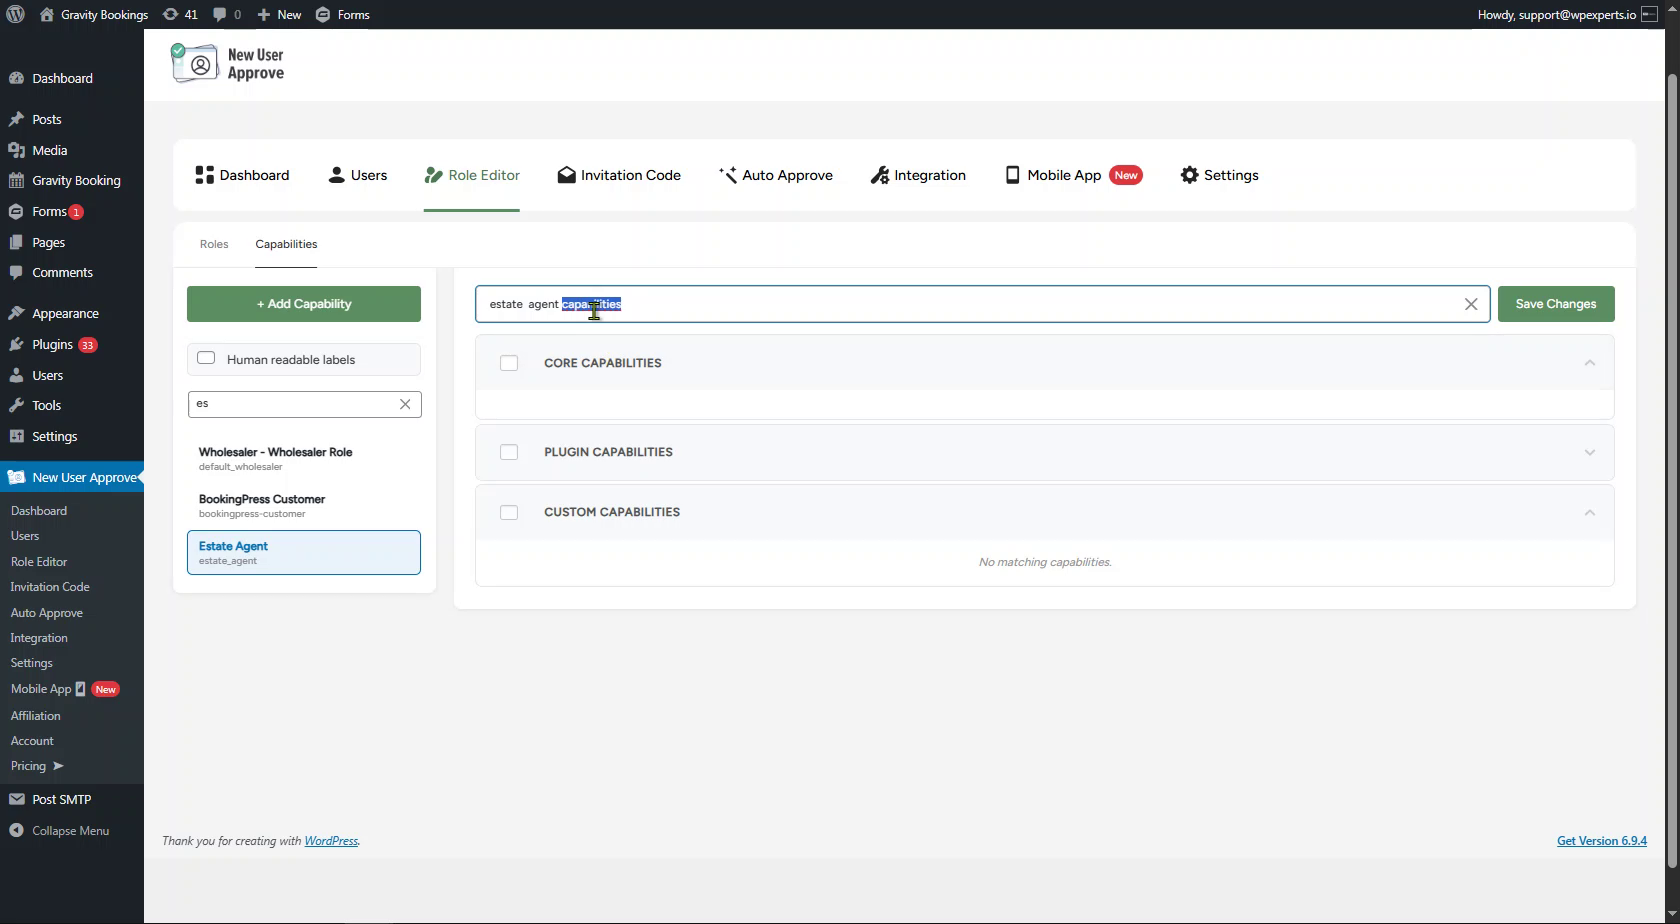
- Capabilities matching the search term will be displayed under their respective categories (Core, Plugin, or Custom).
Assigning or Removing Capabilities
- To assign a capability to the selected role, simply check the checkbox next to the capability name.
- To remove a capability, uncheck its checkbox.
- Section-level checkboxes (Core Capabilities, Plugin Capabilities, Custom Capabilities) allow the admin to select or deselect all capabilities within that section at once.
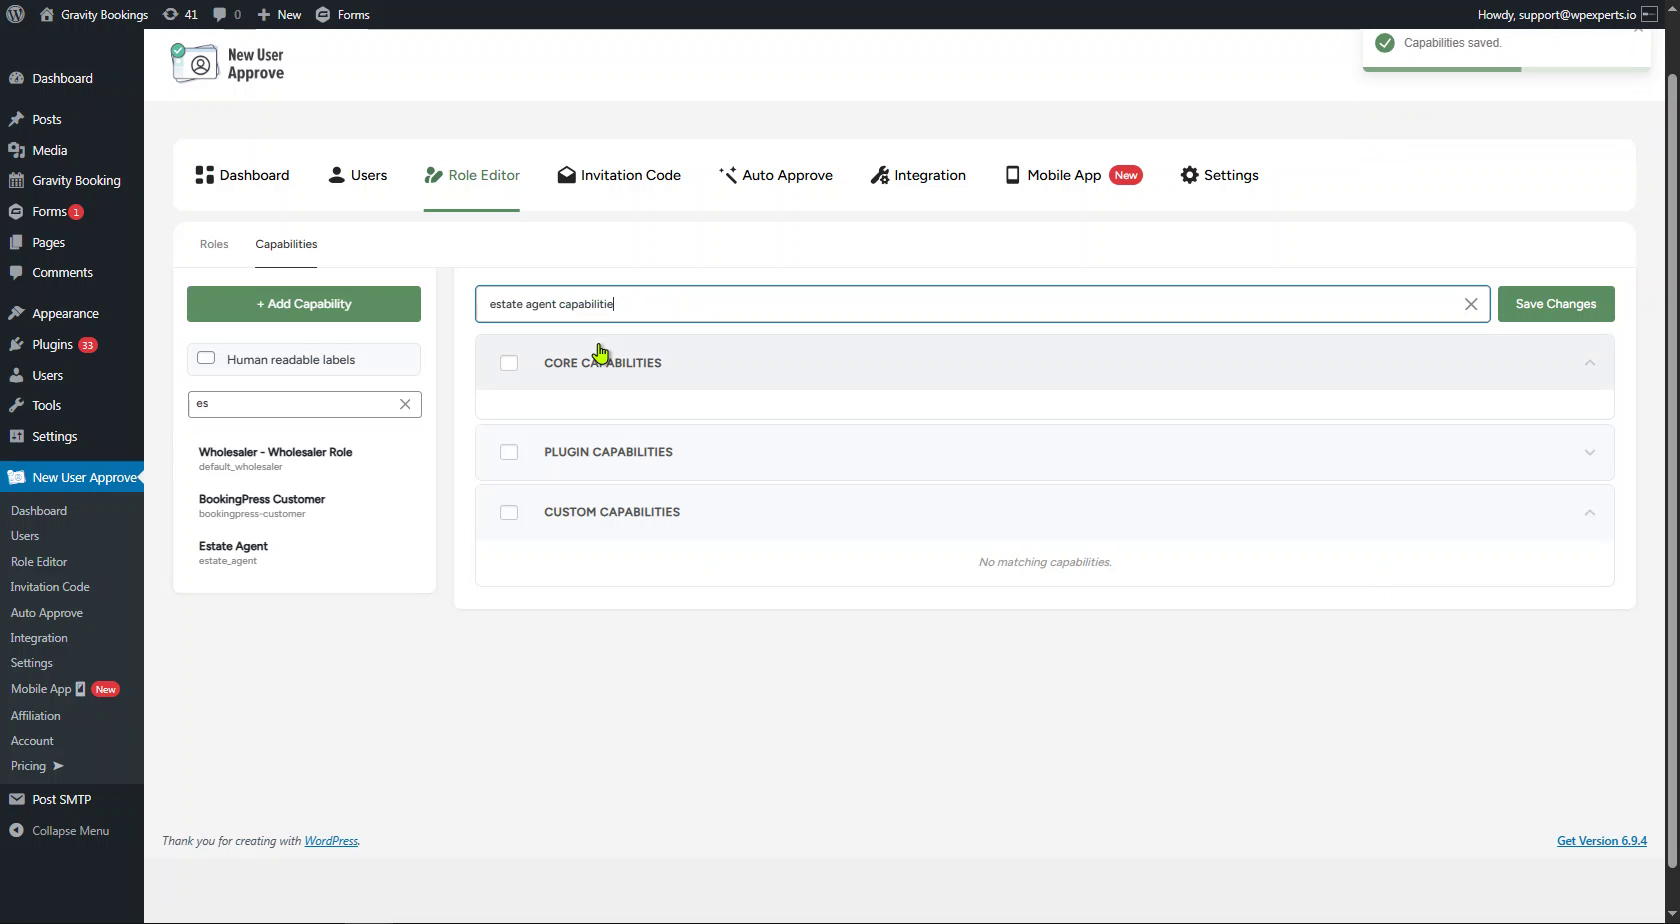
- Once the desired changes are made, click the Save Changes button at the top-right corner of the page.
- A Capabilities saved confirmation notification will appear at the top-right corner of the screen.
Add Custom Capability
- The admin can also create their own custom capabilities by clicking the + Add Capability button located in the left panel.
- A pop-up window titled Add Custom Capability will appear:
- Capability Name – Enter the name of the new capability (e.g., estate_agent_capabilities). The name should be in lowercase with underscores instead of spaces.
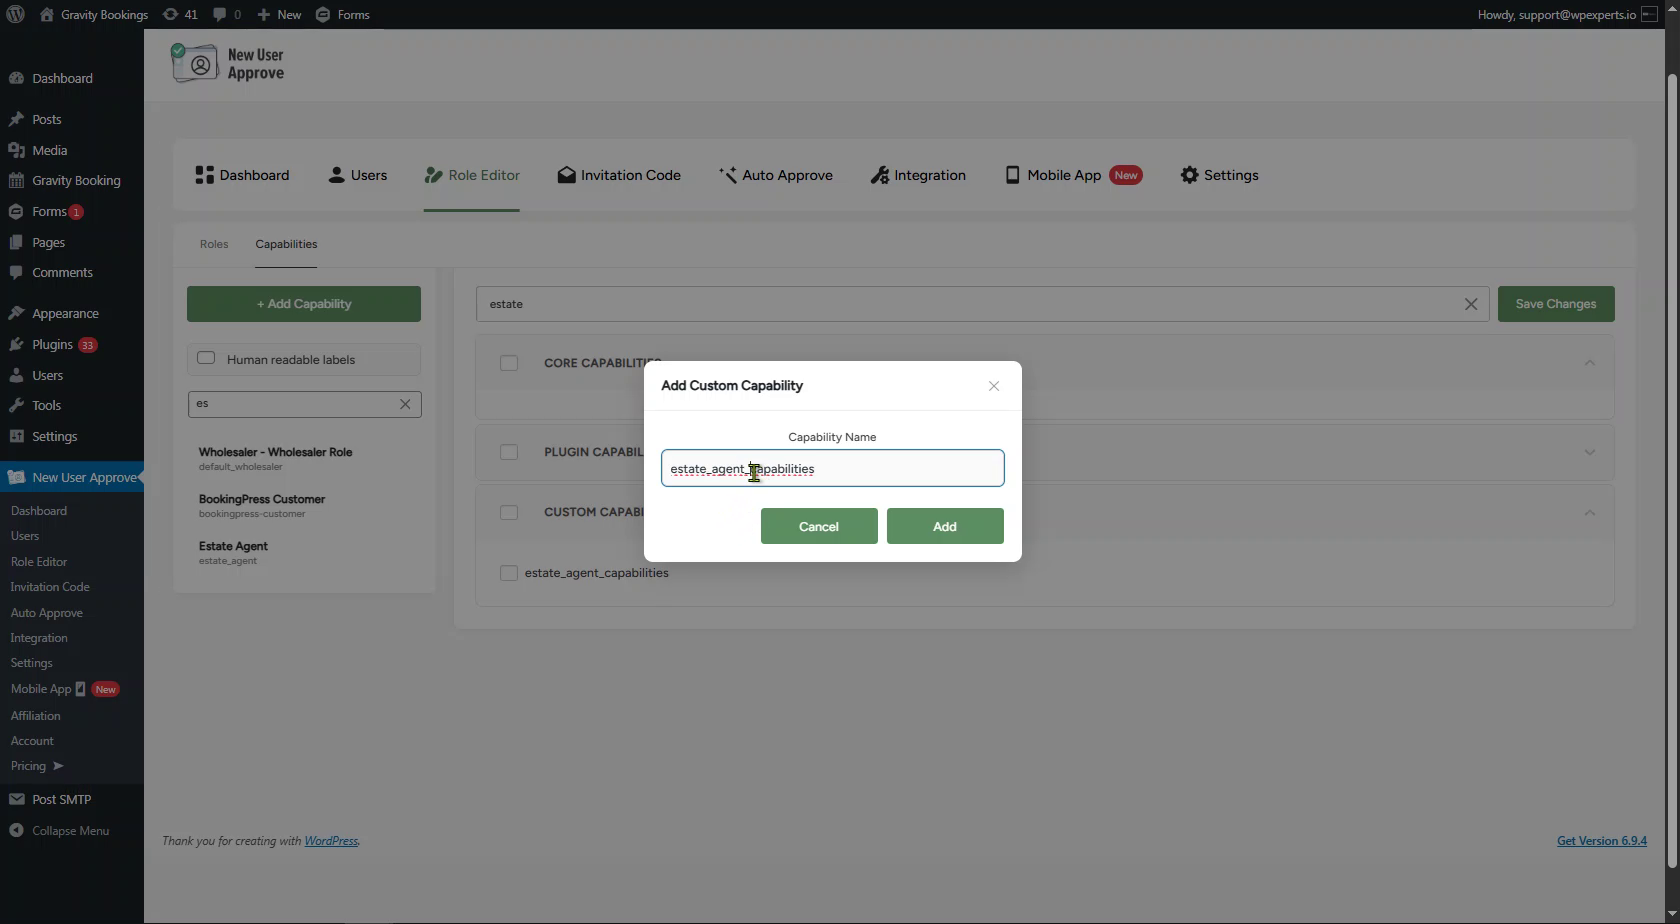
- Click the Add button to create the capability. The newly added capability will appear under the Custom Capabilities section.

Human Readable Labels
- The human-readable labels toggle, located in the left panel, allows the admin to switch between technical capability names and user-friendly display names.
- When the toggle is disabled (default), capabilities are displayed with their technical names (e.g., read, edit_posts, delete_posts).
- When the toggle is enabled, capabilities are displayed with friendly, readable names (e.g., Read, Edit Posts, Delete Posts).

Edit or Delete a Custom Capability
- When hovering over a custom capability, Edit (pencil) and Delete (trash) icons appear next to the capability name.
- Click the Edit icon to modify the capability name.
- Click the Delete icon to permanently remove the custom capability from the system.