User Notification
- Users will receive notification emails when their status has been updated by a site admin.
- Every registration process event generates an email notification to notify the concerned about the status of the registration request, these notifications can be edited and customized using the equipped text editors embedded for the purpose. These notifications can be sent in text or rich HTML format, toggles have been added to the User notifications page to switch from text to HTML format.
- Navigate to the User Notification sub-tab.

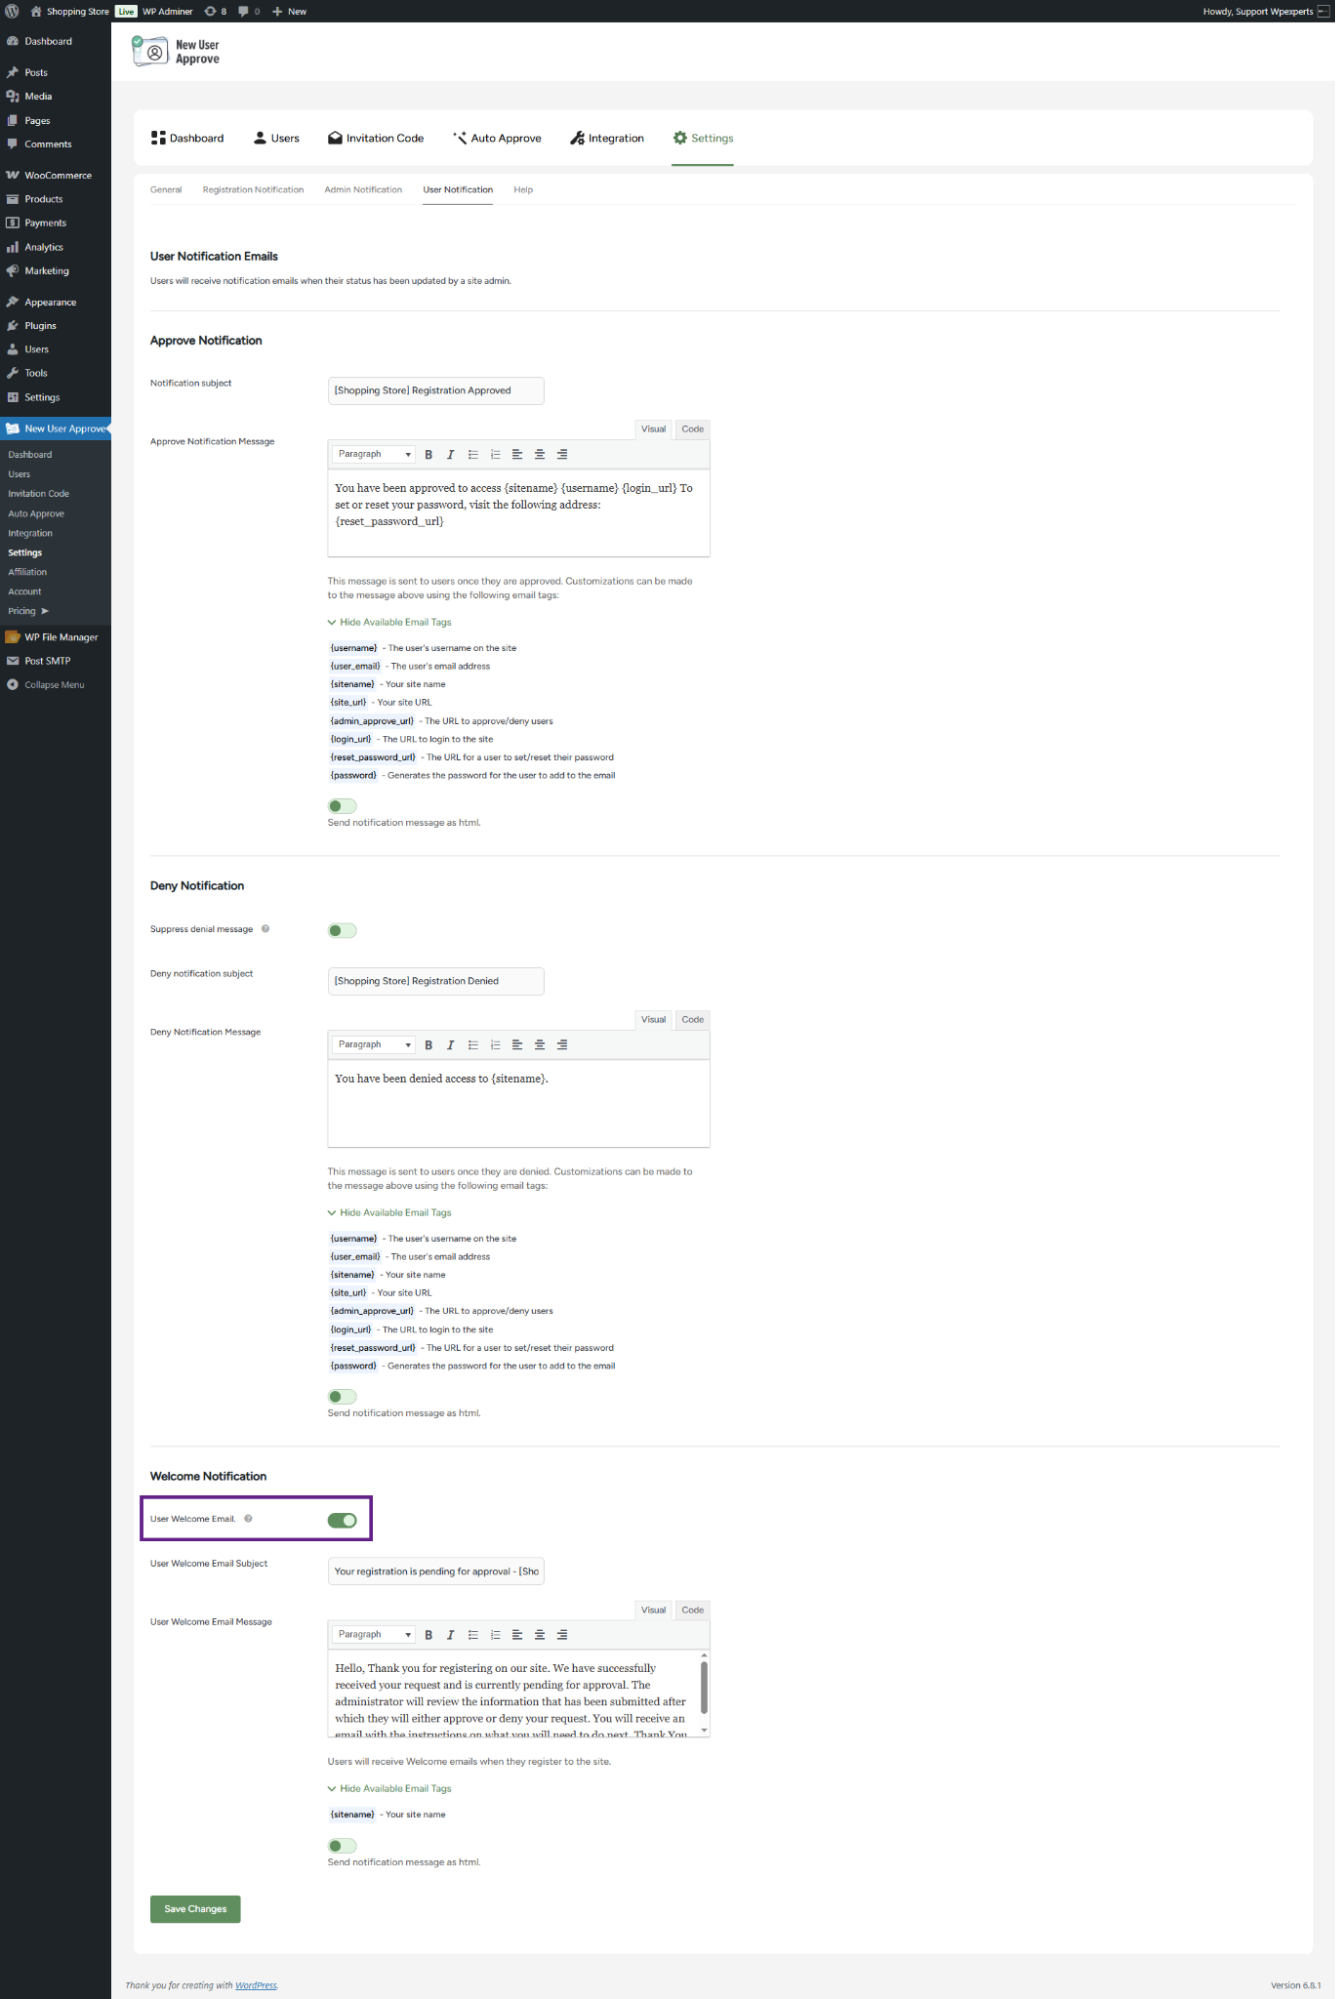
Approve Notification
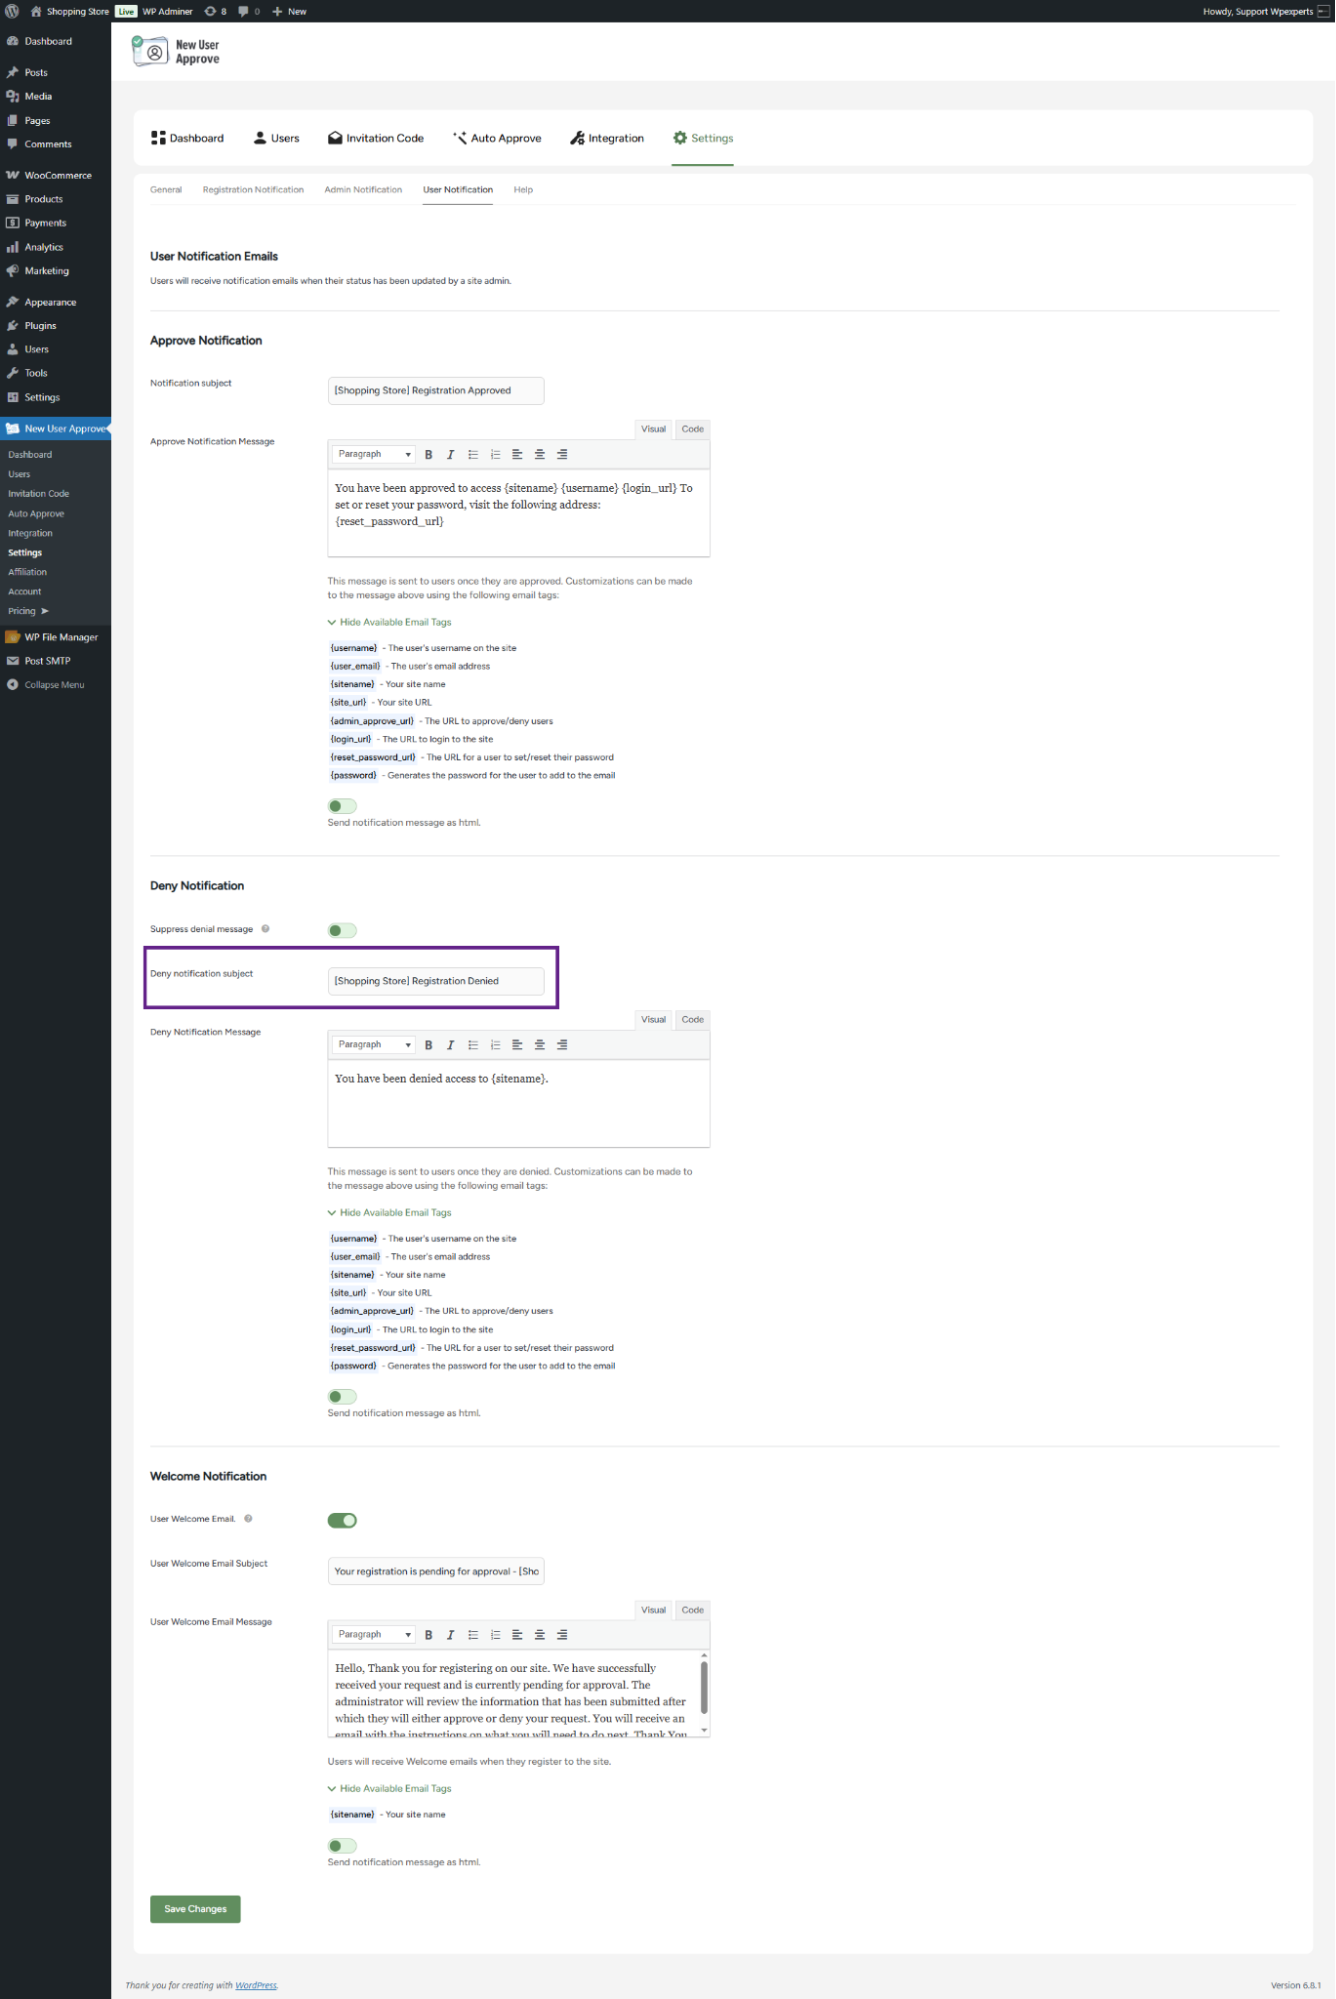
- The email notification sent to inform that a user has been approved includes a subject line, which can be customized using the Approve Notification Subject text field.

- Click the Save Changes button to apply the settings.
Front-End Impact
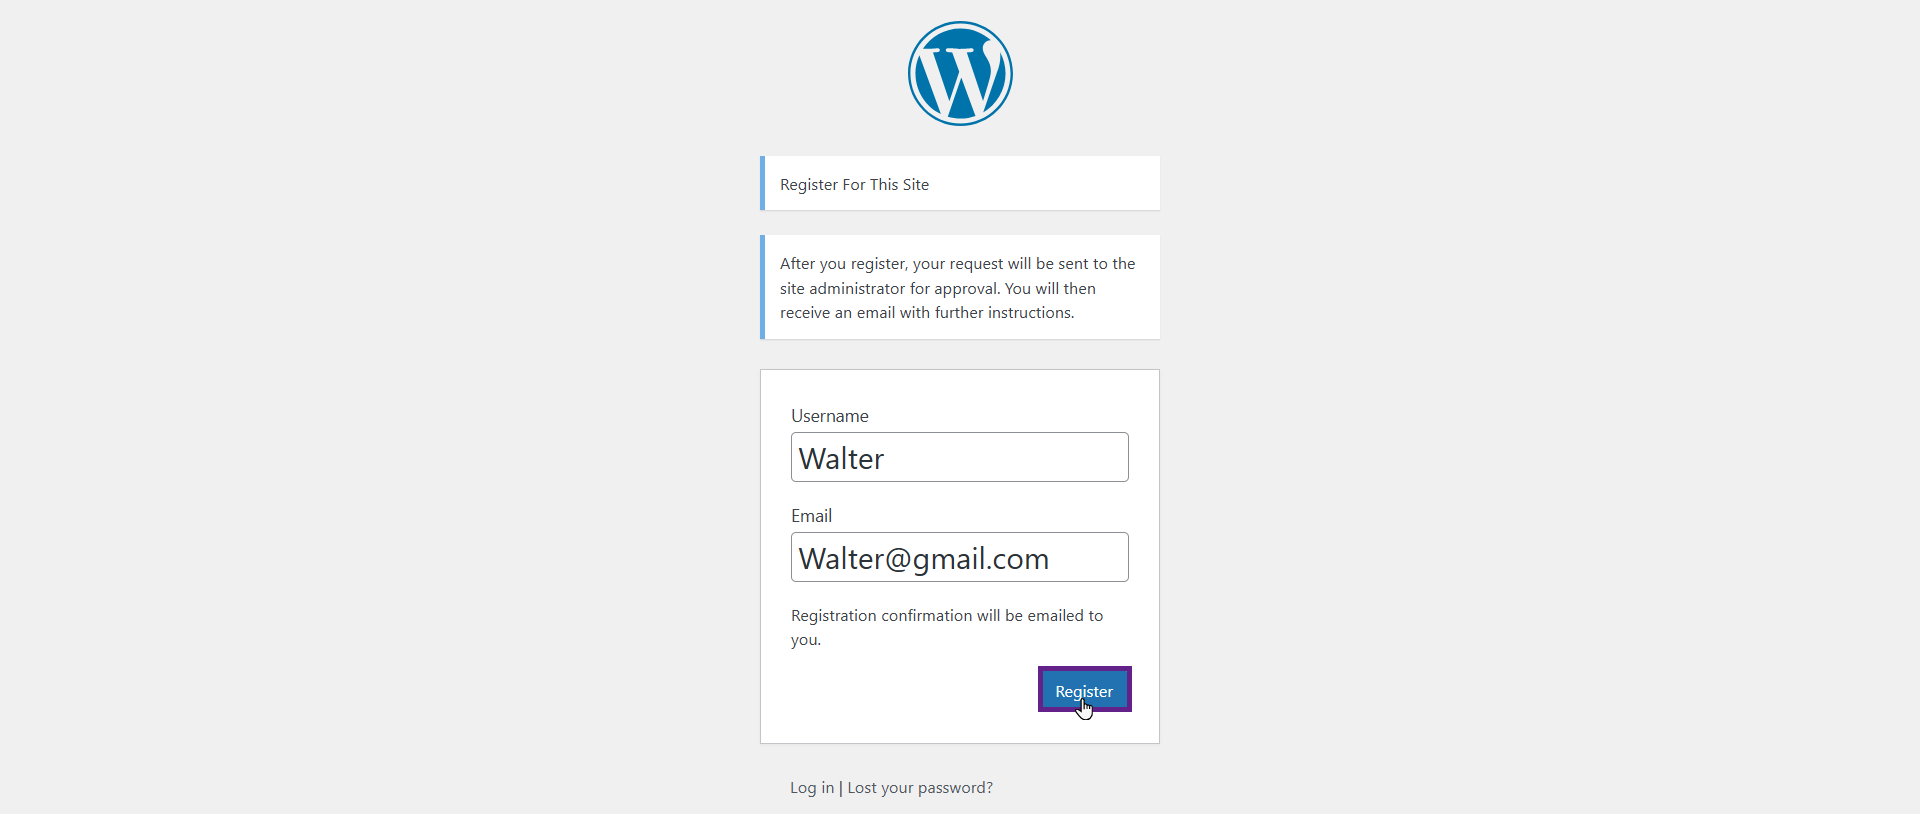
- Go to the registration page.
- Enter the required credentials and then click on the Register button.
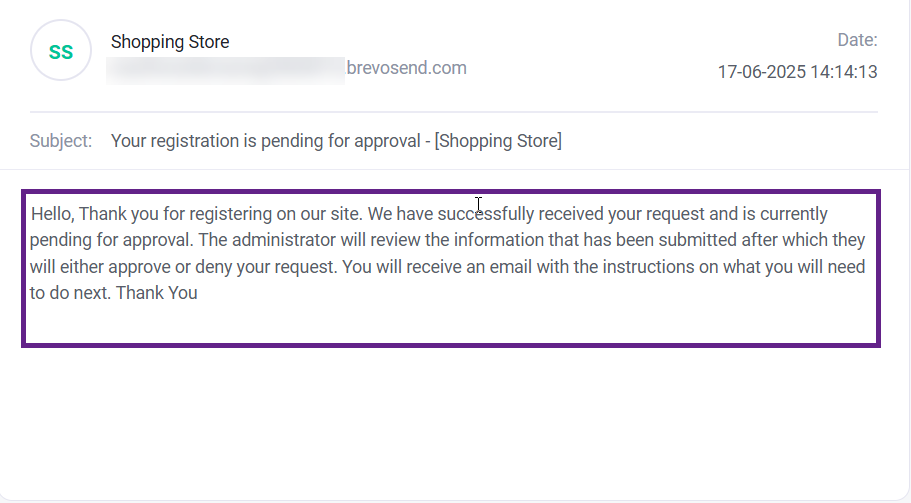
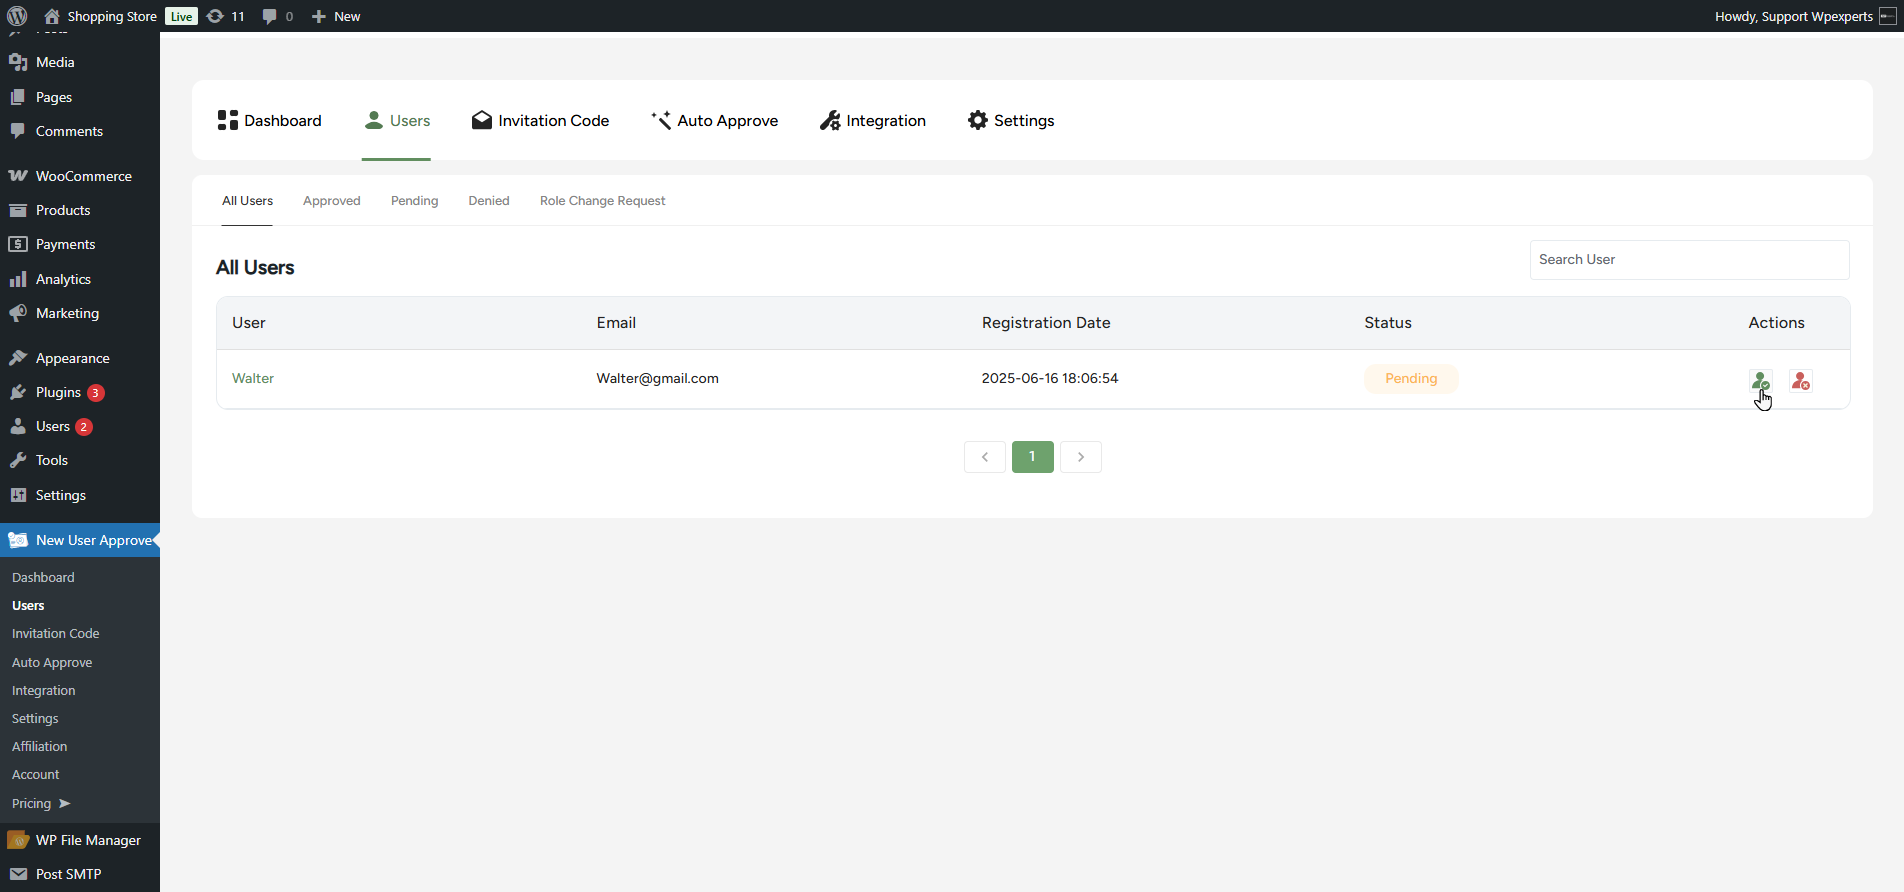
- The user will be in the Pending User section now.

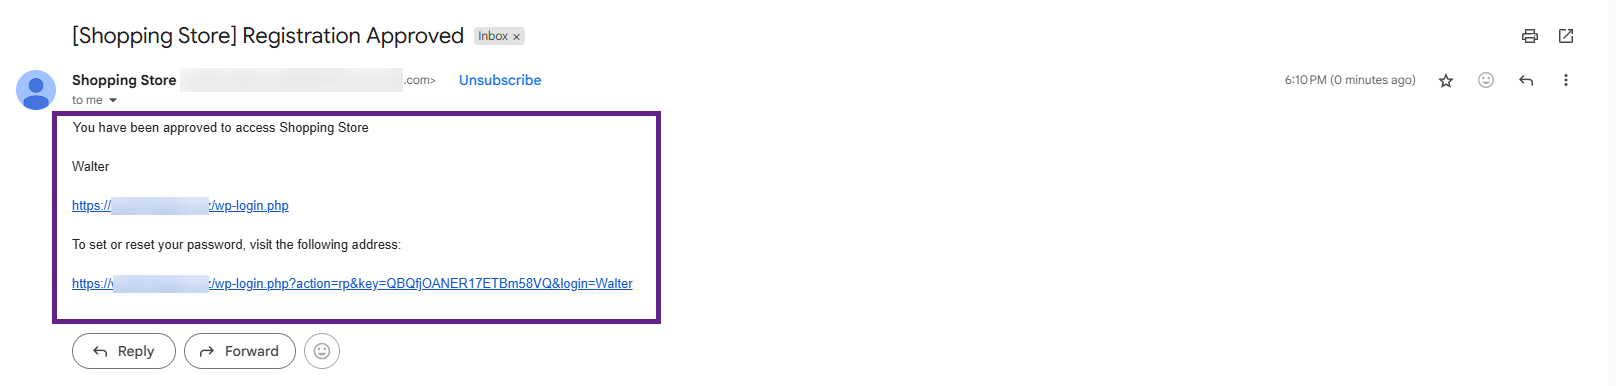
- When it is approved by the admin, an email will be generated and sent to the user.
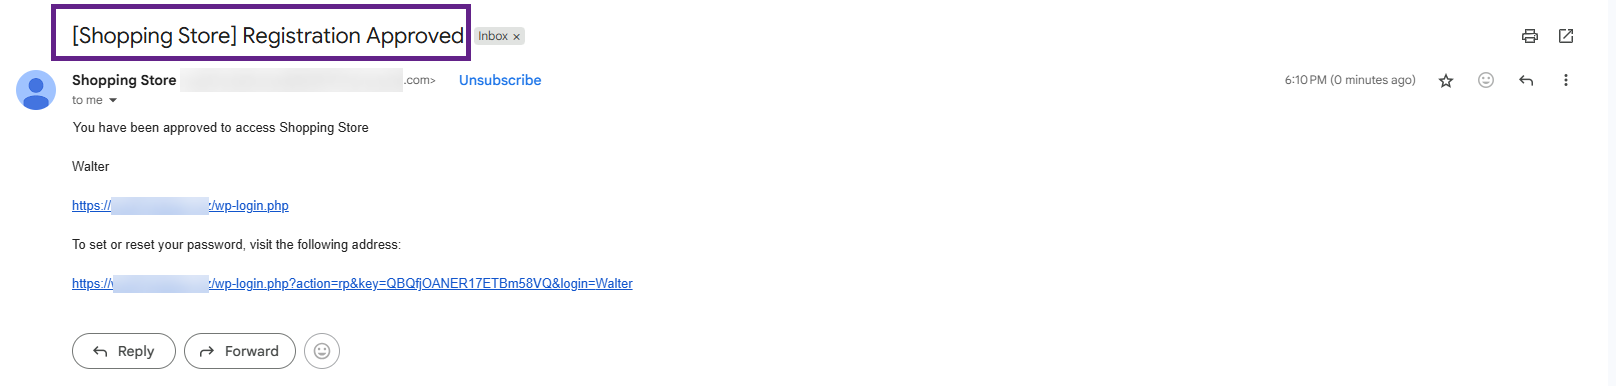
- The user will receive an email of his status has been updated with the subject that was set in the Approve notification subject text field.
- The admin can customize the Approve Notification Message as needed, using the tags listed under Hide Available Email Tags for additional flexibility.
- Toggle the button to enable the notification to be sent in HTML format.

- Click the Save Changes button to apply the settings.
Front-End Impact
- The email received has the same format which we configured in the Approve Notification Message textbox.
Deny Notification
- The Suppress Denial Message option allows the admin to prevent email notifications from being sent when a registration request is denied.

- The email notification sent to inform that a user has been denied includes a subject line, which can be customized using the Deny Notification Subject text field.
- Click the Save Changes button to apply the settings.
Front-End Impact
- Go to the registration page.
- Enter the required credentials and then click on the Register button.

- The user will be in the Pending User section now.
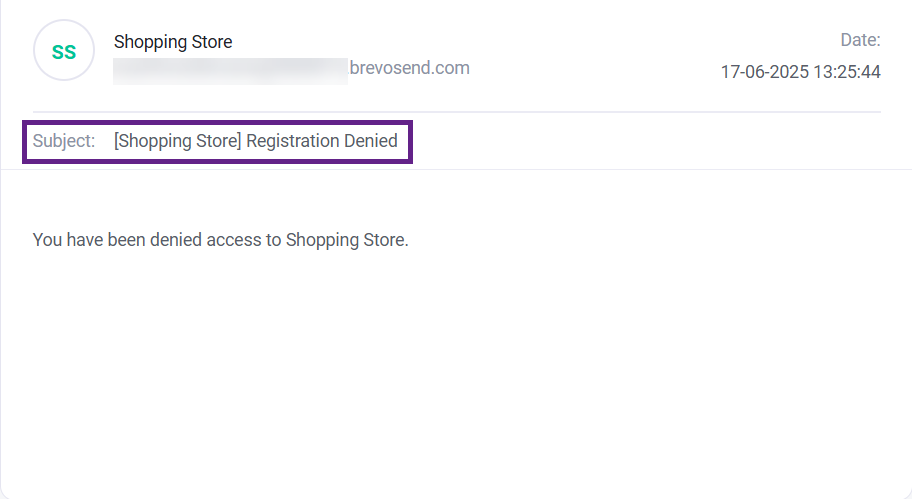
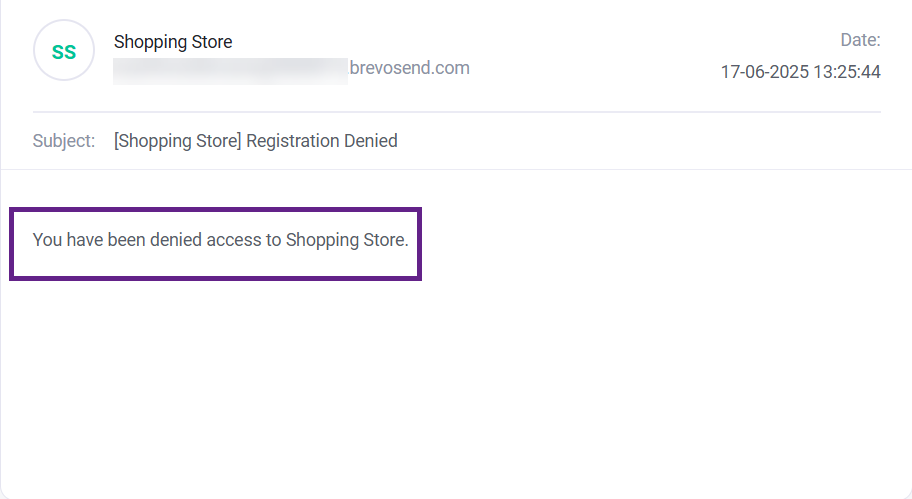
- When a registration is denied by the admin, an email is generated and sent to the user. As shown, the subject line of the email reflects the one set in the backend.
- The admin can customize the Deny Notification Message as needed, using the tags listed under Hide Available Email Tags for additional flexibility.
- Toggle the button to enable the notification to be sent in HTML format.

- Click the Save Changes button to apply the settings.
Front-End Impact
- The email received has the same format which we configured in the Deny Notification Message textbox.
Welcome Notification
- When the User welcome email option is activated, the user who has applied for registration and his request gets approved so he would receive a welcome message via email.
- Click the Save Changes button to apply the settings.
- Notification sent via email to update about the status of the user that he has been approved and a Welcome message is generated which has a subject attached to it, which can be edited in the User welcome email subject text field.

Front-End Impact
- Go to the registration page.
- Enter the required credentials and then click on the Register button.

- The user will be in the Pending User section now.

- When a registration is approved by the admin, an email is generated and sent to the user. As shown, the subject line of the email reflects the one set in the backend.

- The admin can customize the User Welcome Email Message as needed, using the tags listed under Hide Available Email Tags for additional flexibility.
- Toggle the button to enable the notification to be sent in HTML format.

- Click the Save Changes button to apply the settings.
Front-End Impact
- The email received has the same format which we configured in the User Welcome Email Message textbox.