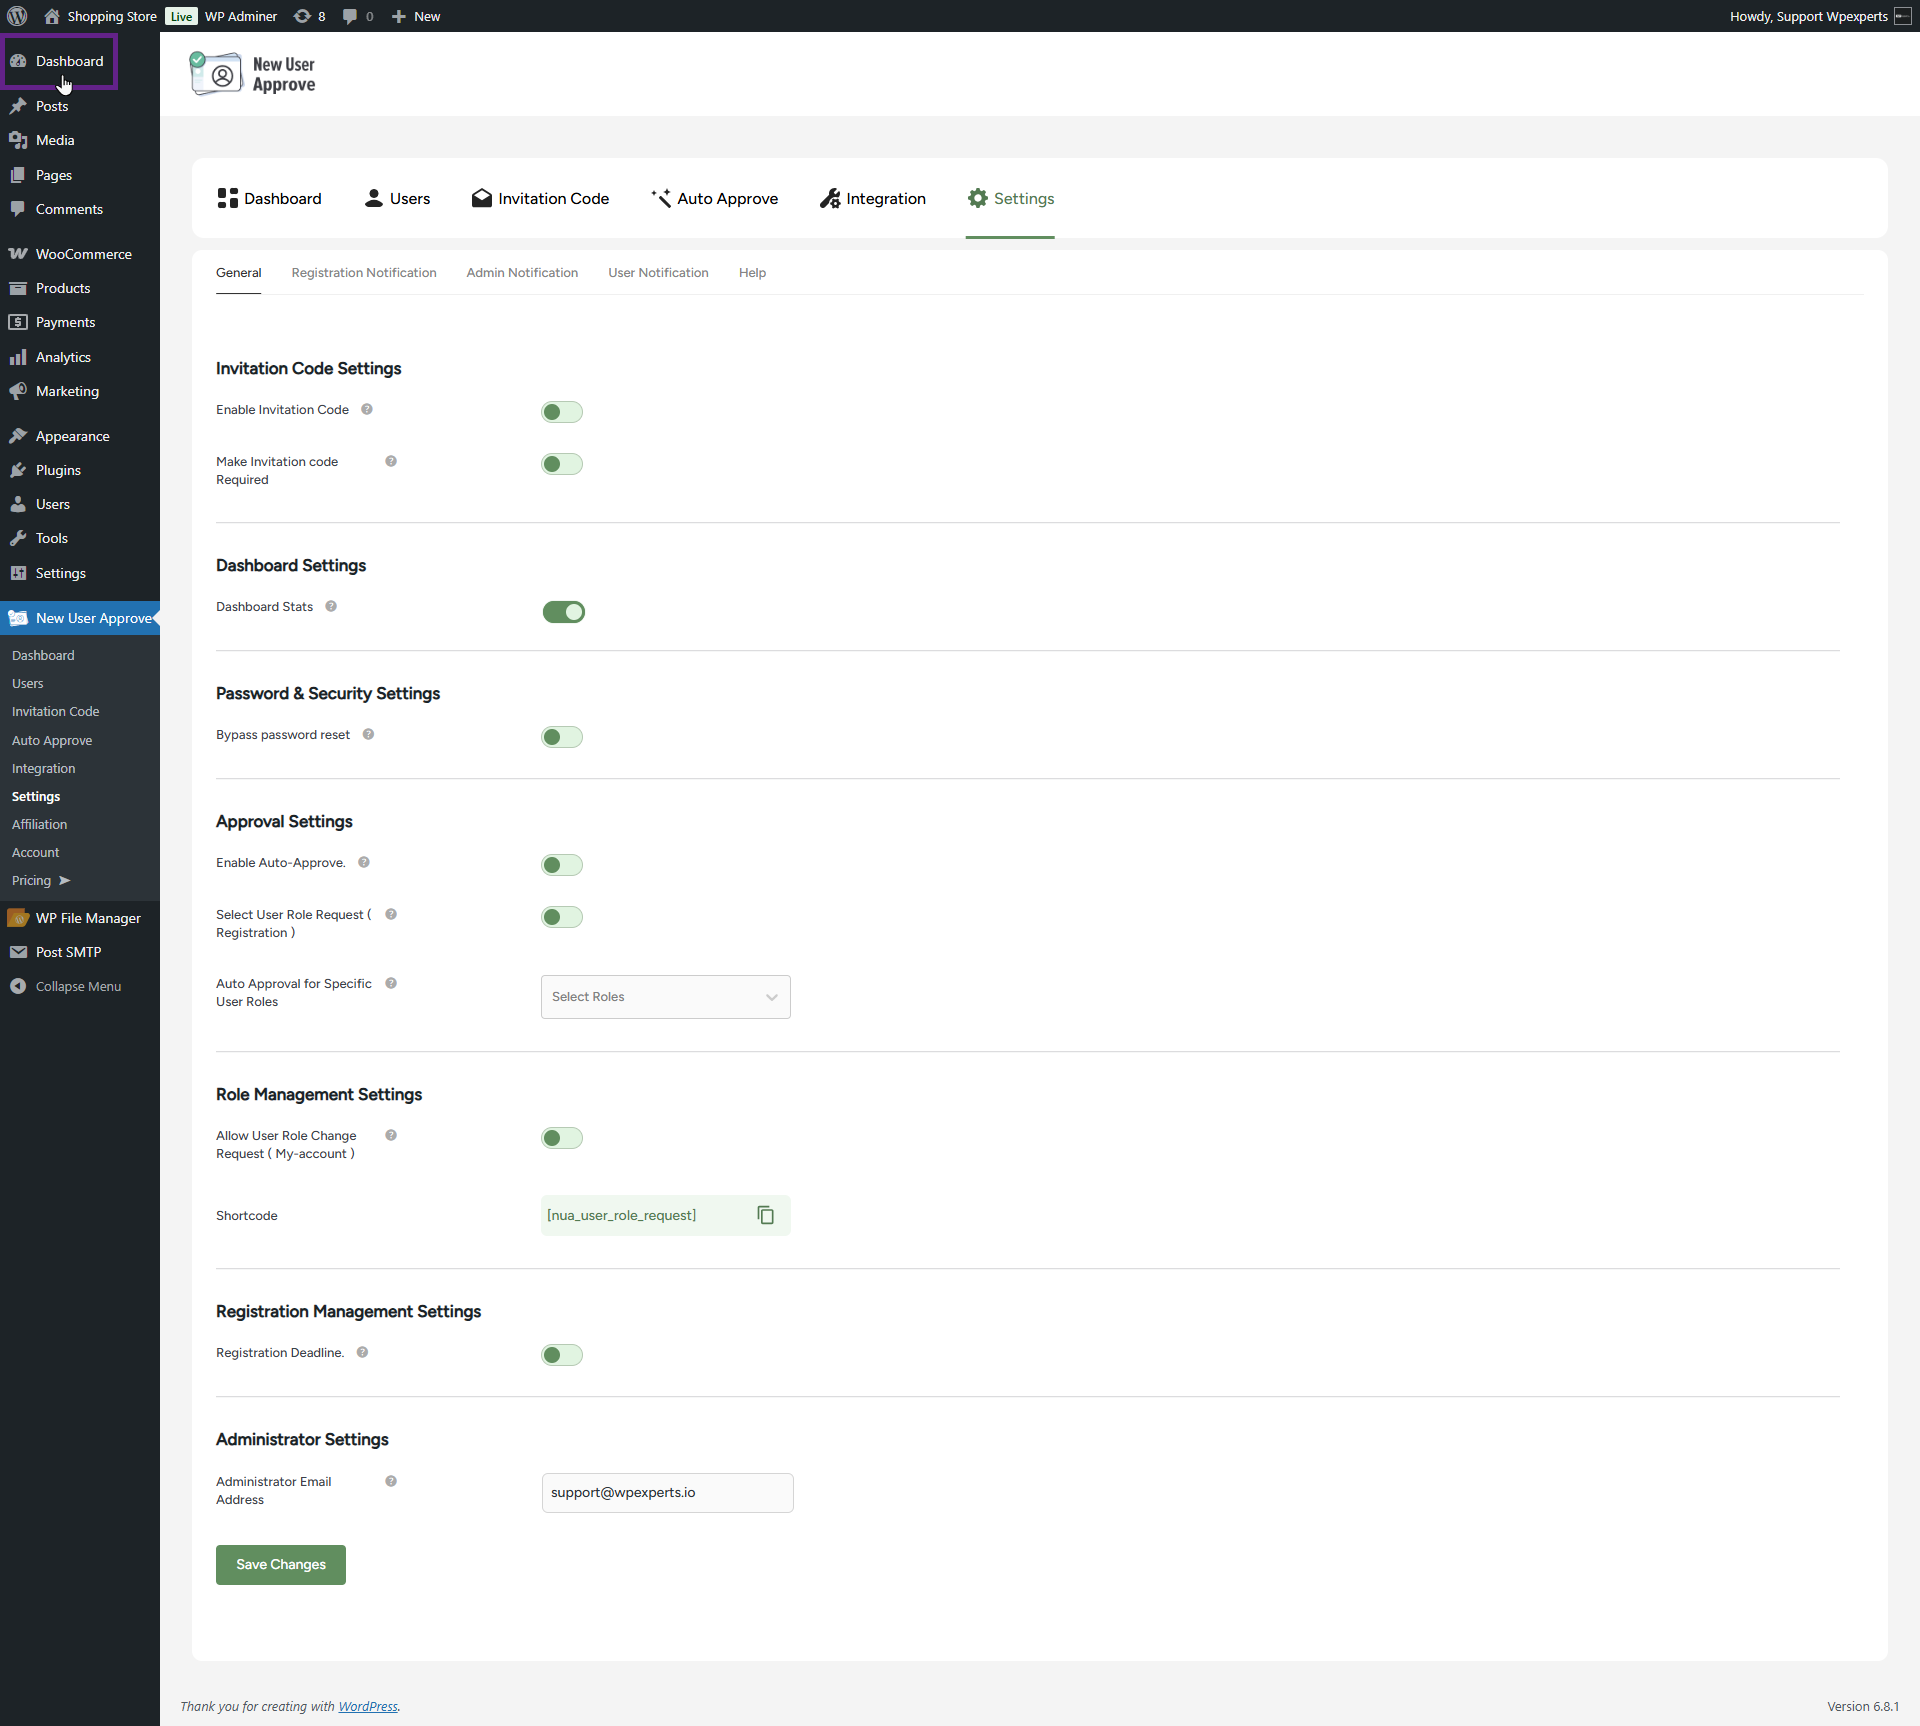
General
Under the Settings header, there are five sub-tabs: General, Registration Notification, Admin Notification, User Notification, and Help.
- Go to the Admin Dashboard > New User Approve > Settings.

Invitation Code Settings
- Please refer to this section for invitation code settings, as they have already been explained earlier in the document.
Dashboard Settings
- Enable the Dashboard Stats toggle to display all statistics on the WordPress Dashboard.

- Click on the Save Changes button to apply your settings.
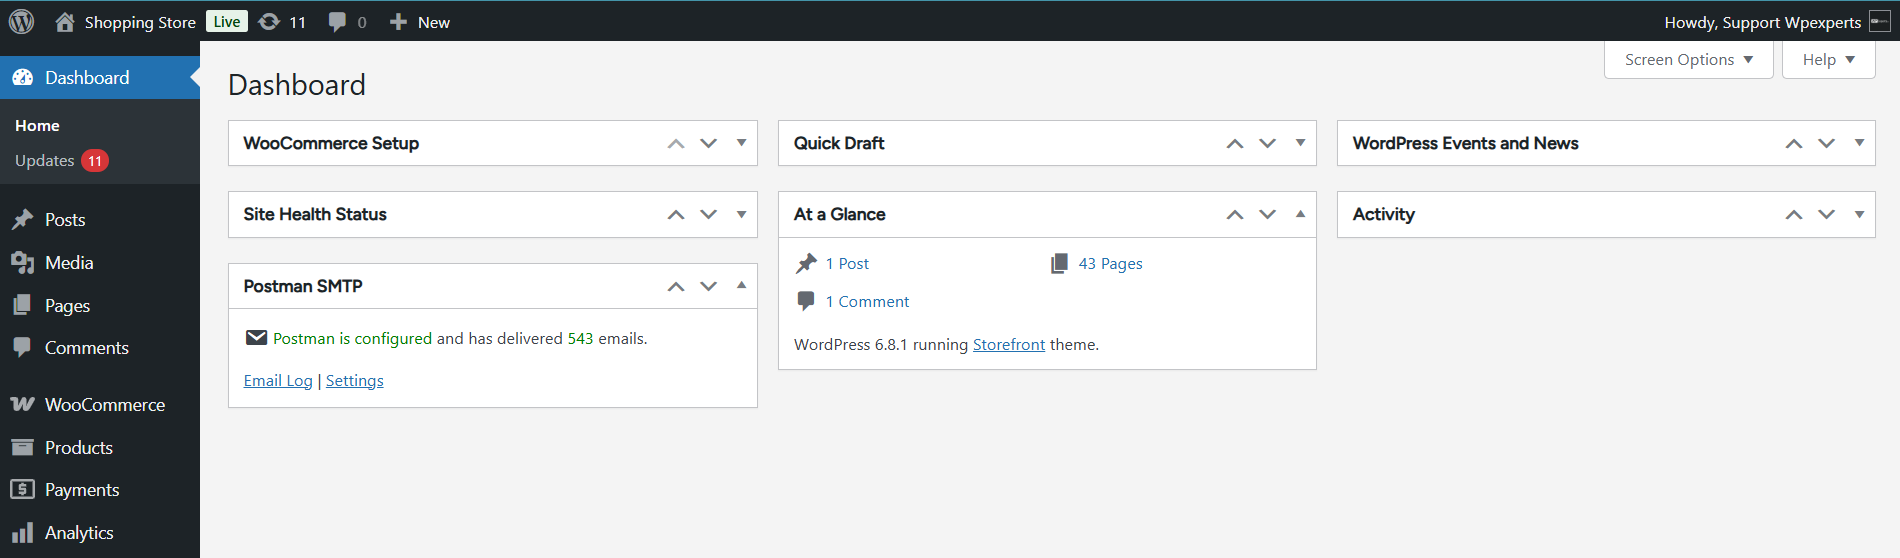
Front-end Impact
- Go to the WordPress Dashboard.
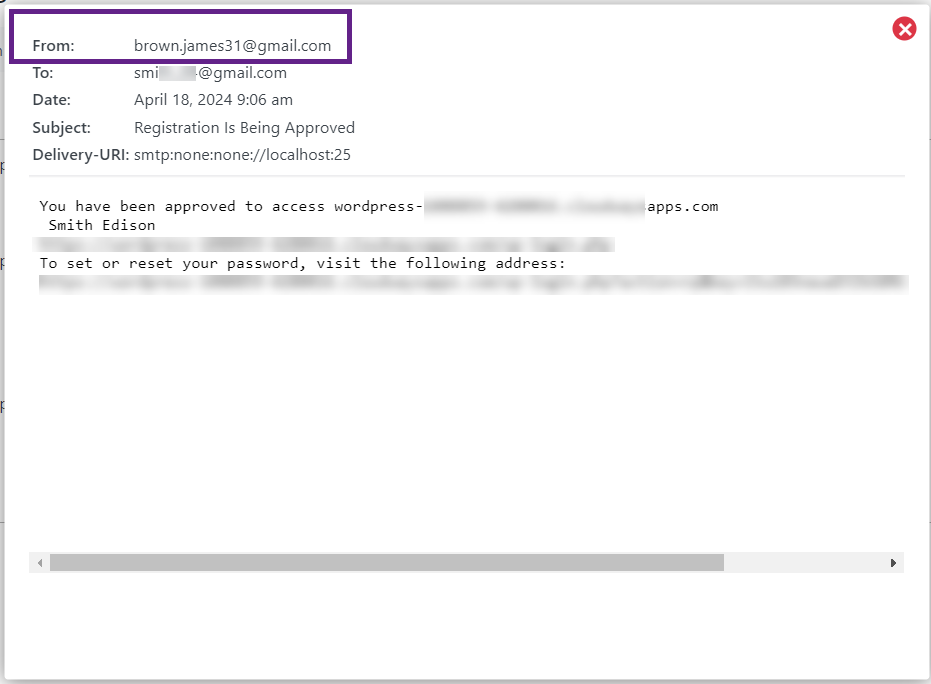
Before
After

Password & Security Settings
- Enable the Bypass Password Reset option. This option disables the automatic password reset when a new user is approved. If a user sets their password during registration, it will remain unchanged after their approval. The system will not automatically reset or update their password. This option is beneficial if you allow users to create their passwords during the registration process.
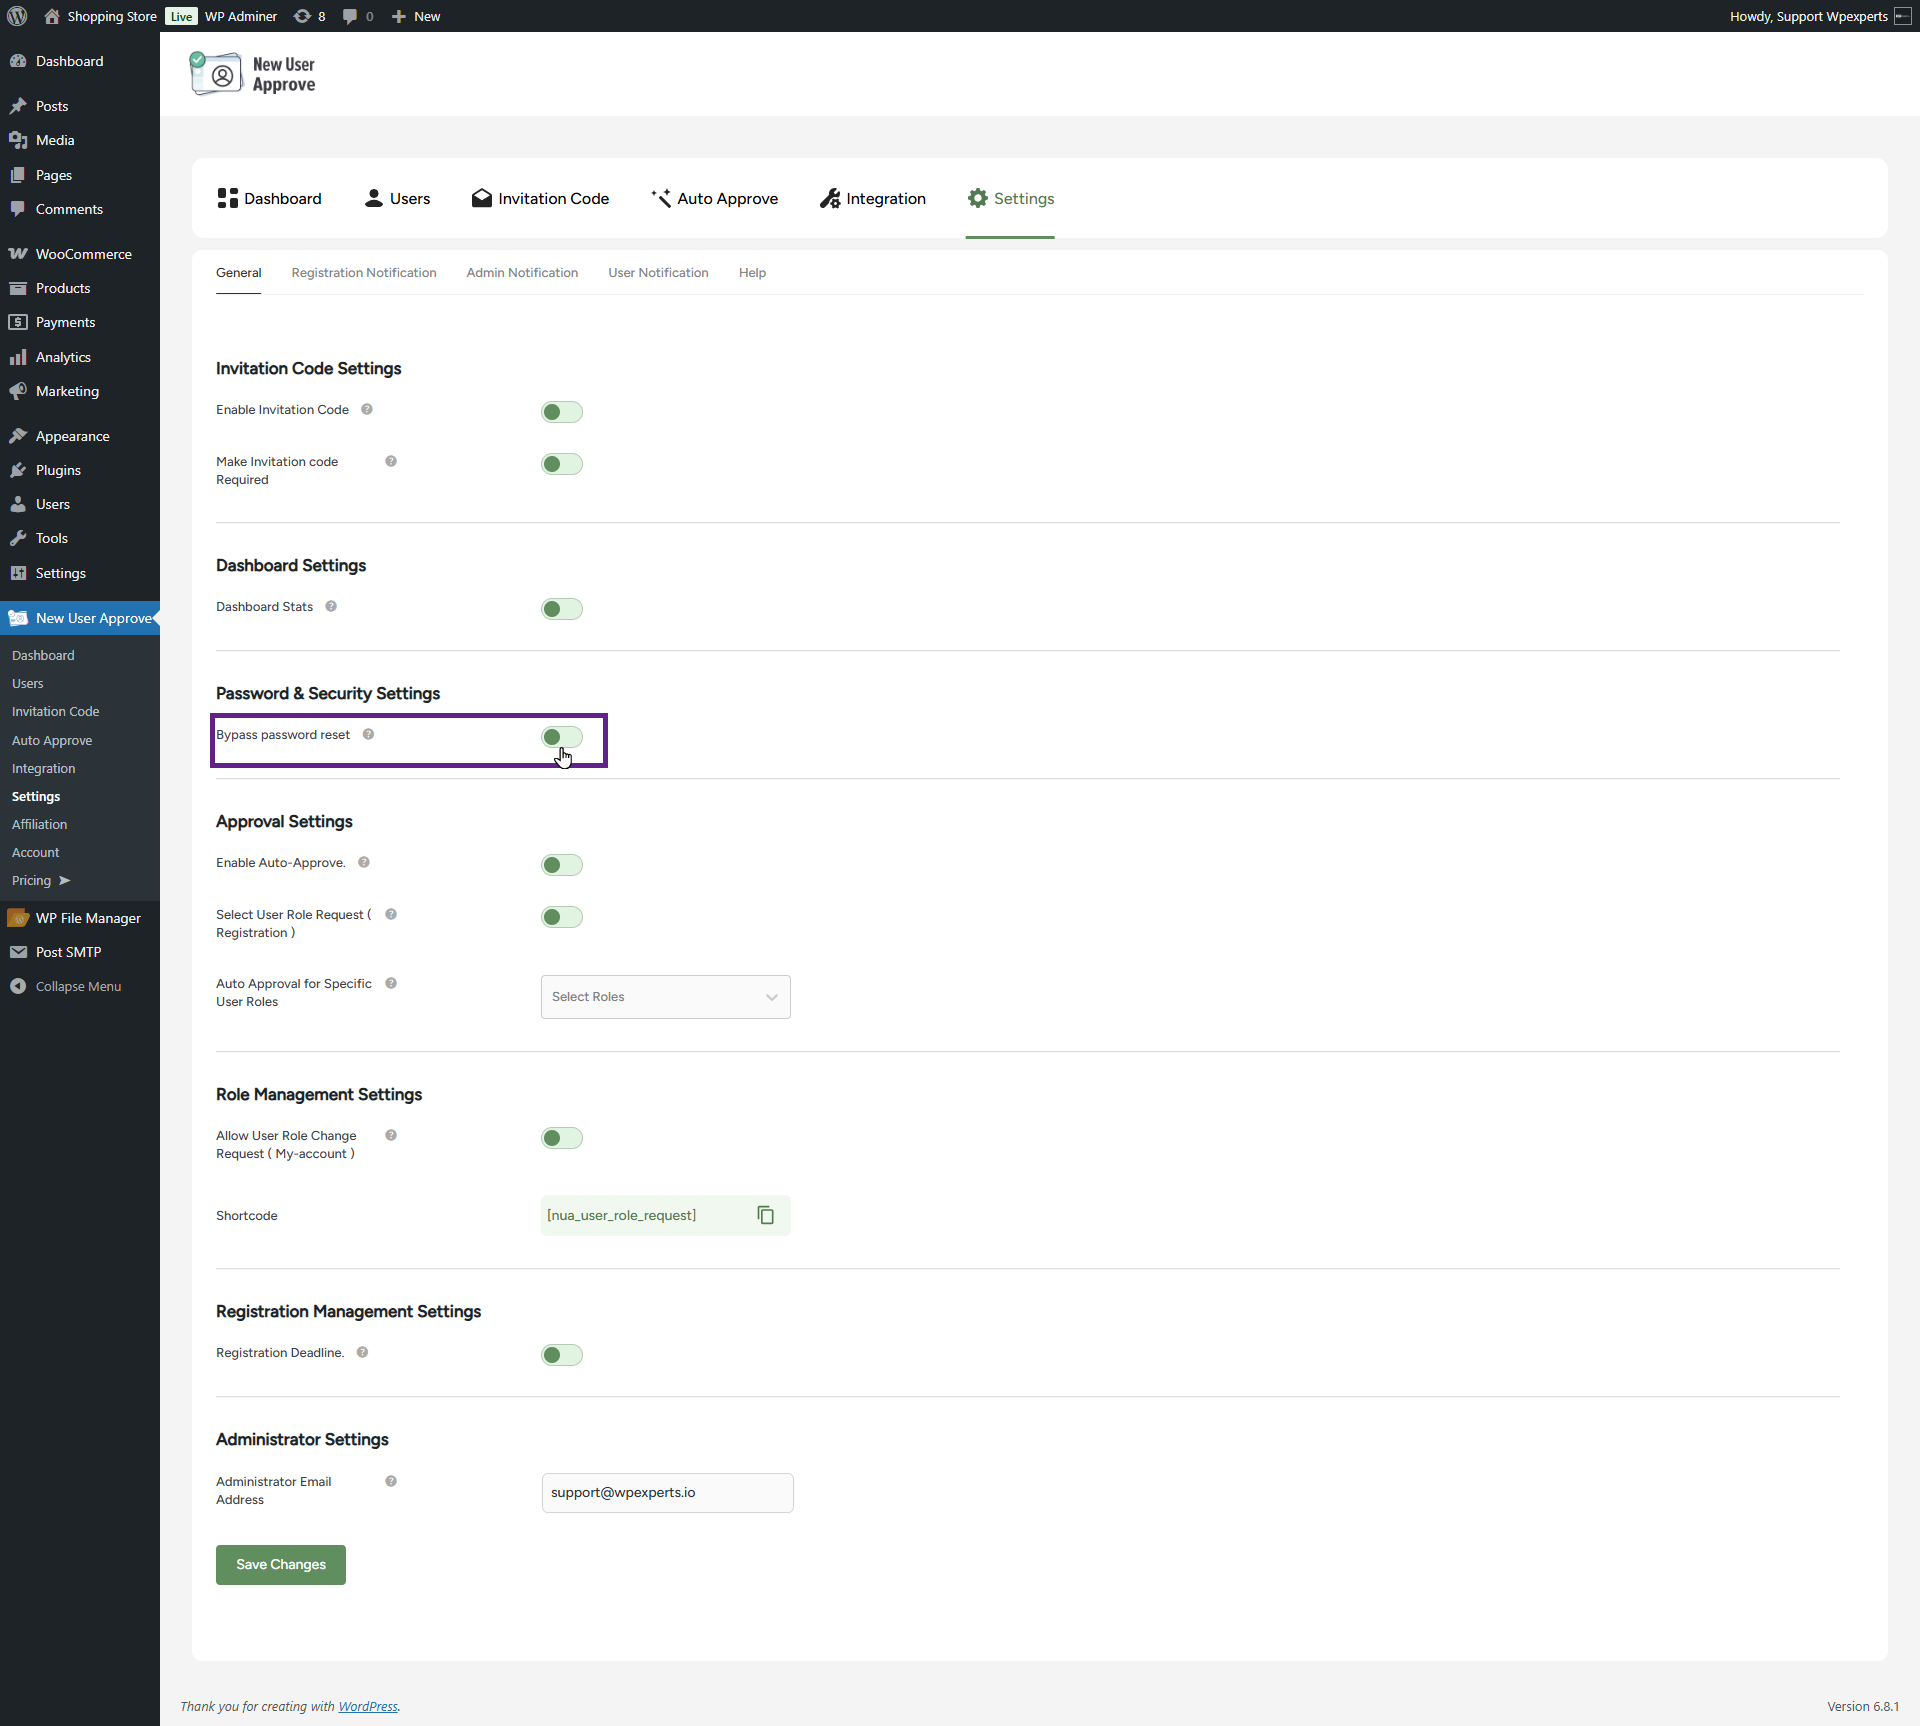
- Click the Save Changes button to apply the settings.
Approval Settings
- Please refer to this section for auto approval code settings, as they have already been explained earlier in the document.
Role Management Settings
- Please refer to this section for role management settings, as they have already been explained earlier in the document.
Registration Management Settings
- Enable the Registration Deadline toggle button. This feature allows the admin to restrict user registrations after a specified date or once a certain number of registrations has been reached.
- When the Registration Deadline toggle is activated, additional options will be displayed.
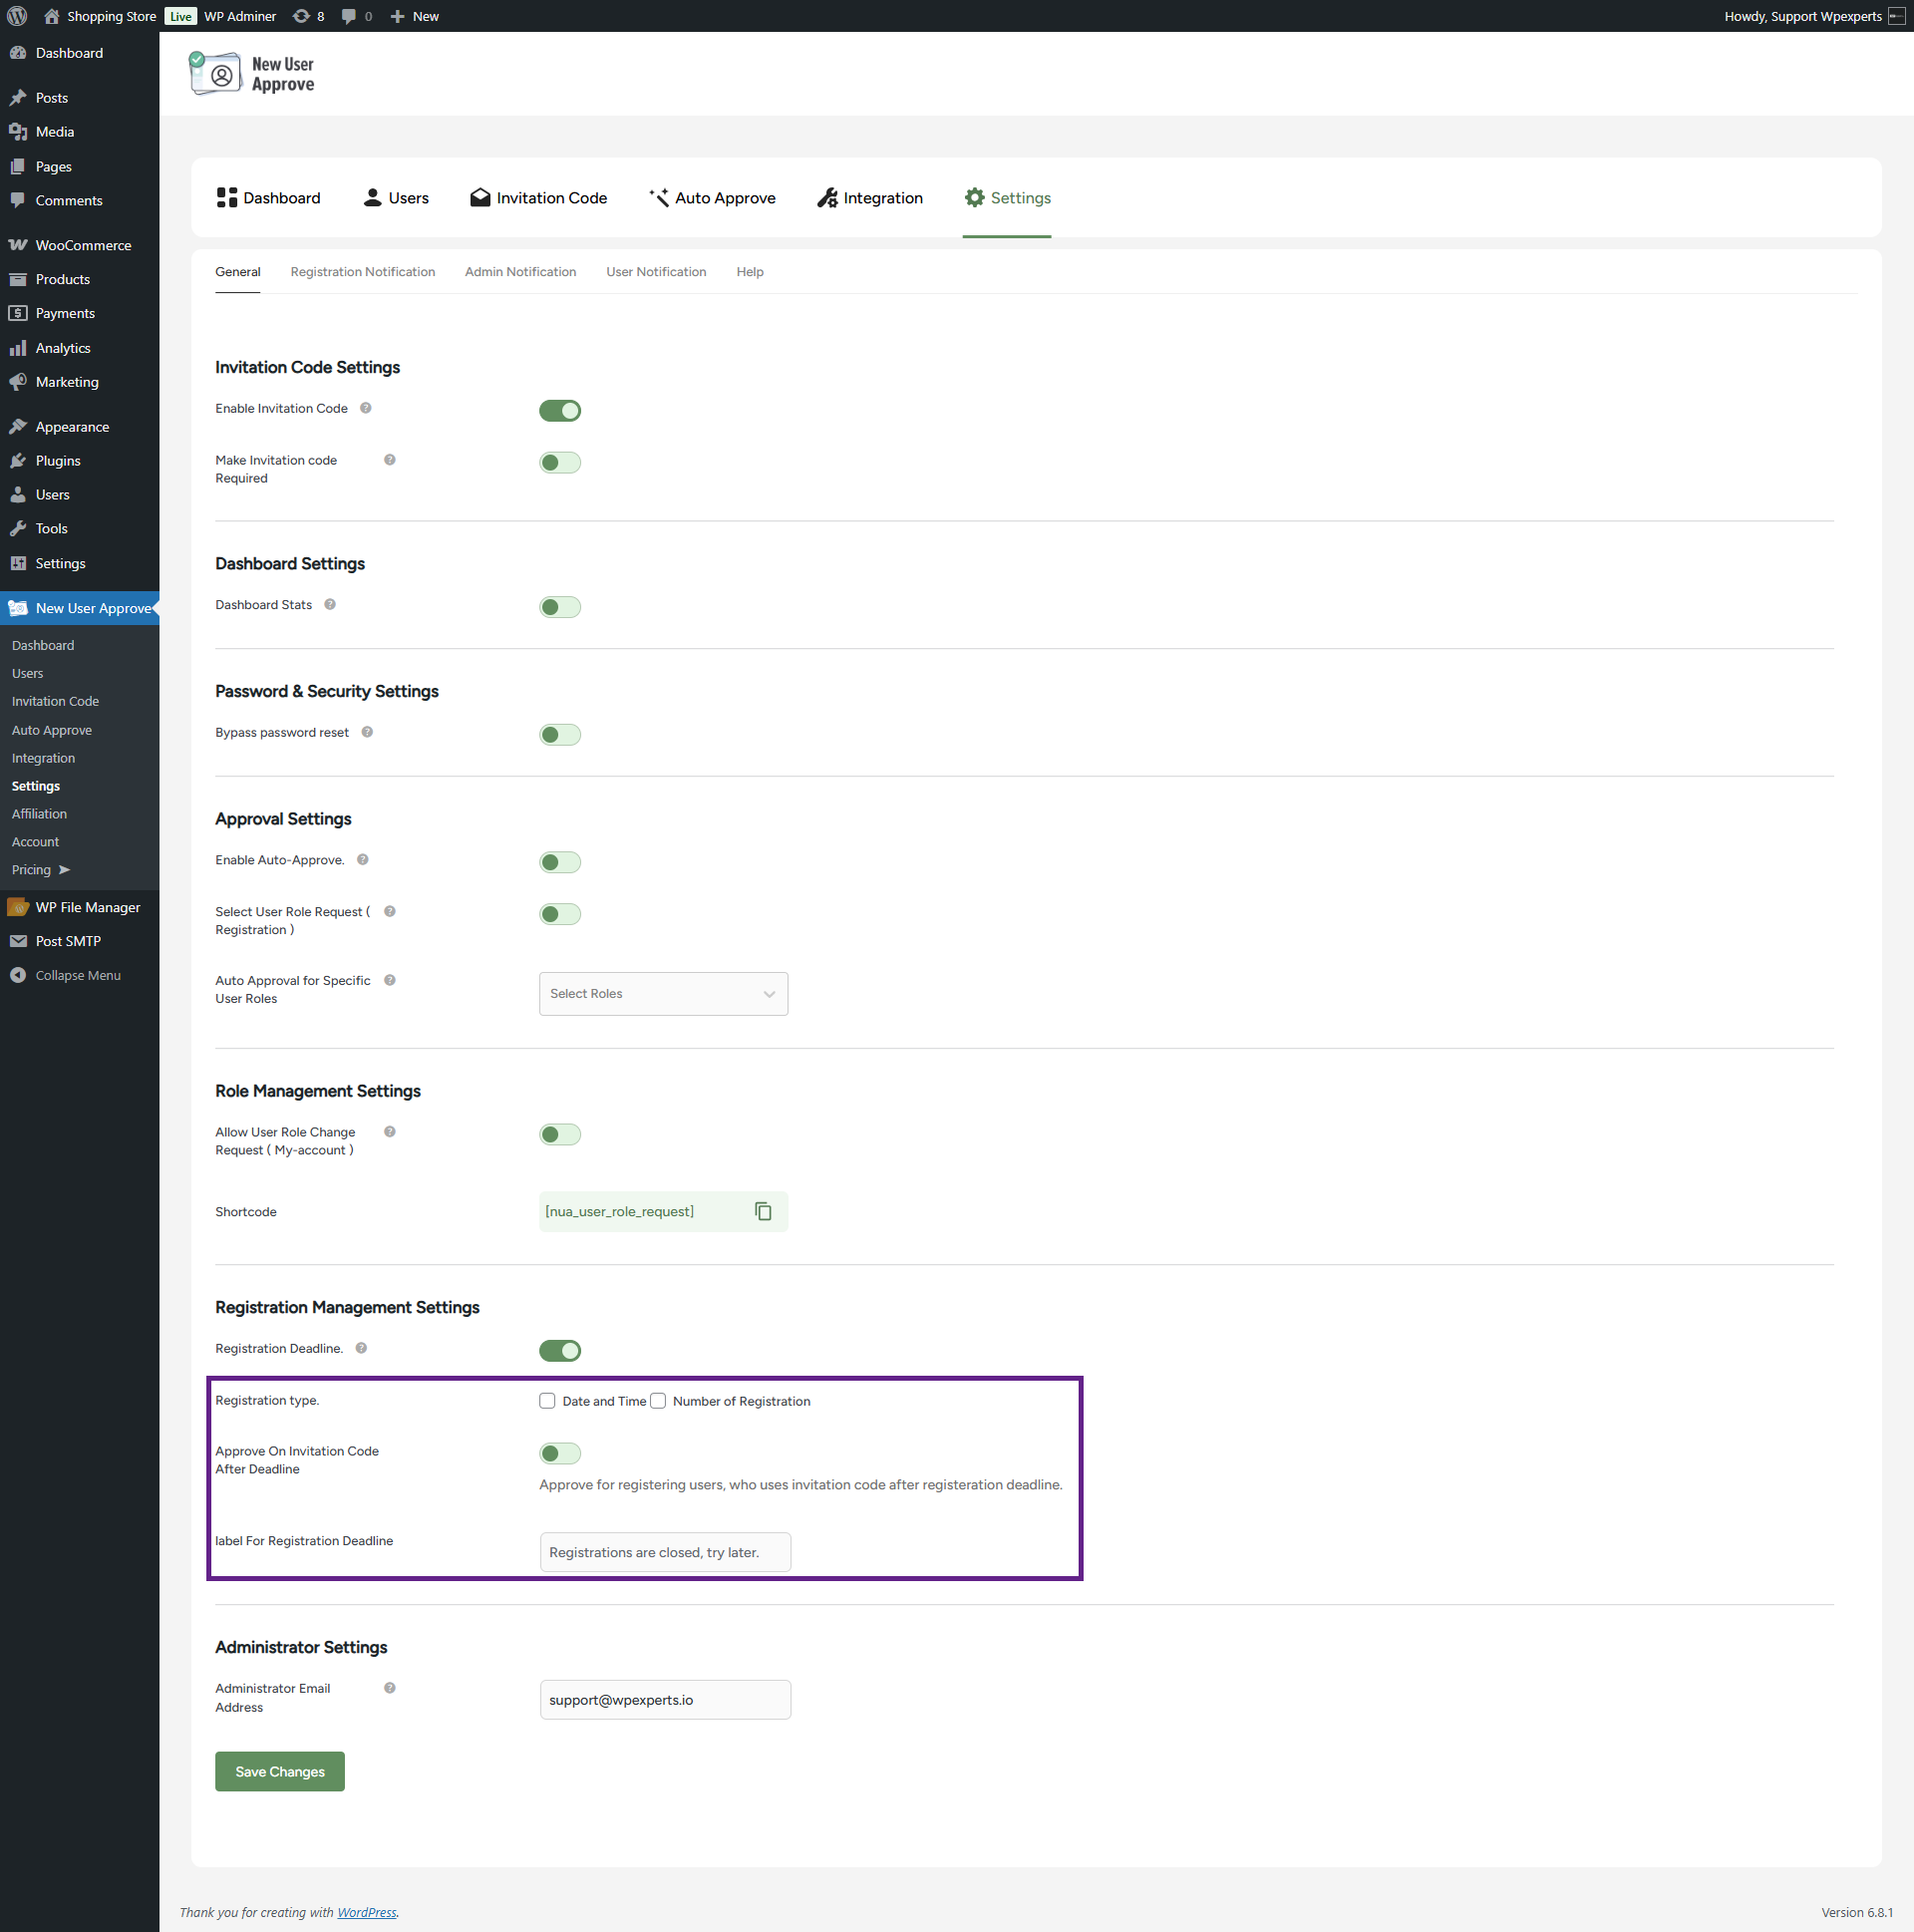
- In the Registration Deadline settings, there are two types of registration limits available: Date and Time, and Number of Registrations.

- In this example, both registration deadline types are selected.

- Next, enable the Approve on Invitation Code After Deadline toggle if the admin wants to allow users to register with an invitation code even after the deadline has passed.
Note: This option depends on the Enable Invitation Code setting in the General settings. To use the Approve on Invitation Code After Deadline feature, ensure that the invitation code option is enabled.

- The admin can customize the text into a label field called Label For Registration Deadline.

- Click on the Save Changes button to apply your settings.
Front-End Impact
- If a user attempts to register after the registration deadline has passed or while registration is closed, an error message, defined by the admin, will be displayed upon clicking the Register button.

- If a user registers using an invitation code after the deadline has passed, and the Approve on Invitation Code After Deadline toggle is enabled in the back-end, the user will be approved, overriding the standard registration deadline restrictions.

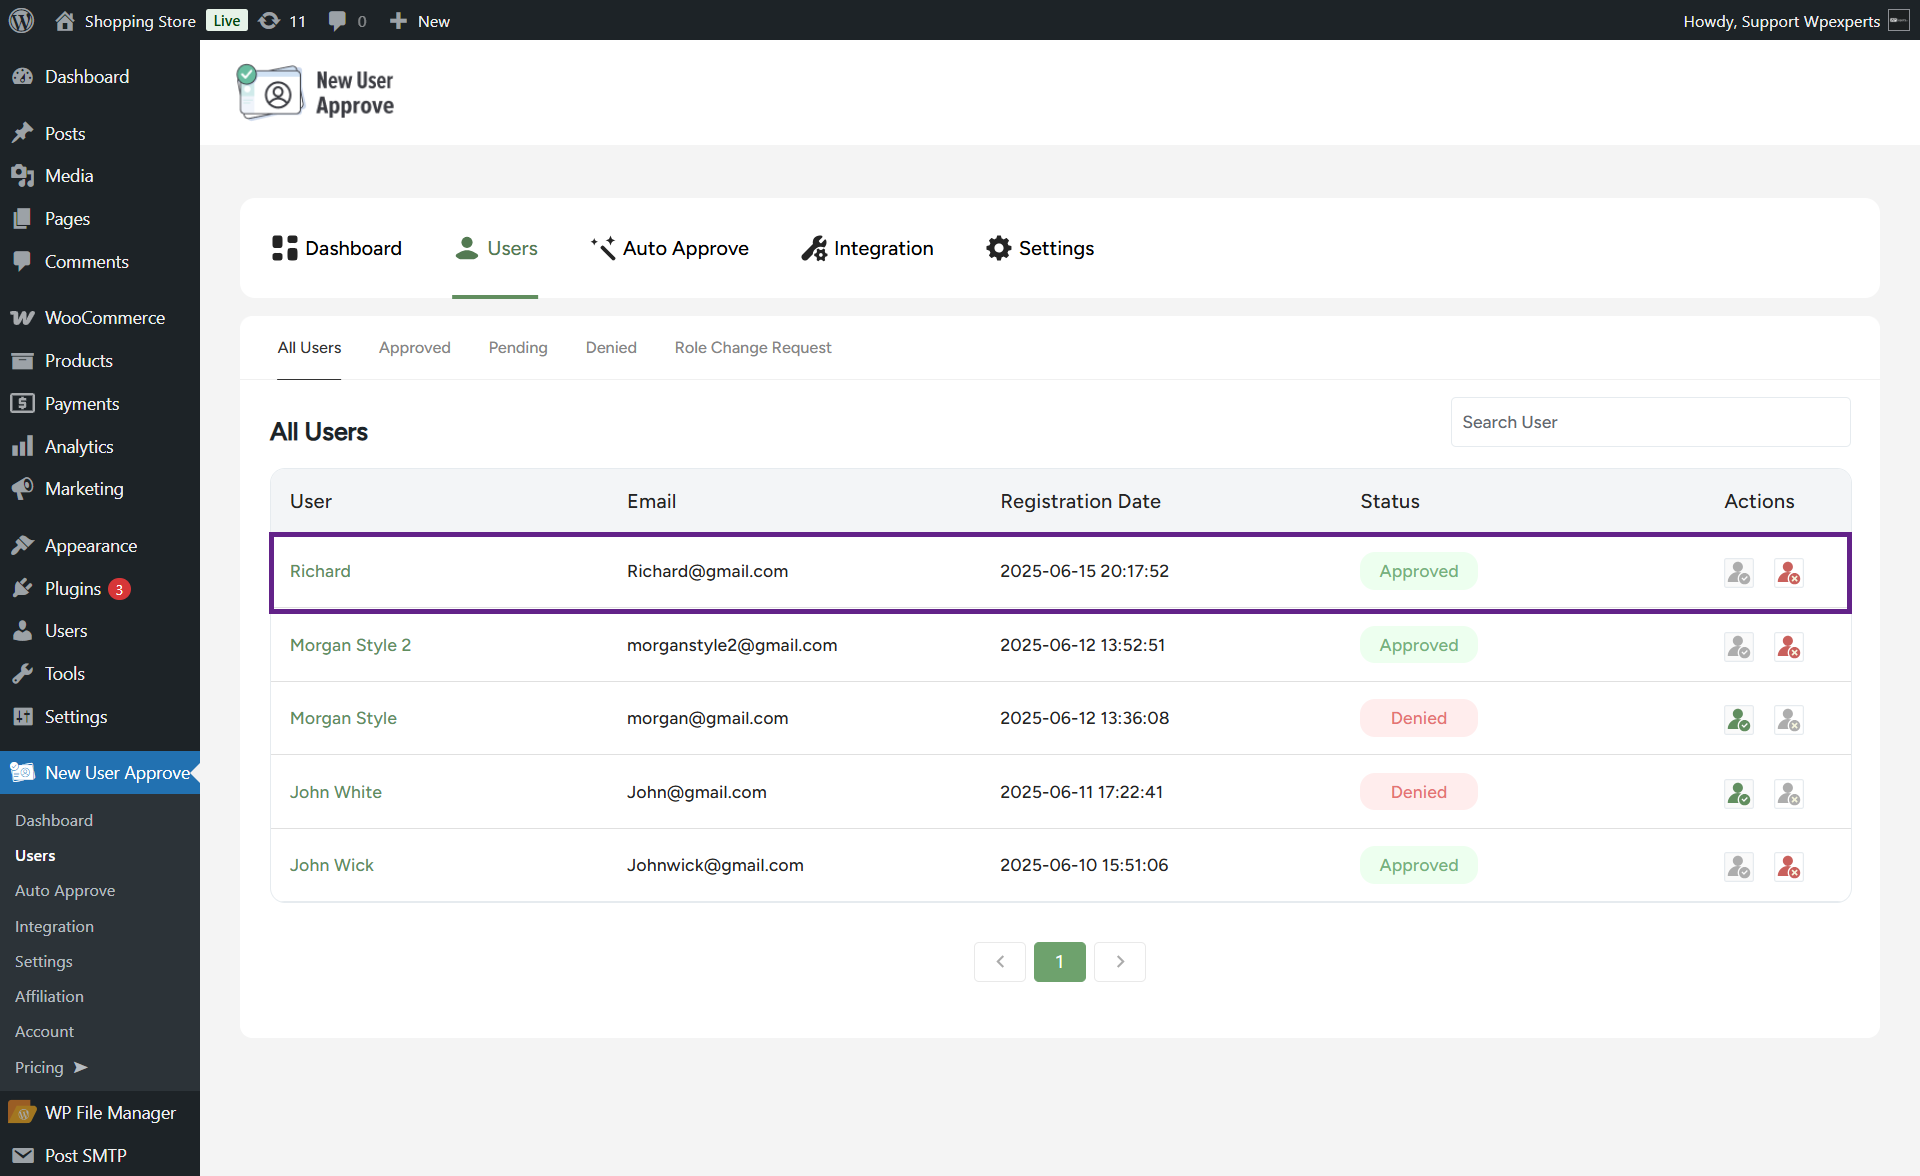
- As you can see, the user has been registered via an invitation code.
Administrator Settings
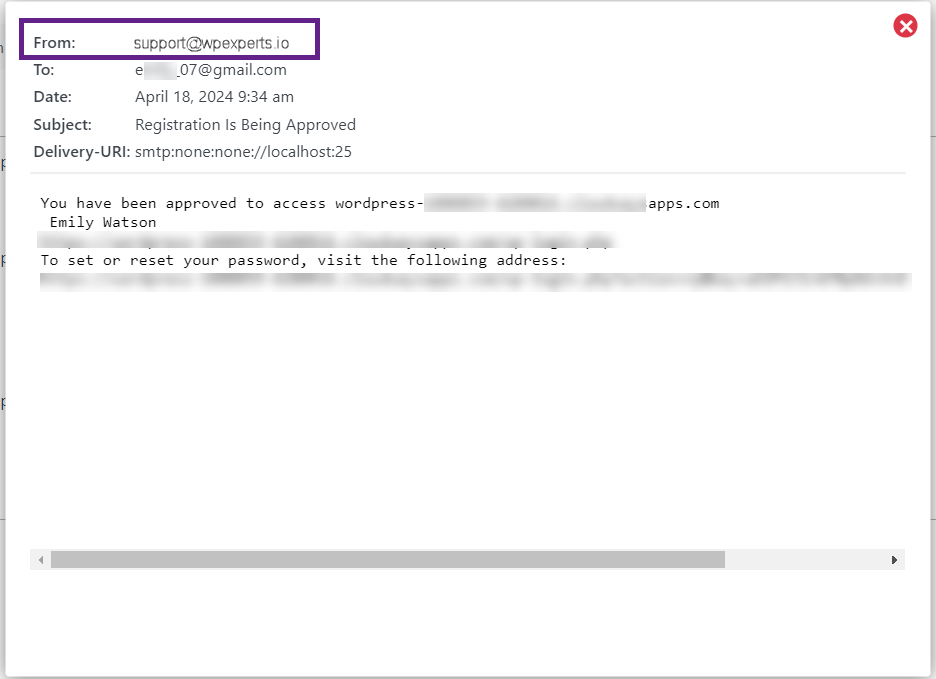
- The admin can modify the email sender address using the Administrator Email Address field.

- Click on the Save Changes button to apply your settings.
Front-End Impact
Before
After