Integrations
Zapier
- Go to the URL: https://zapier.com/sign-up/
- Create or log in to a Zapier account.
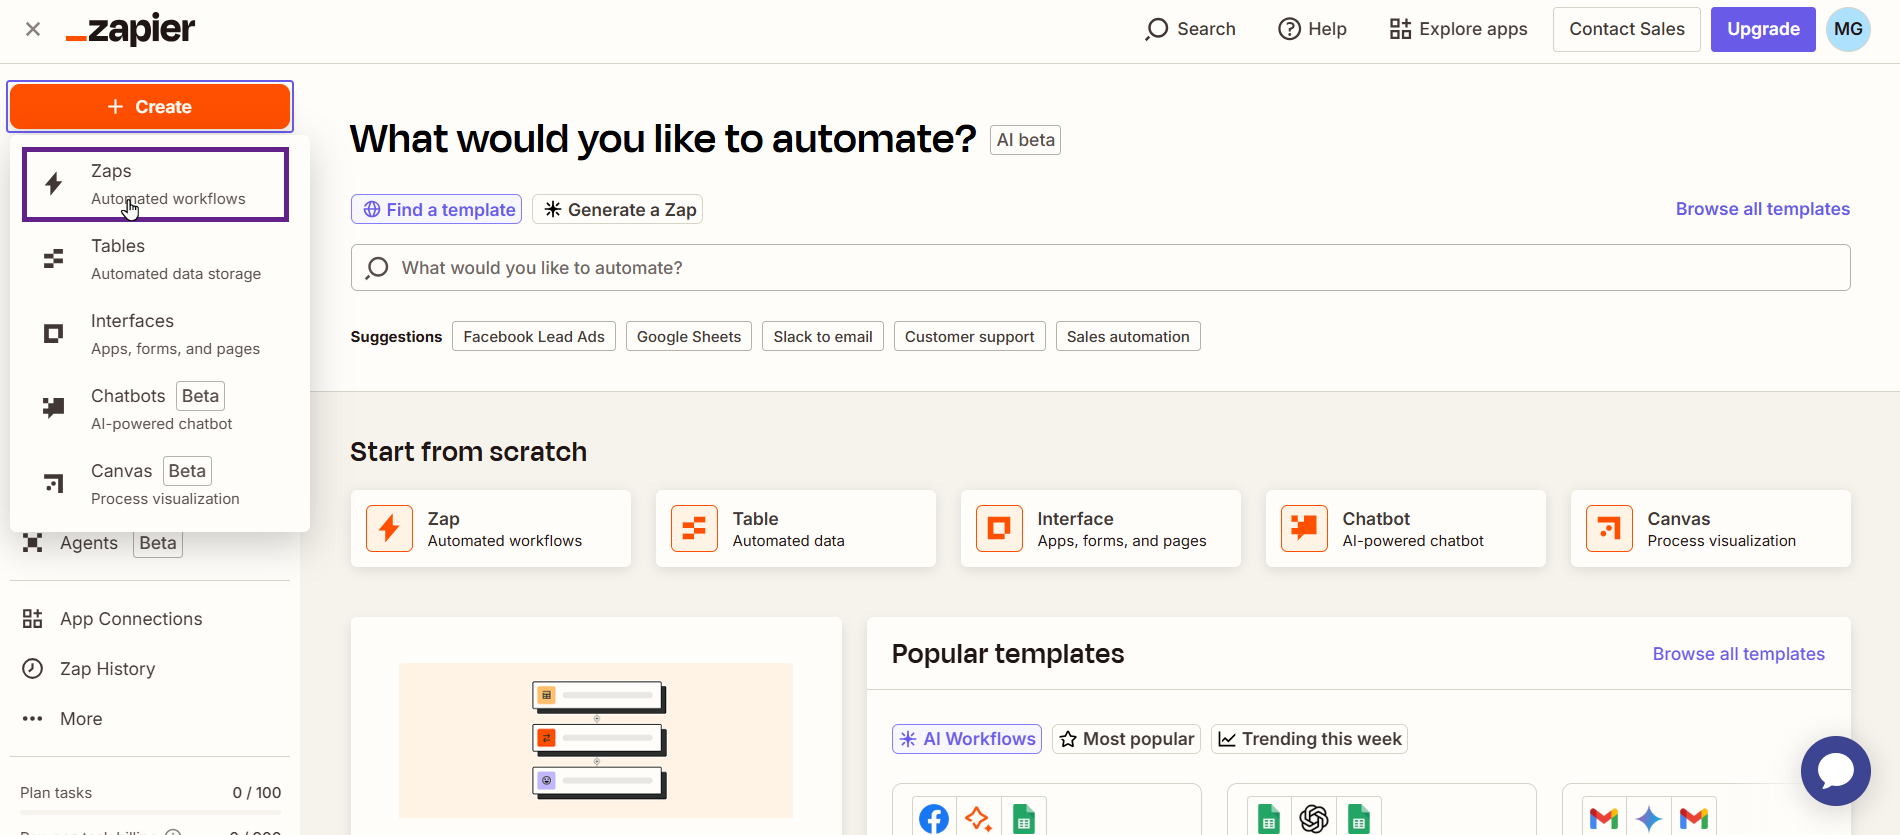
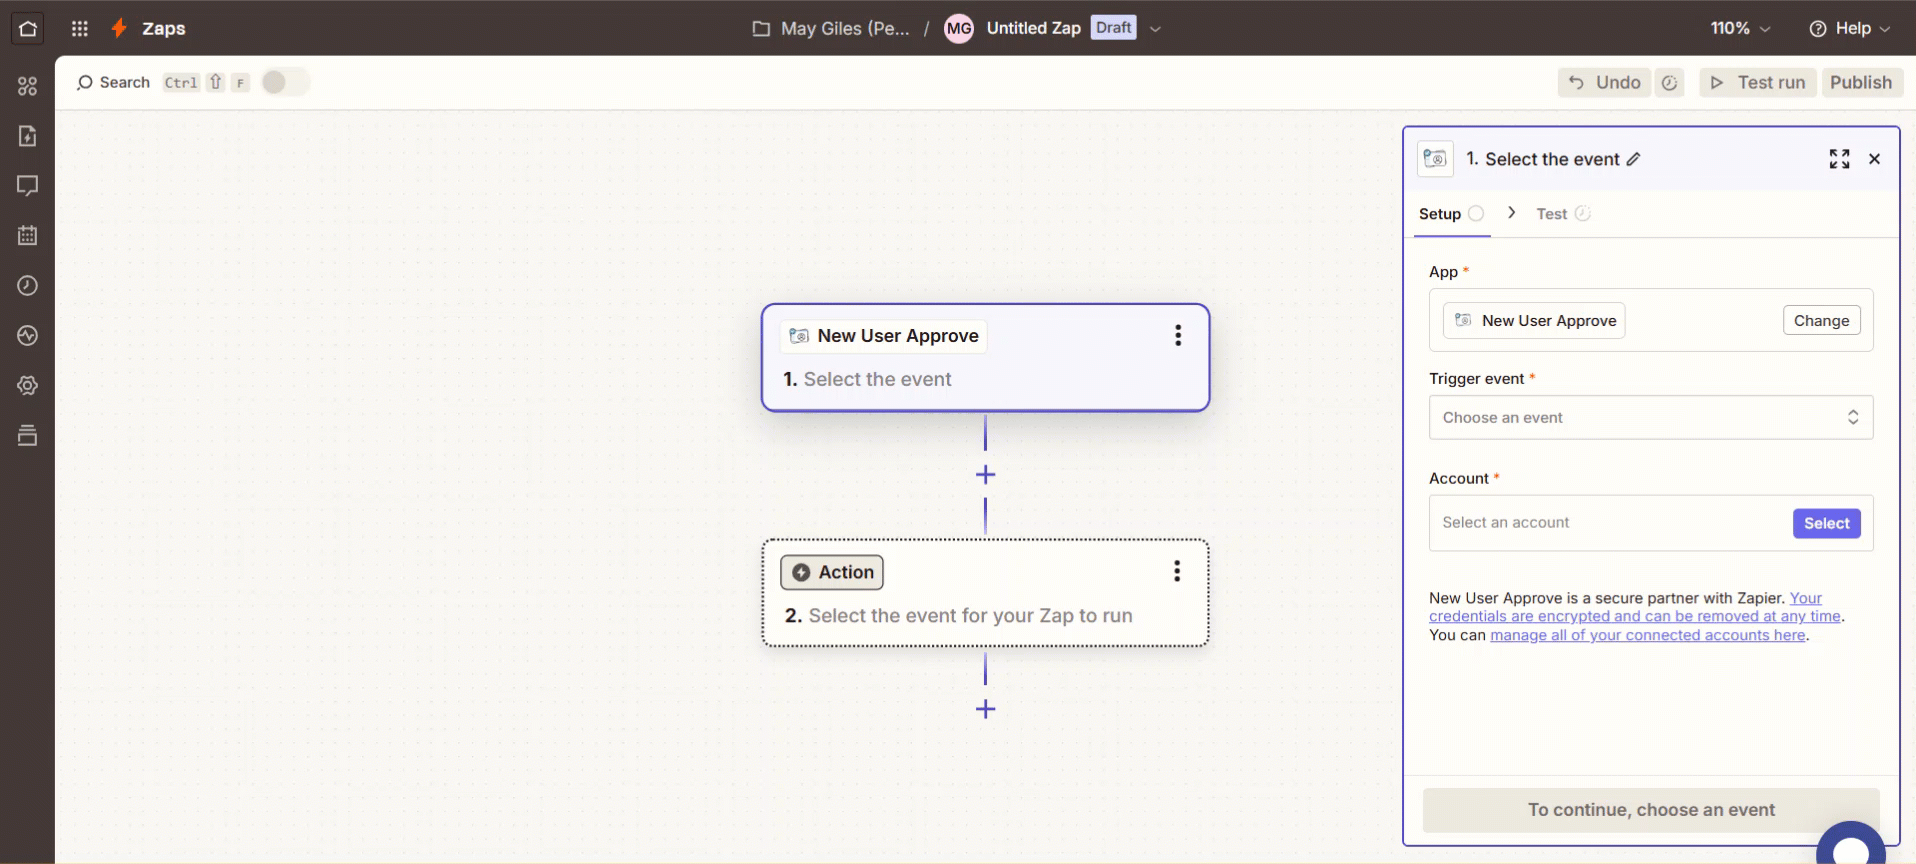
- Once you’re logged into your Zapier account, the next step is to create a Zap. A Zap is an automated workflow that transfers data between Zapier and New User Approve when a specific trigger occurs.
- Click the Create button and choose the Zap option from the dropdown menu.
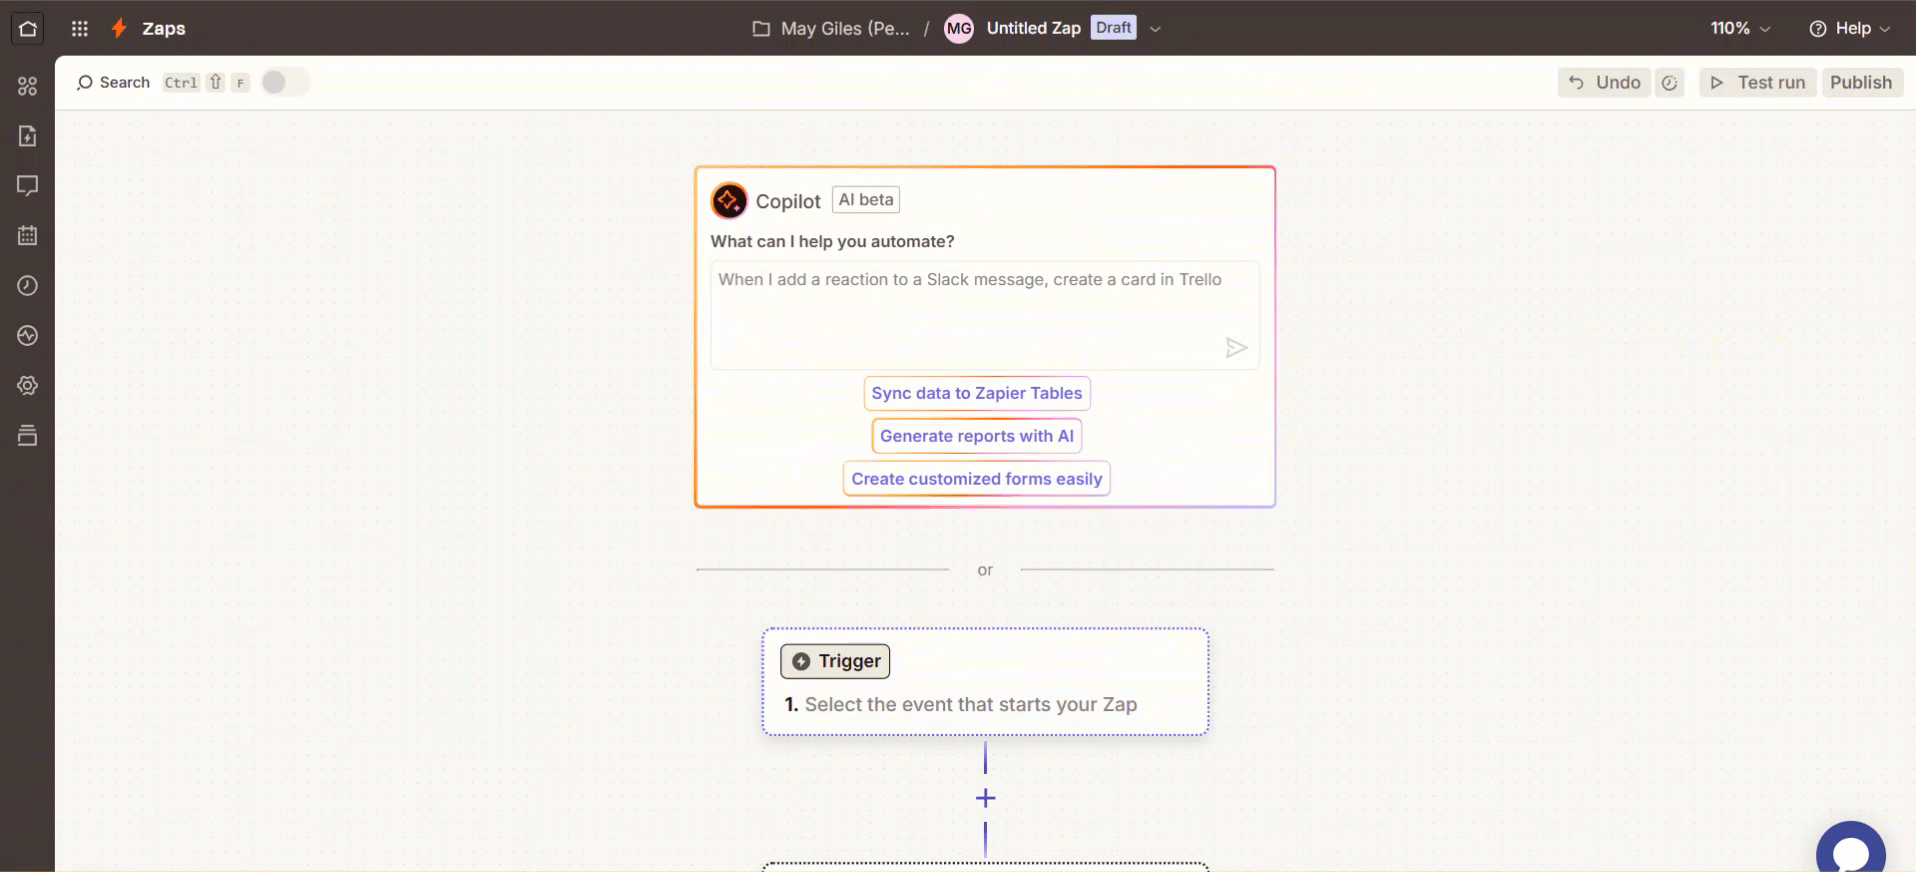
- Next, click on the Trigger section and search for the New User Approve app in the app event search bar. A trigger is the event that initiates your Zap.
- After selecting New User Approve as your event app, you will be able to see the following trigger events:
- User Approved – Triggers when a user is approved.
- User Denied – Triggers when a user is denied.
- User Pending – Triggers when a user Registers (Pending)
- User Auto Approved via Invitation Code(Pro) –Triggers when a user registers via the Invitation code.
- User Auto Approved via Whitelist(Pro) – Triggers when a user is Auto Approved via Whitelist.
- User Auto Approved via Role(Pro) – Triggers when a user is Auto Approved via role.
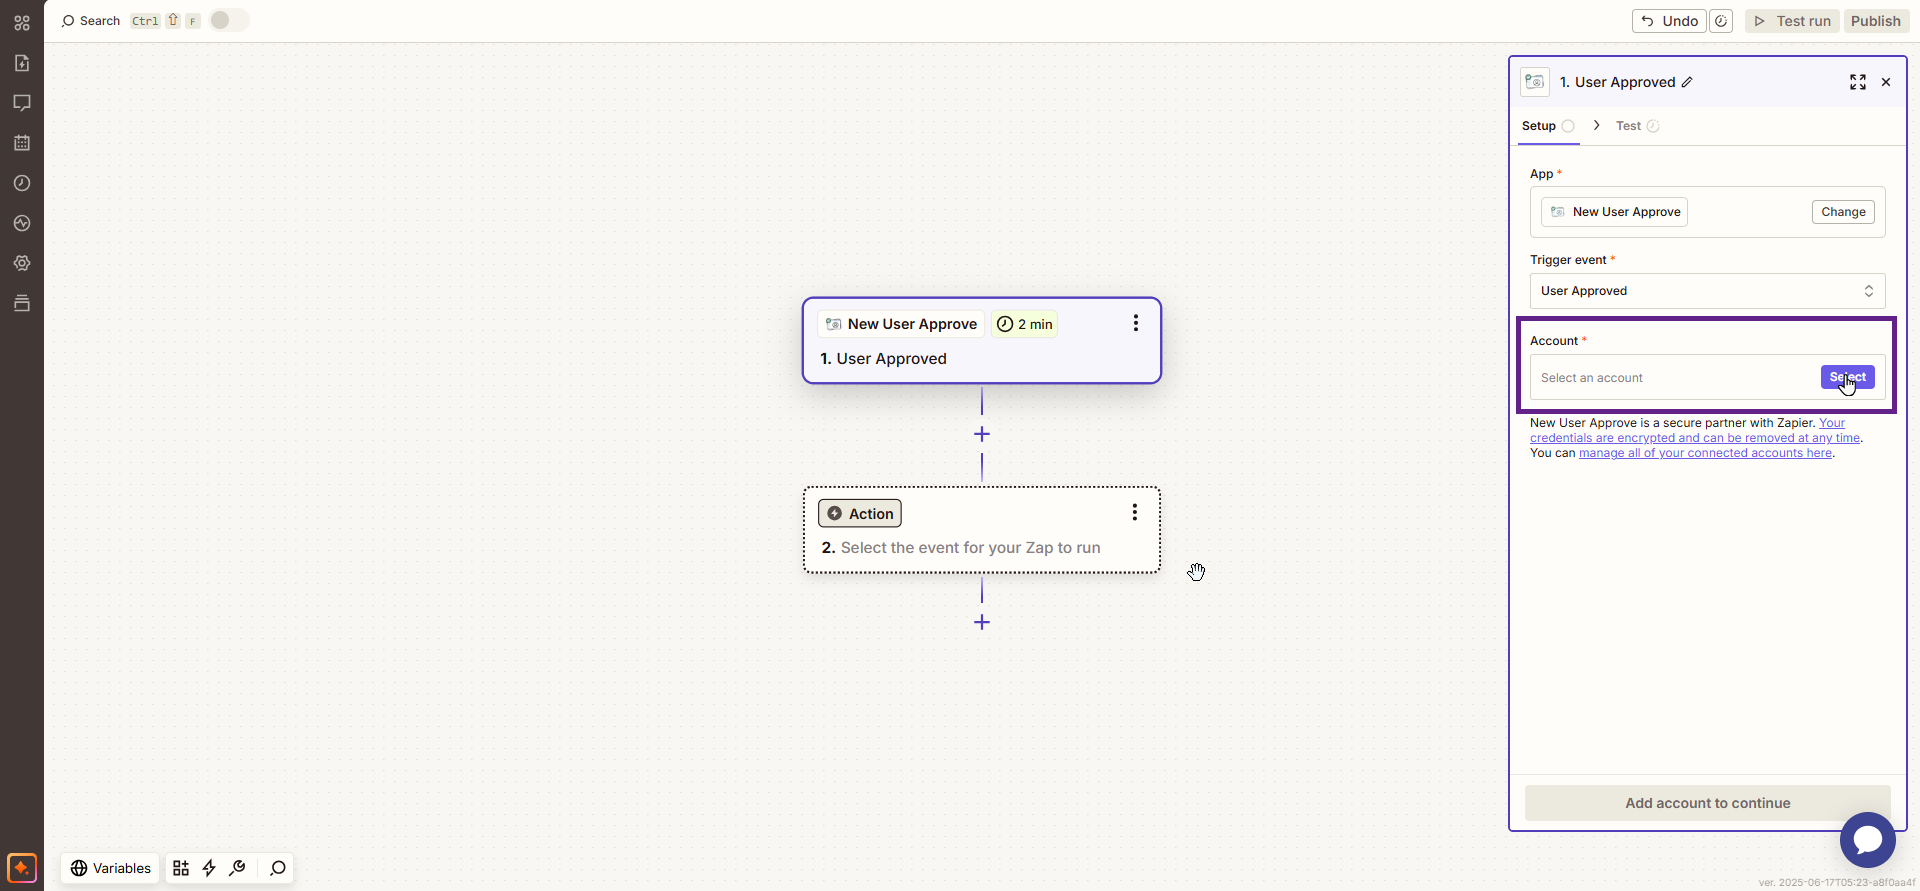
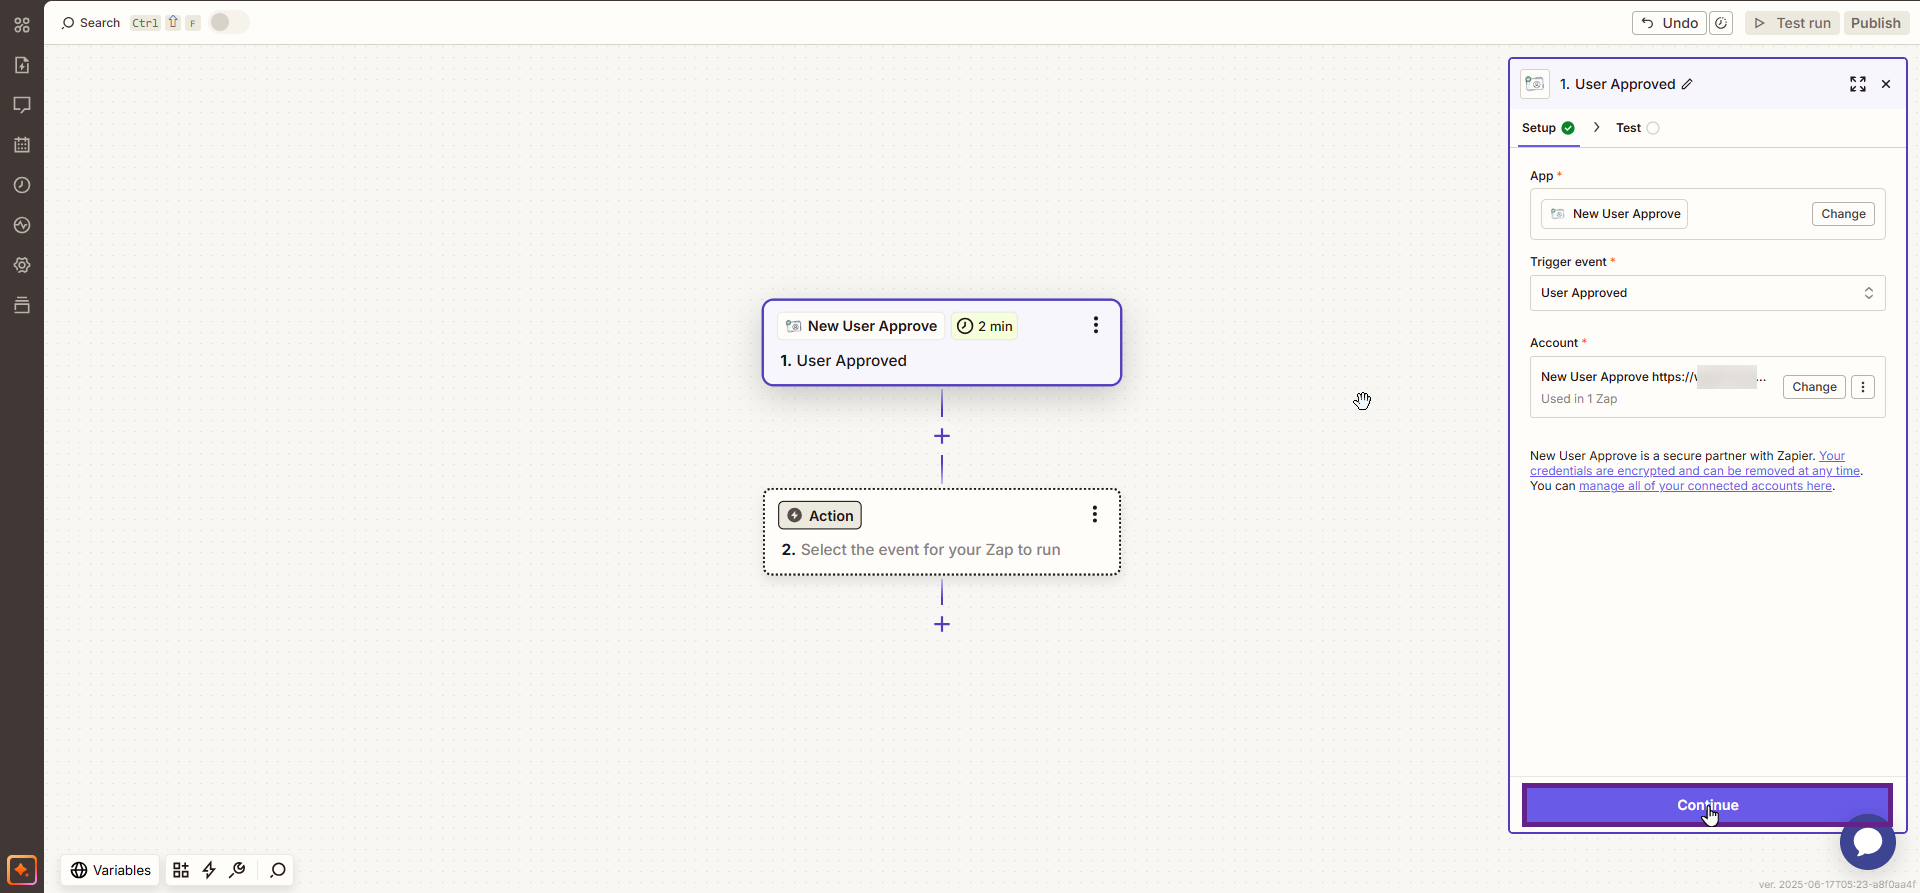
- Next, choose a trigger event. For this example, we’re selecting the User Approved trigger.
- Now, click the Select button in the Account field to connect your account.
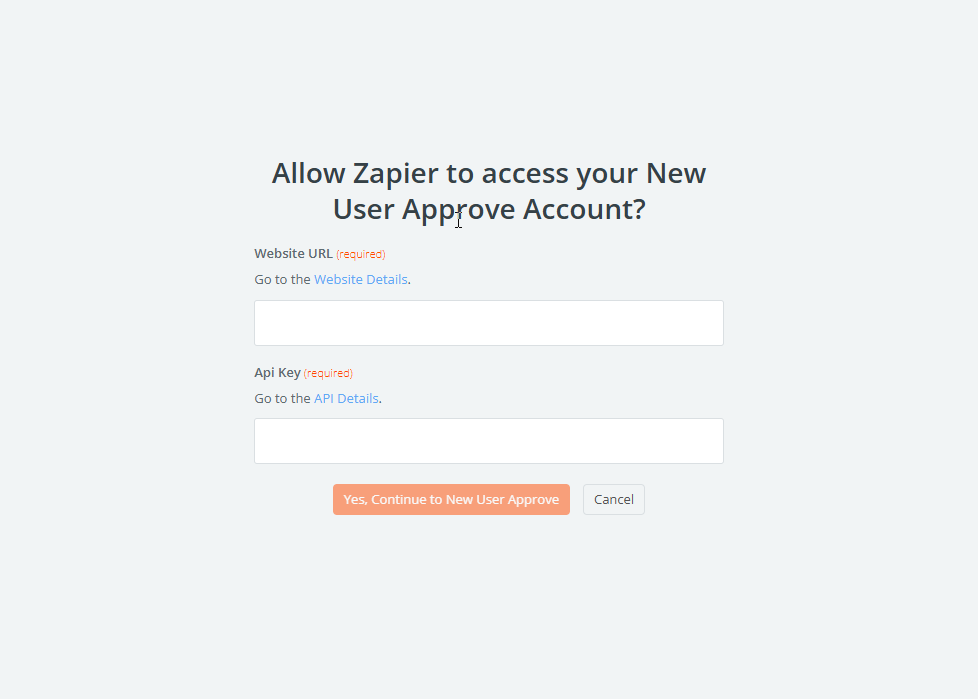
- A new window will open.
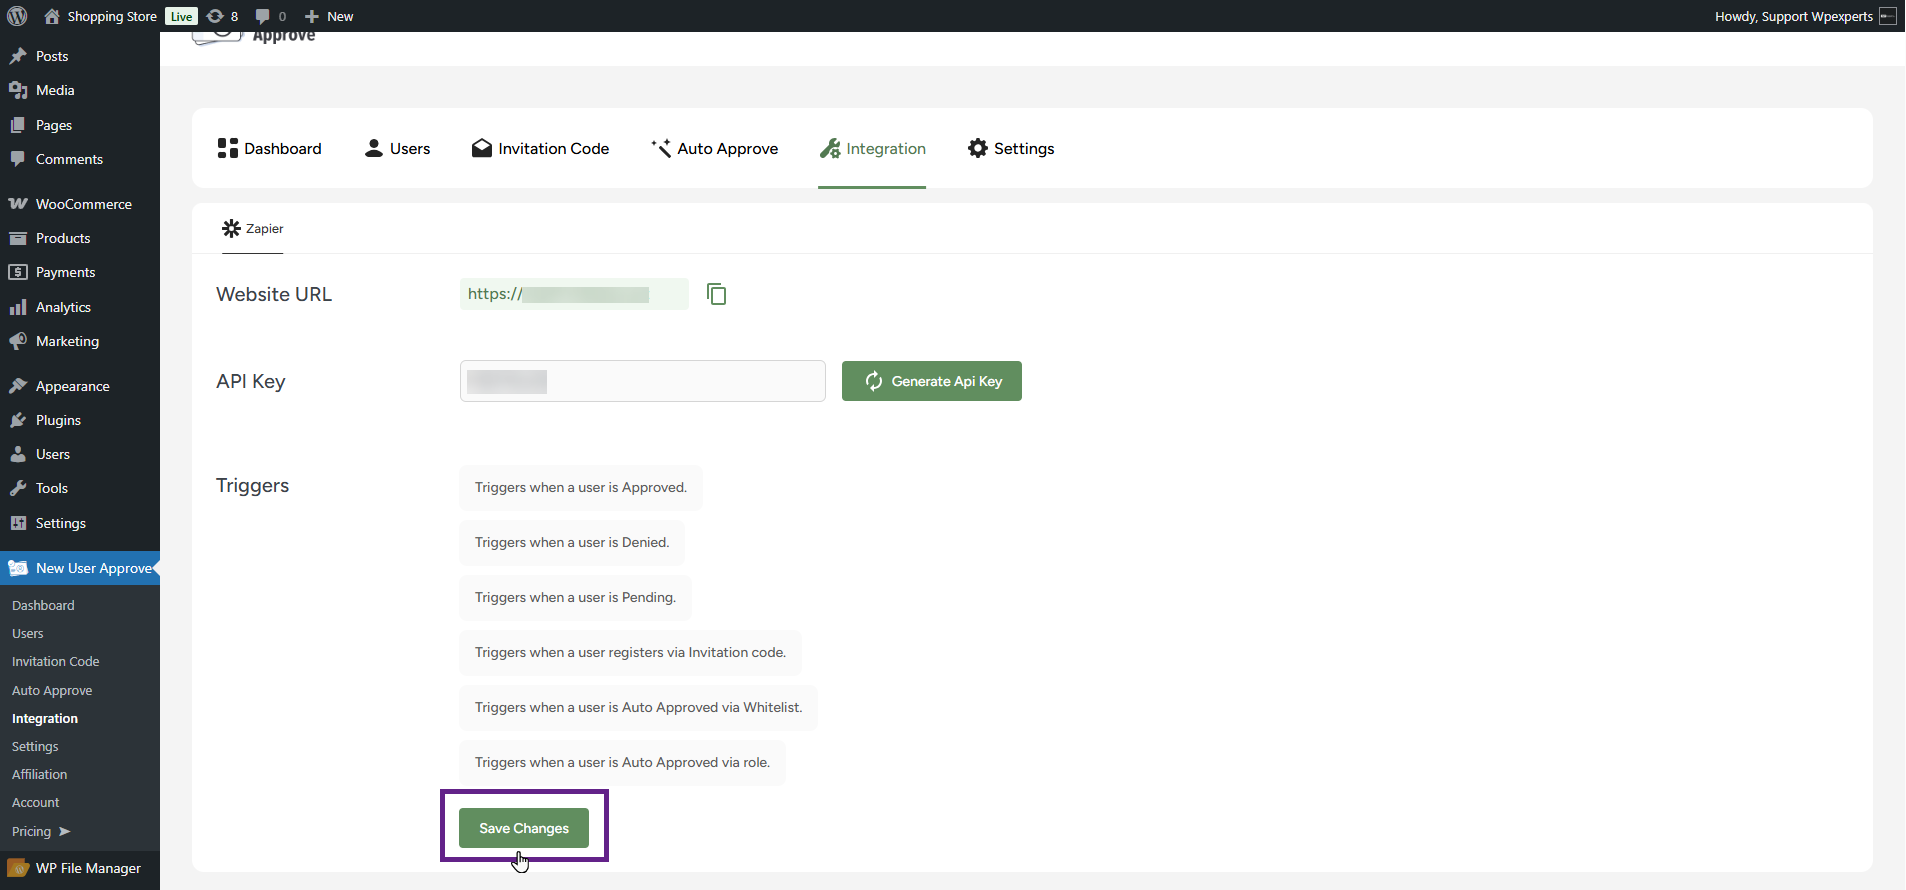
- Navigate to the WordPress Admin Dashboard > New User Approve > Integration.
- Copy the website URL.

- Click the Generate API Key button to create a new API key and copy the key.
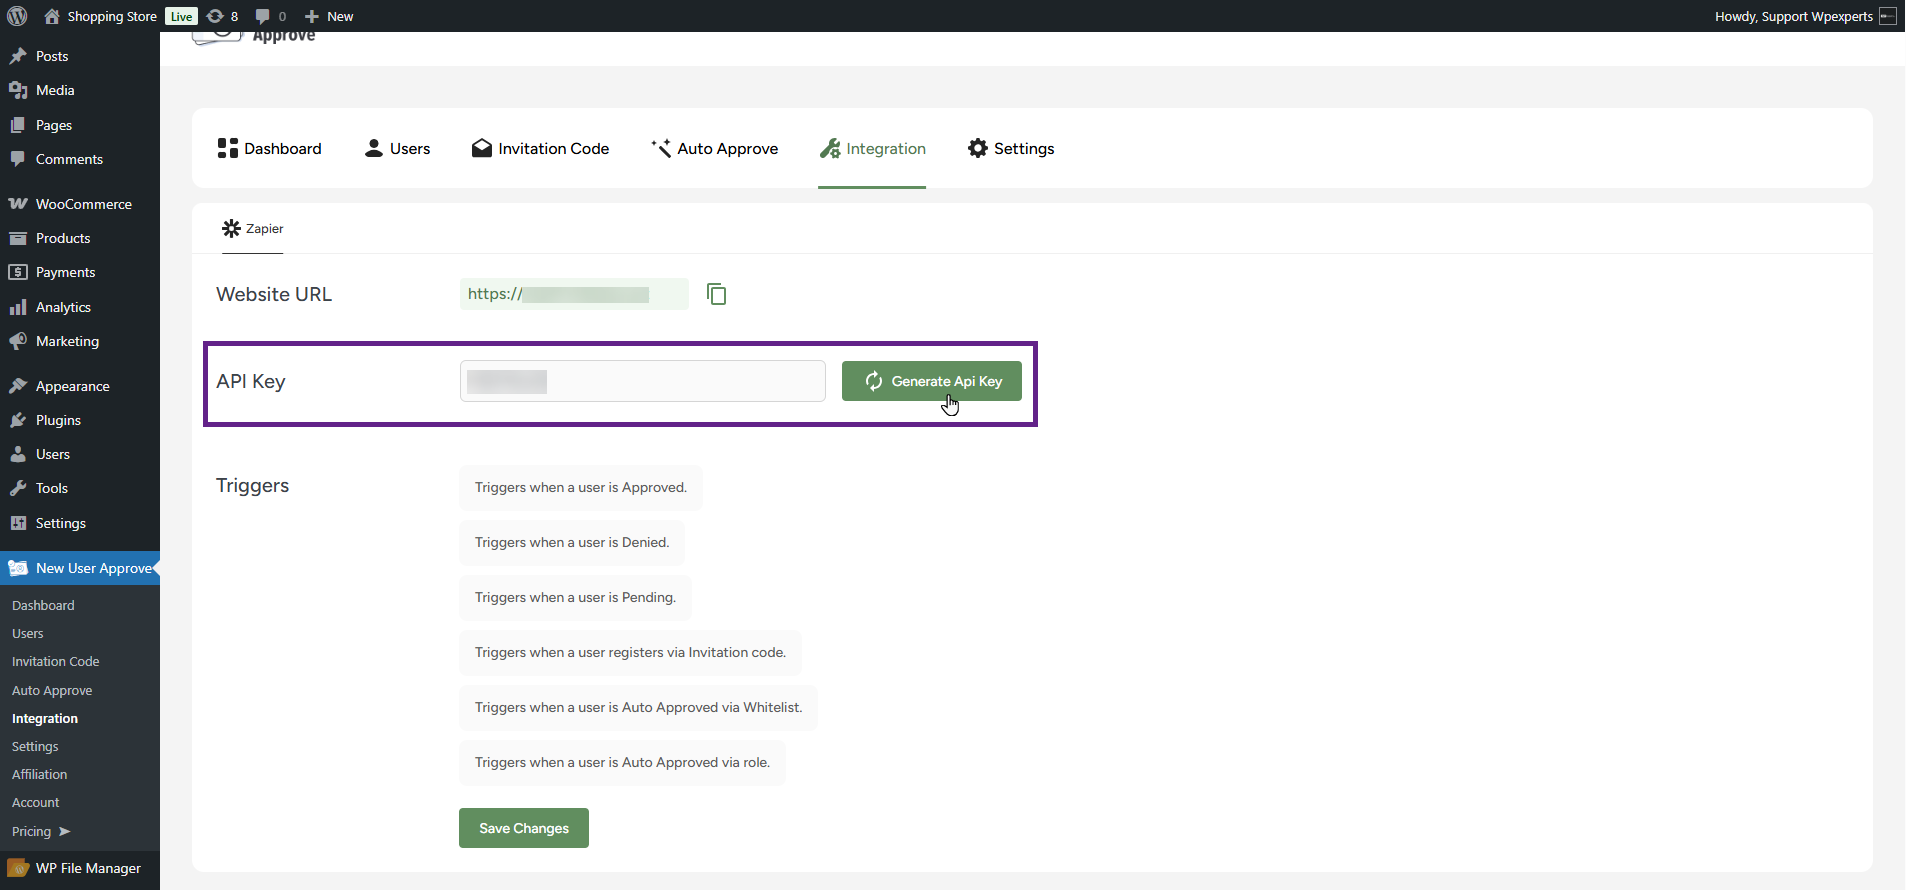
- Then, click the Save Changes button to apply the settings.
- Now, go to the Connect an Account window and paste the website URL and API key.
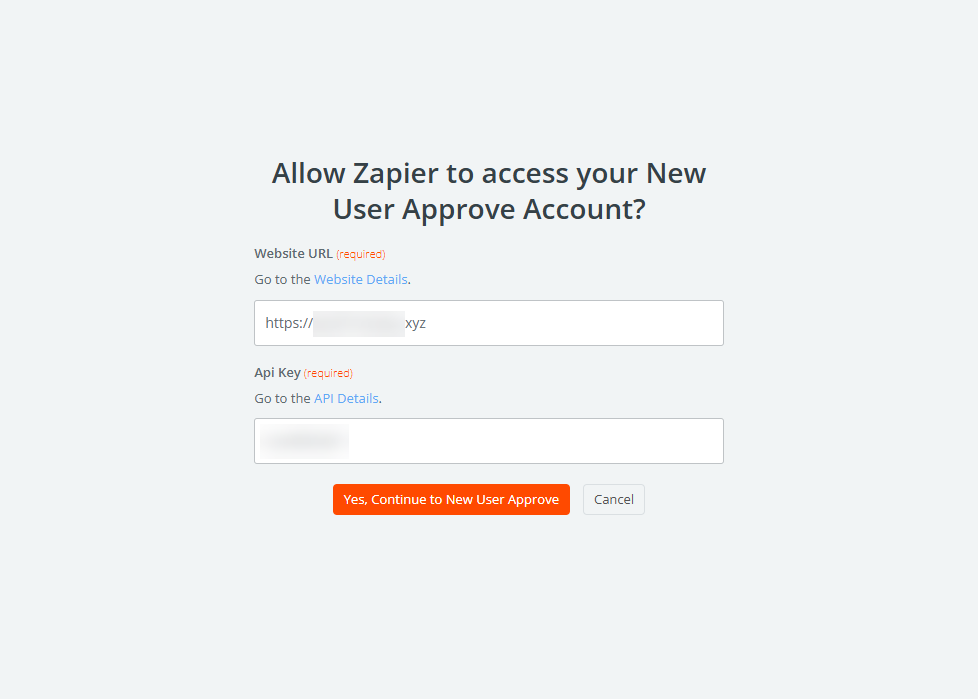
- Once done, click the Yes, Continue to New User Approve button.

- Click the Continue button to proceed.
- Click on the Test Trigger to view your last event log.
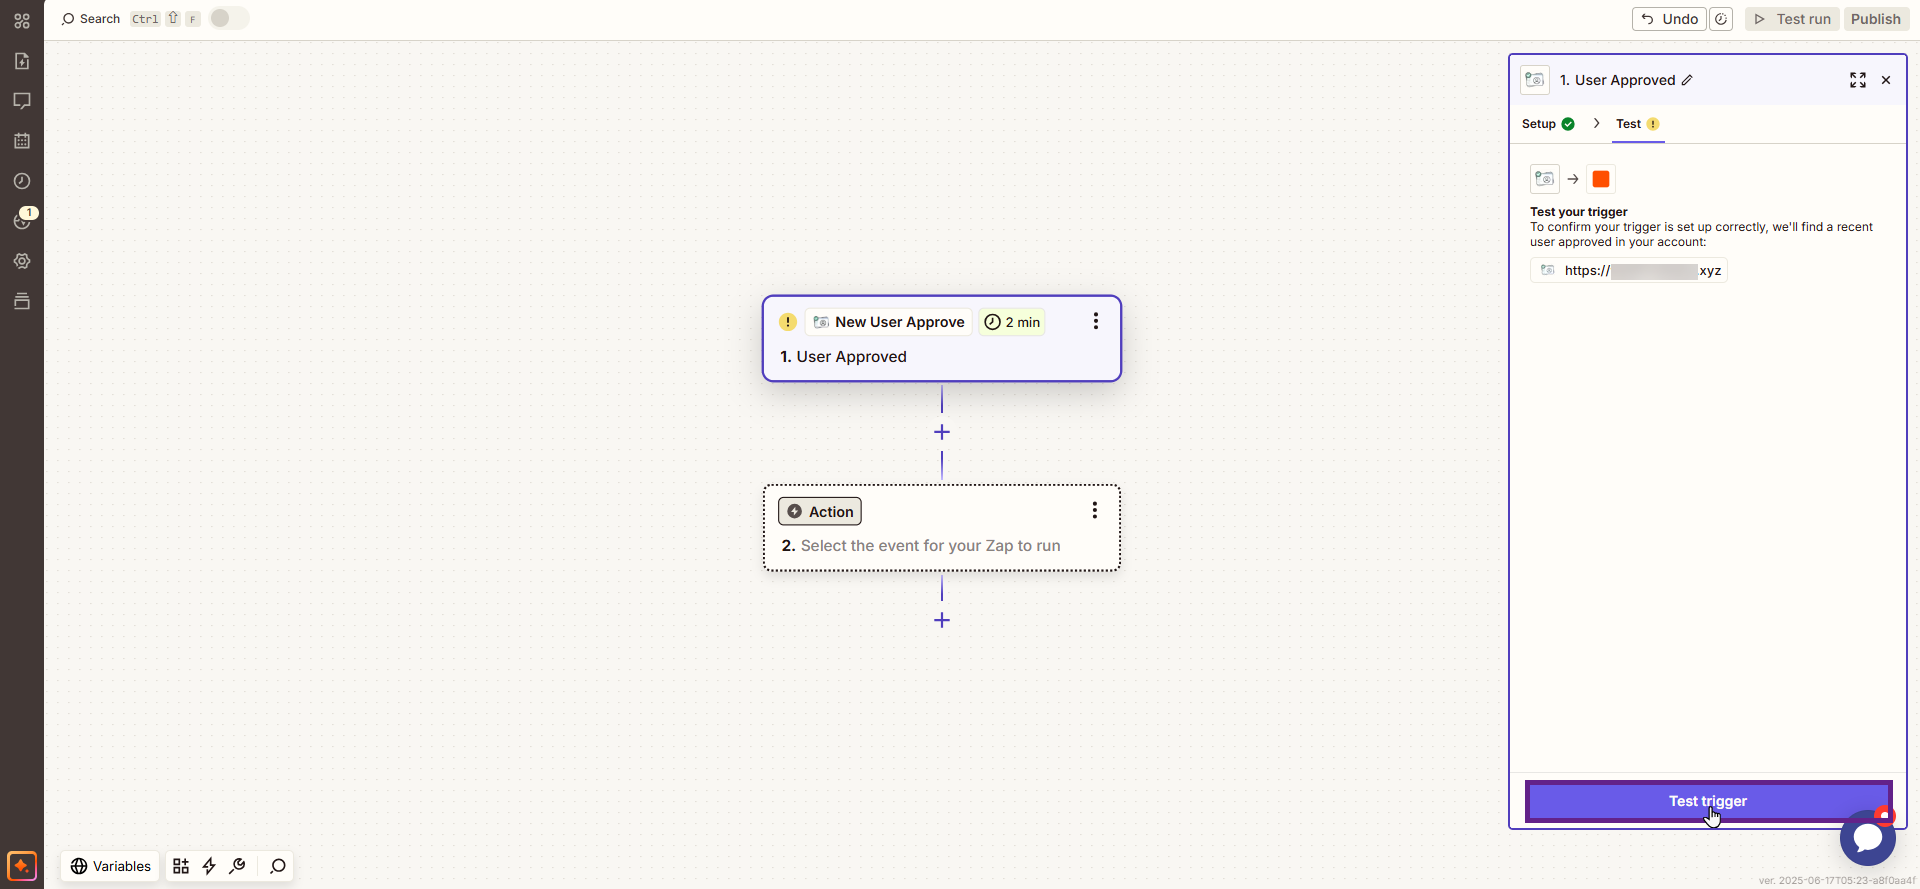
- Test trigger result.

- Now, use the search bar to find the app you want to connect with Approve New User Zapier. This will enable you to use trigger events from those applications.
- The data will be reflected in the selected action (e.g., if the user selects Gmail or Google Spreadsheet, Slack, the data will be reflected there).
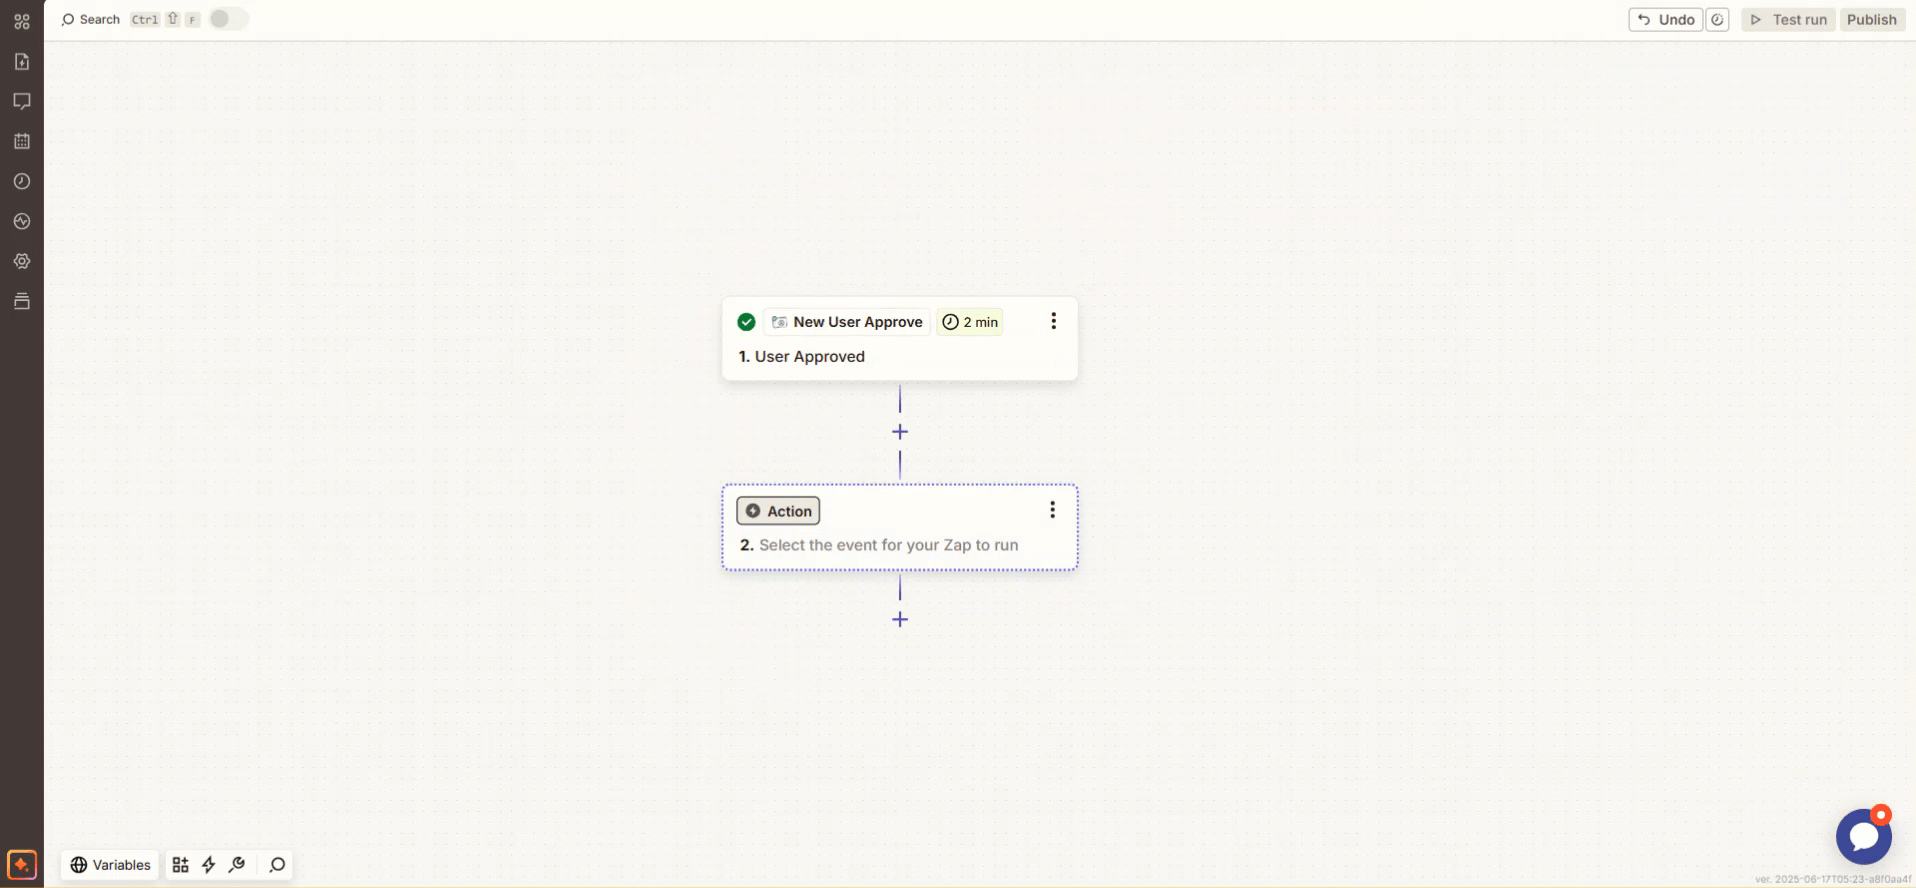
- Select an Action Event.
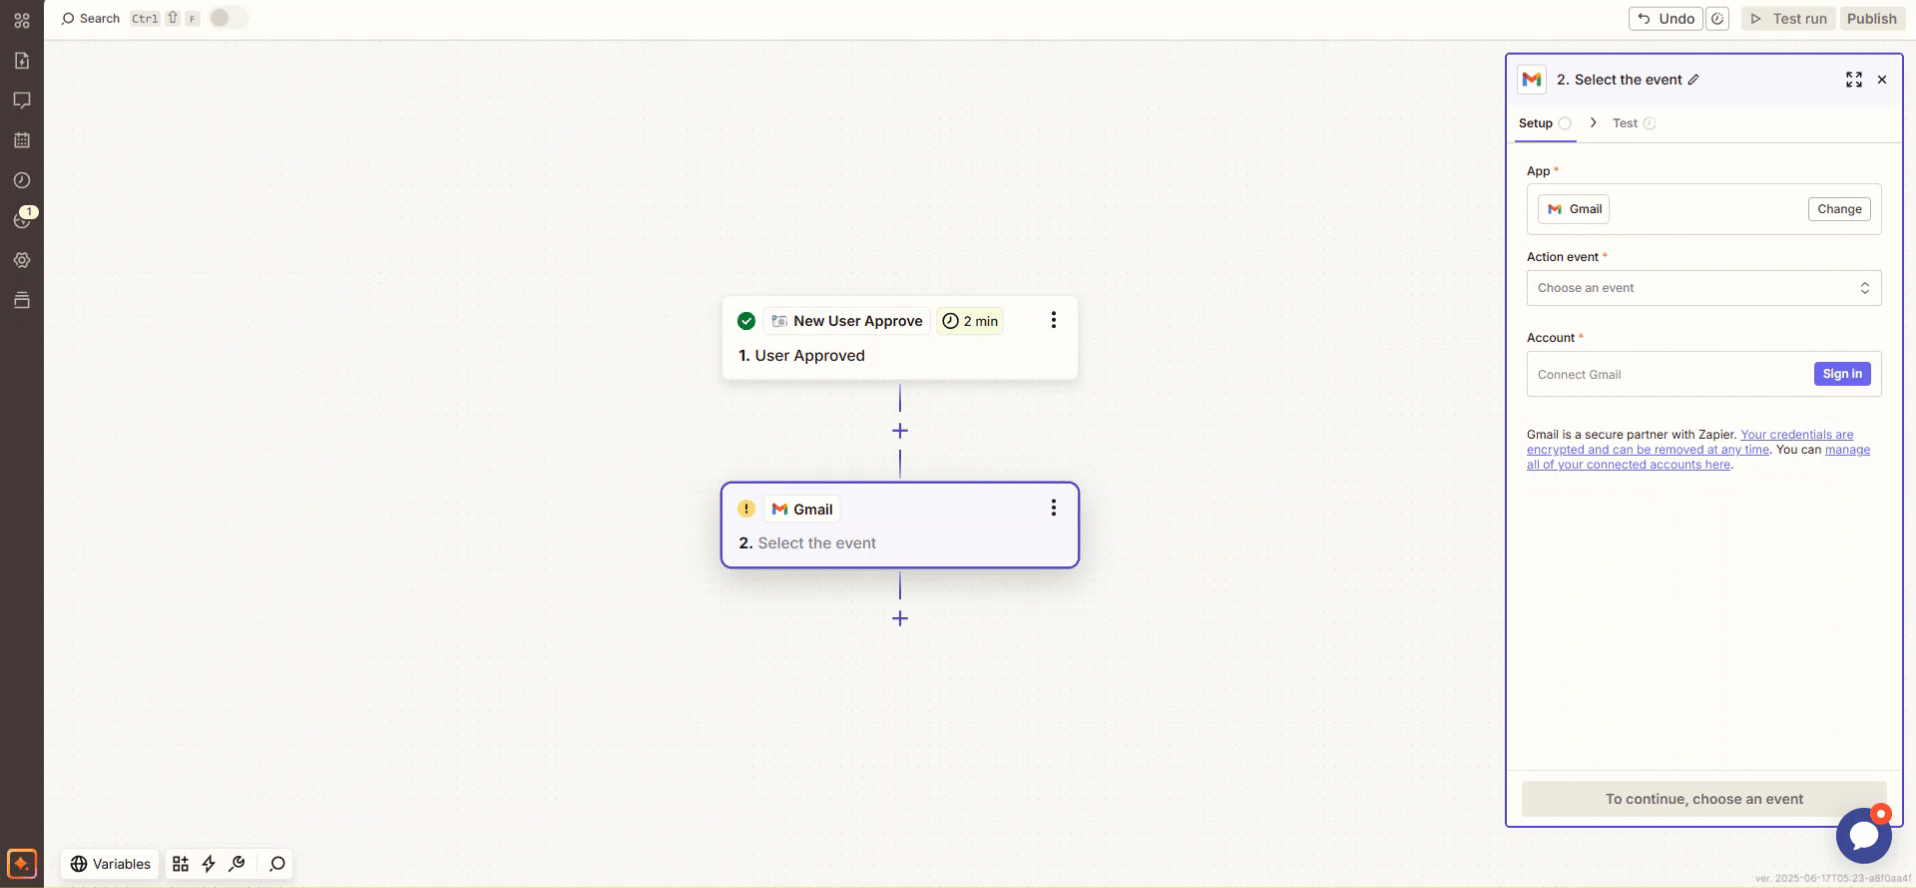
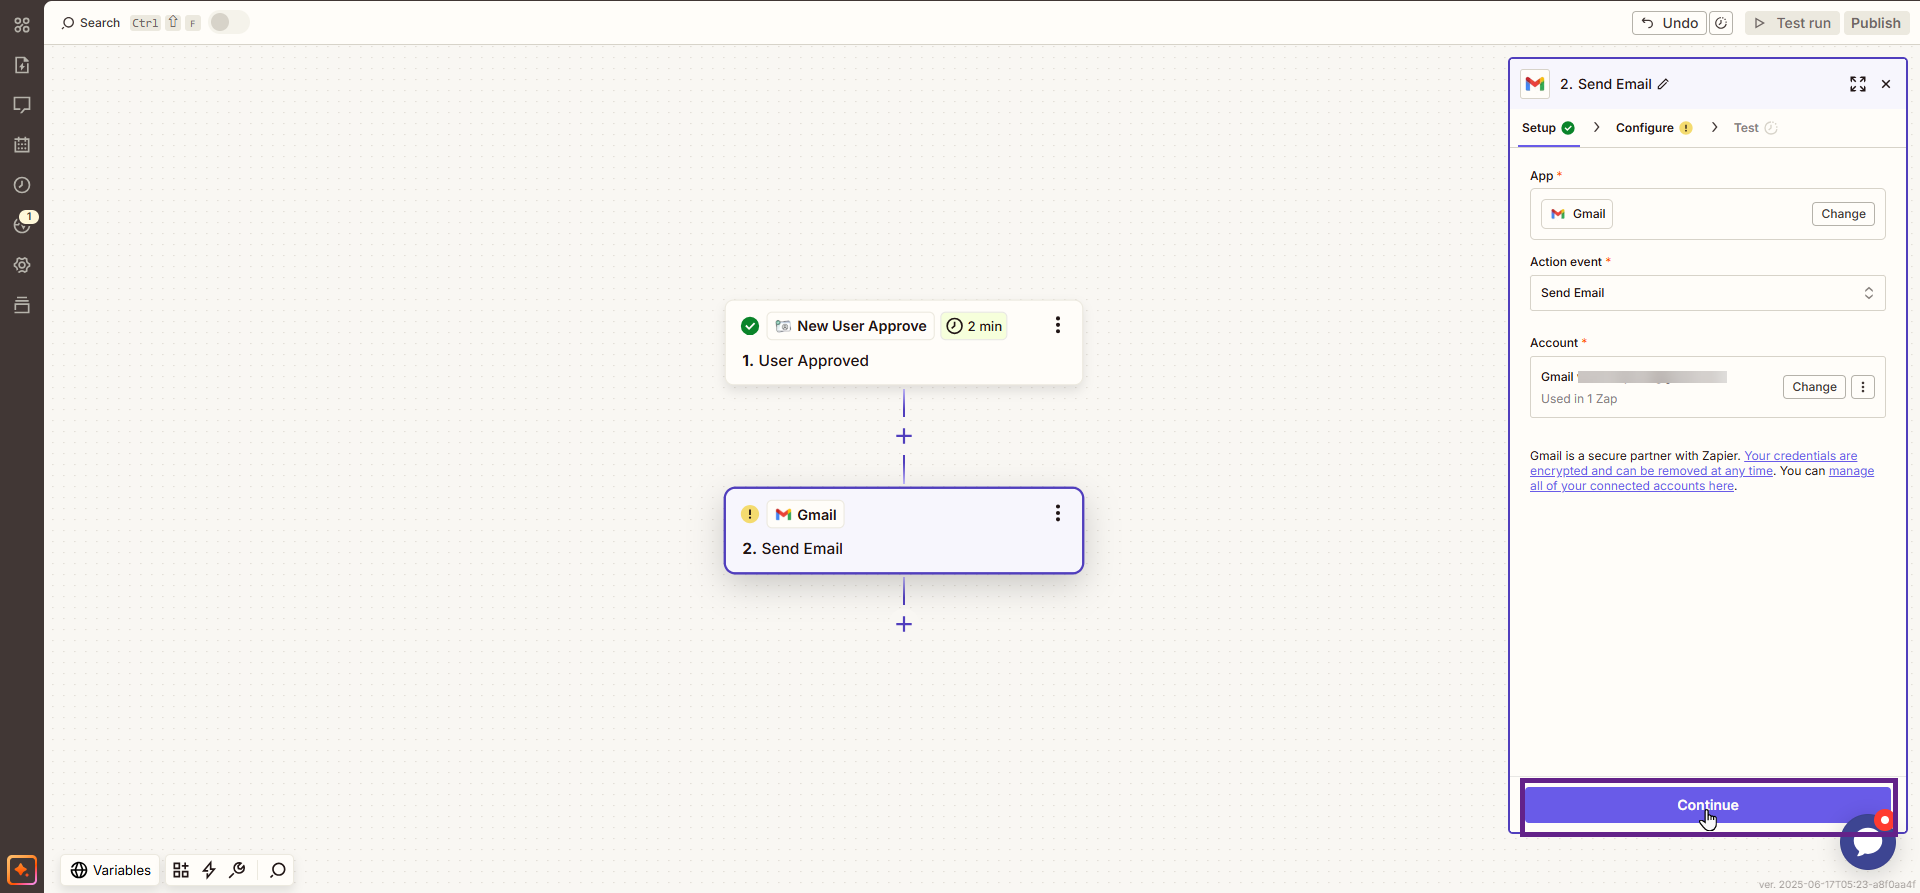
- Connect your Gmail account.
Please note: This Gmail account will act as the sender.
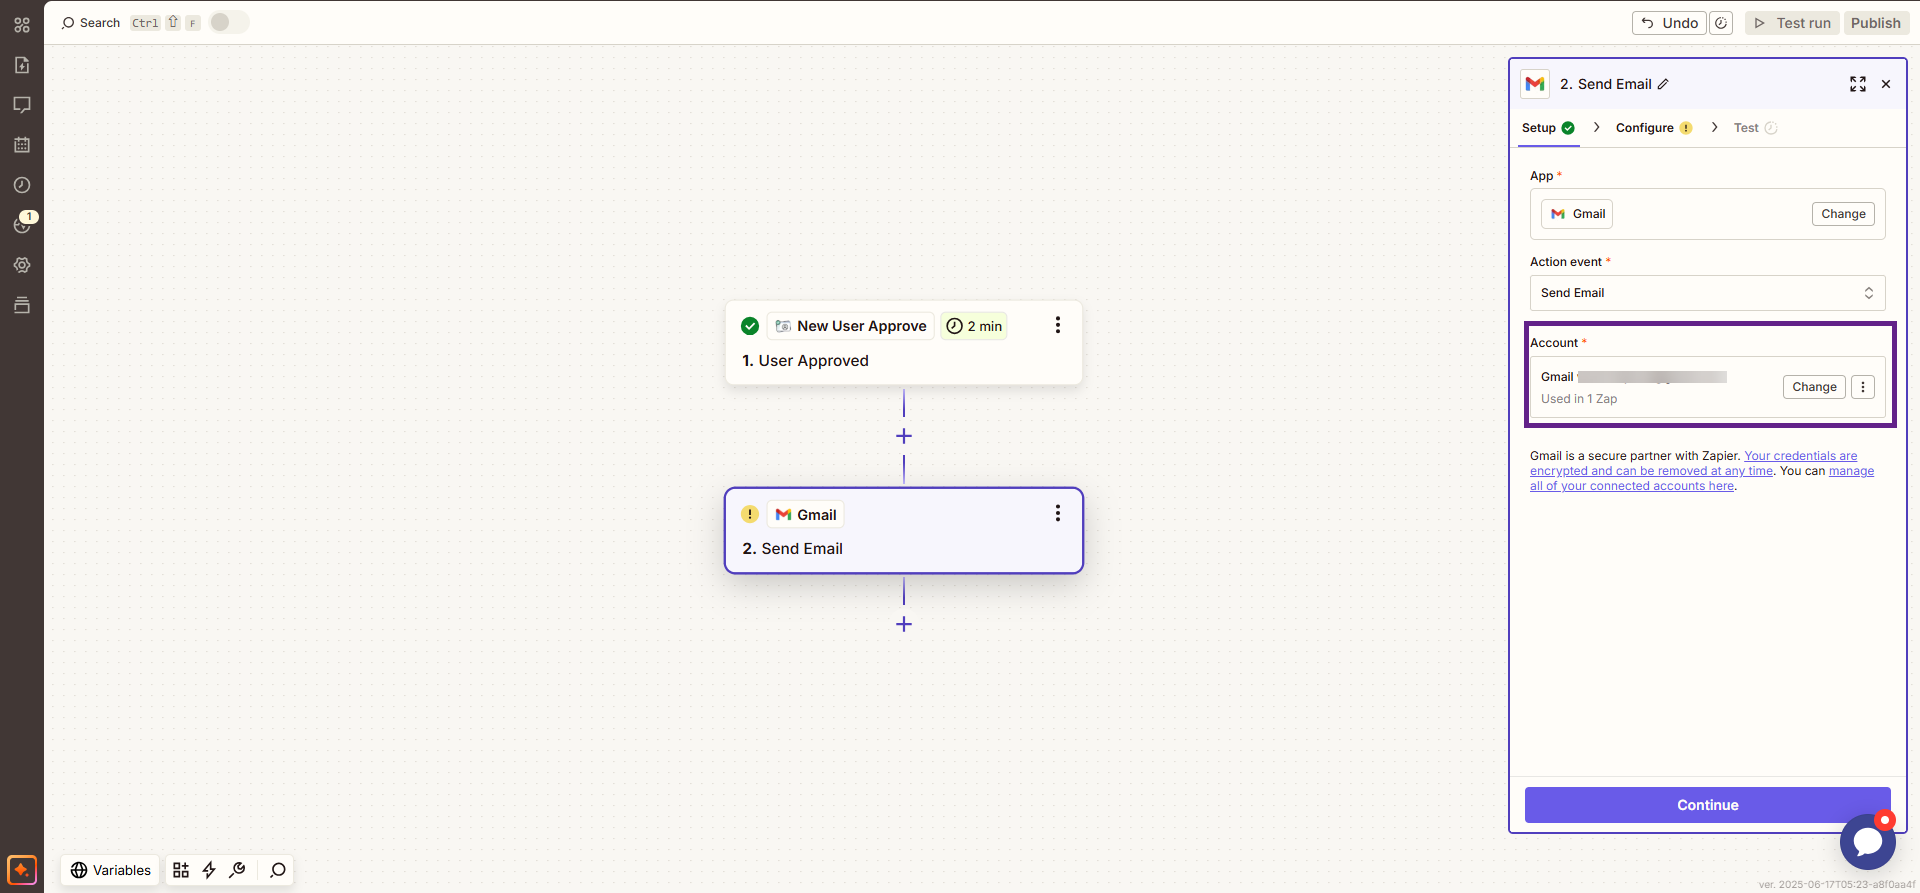
- Now, click the Continue button.
- Fill out the form.

- Now, click the Continue button to proceed.

- Click the Publish button.
Note: Ensure that the status of your created Zap is set to On.

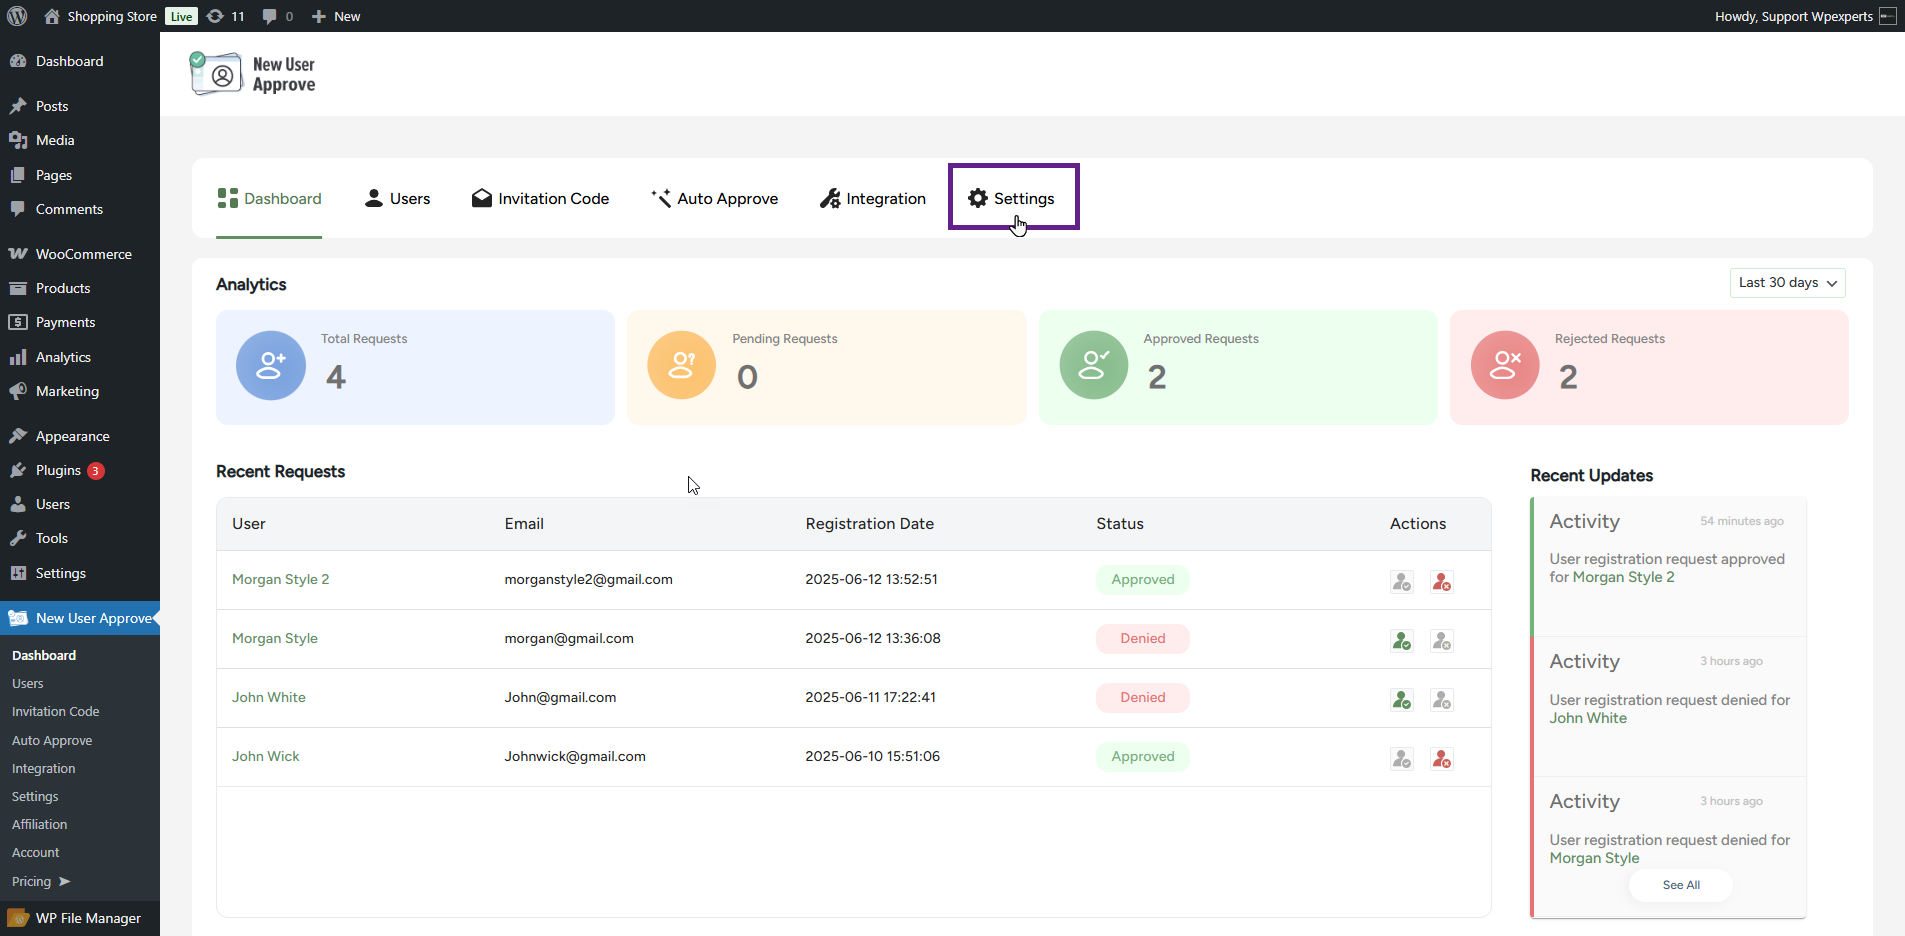
- Now, navigate to the Admin Dashboard > New User Approve > Users.
- Click the Approve icon to approve a user.

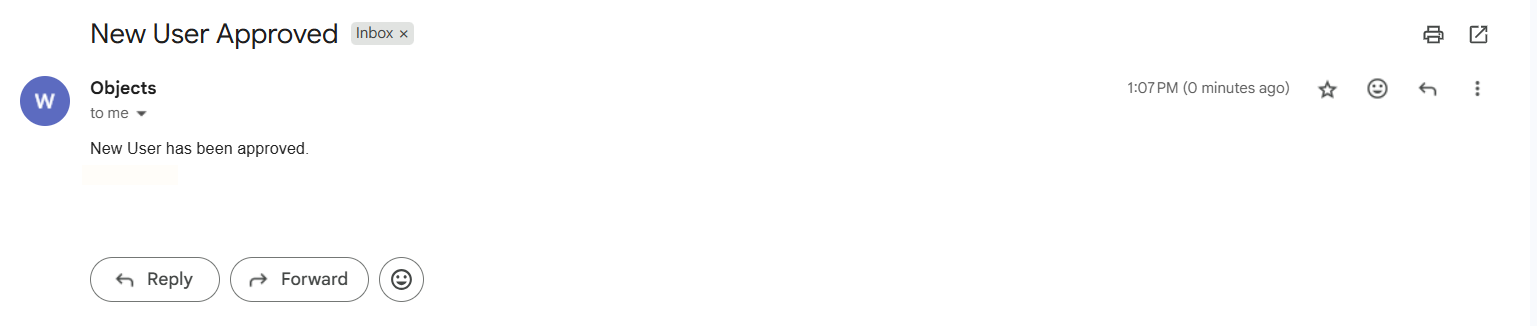
- As soon as the user is approved, the Zap will be triggered, and an email will be sent automatically.
User WP
- The New User Approve plugin is now compatible with UsersWP. Core features such as approving or denying user requests will now work seamlessly with UsersWP. In addition, admins can enable the invitation code feature on the UsersWP login form, ensuring that only users who register with a valid code are approved.
Please note: Ensure that the UsersWP login form is created in the back-end settings.
System Impact
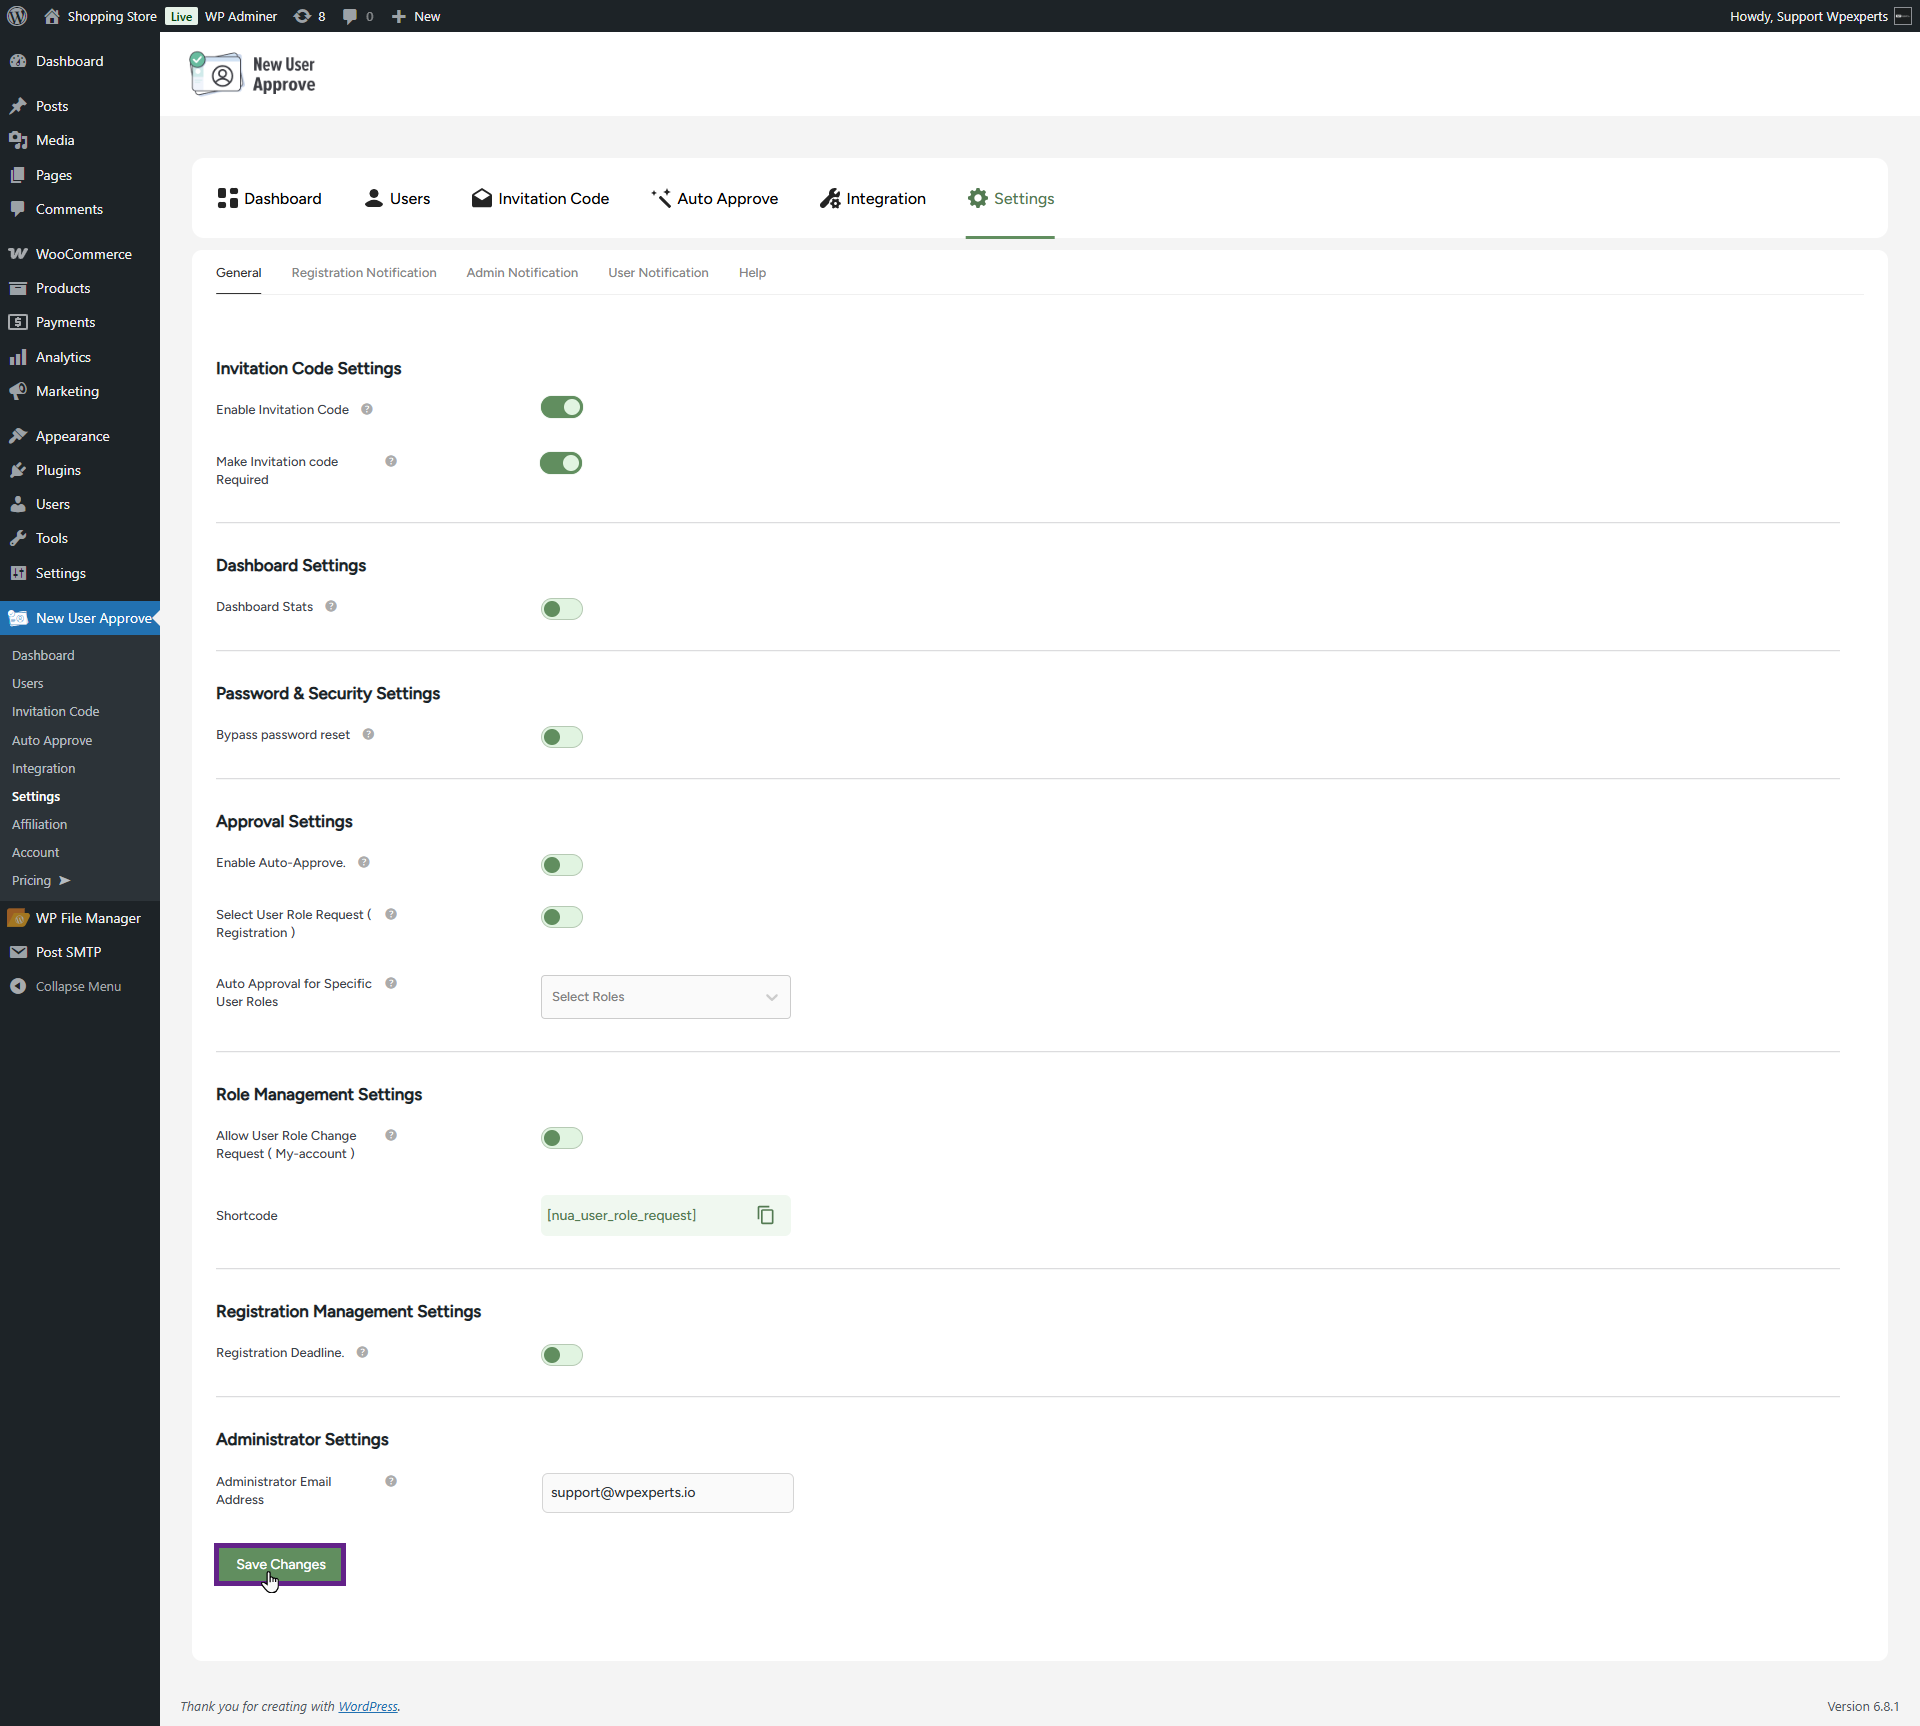
- Go to the Admin Dashboard > New User Approve > Settings.
- In the General sub-tab, enable the Invitation Code toggle button.

- Once done, click the Save Changes button.
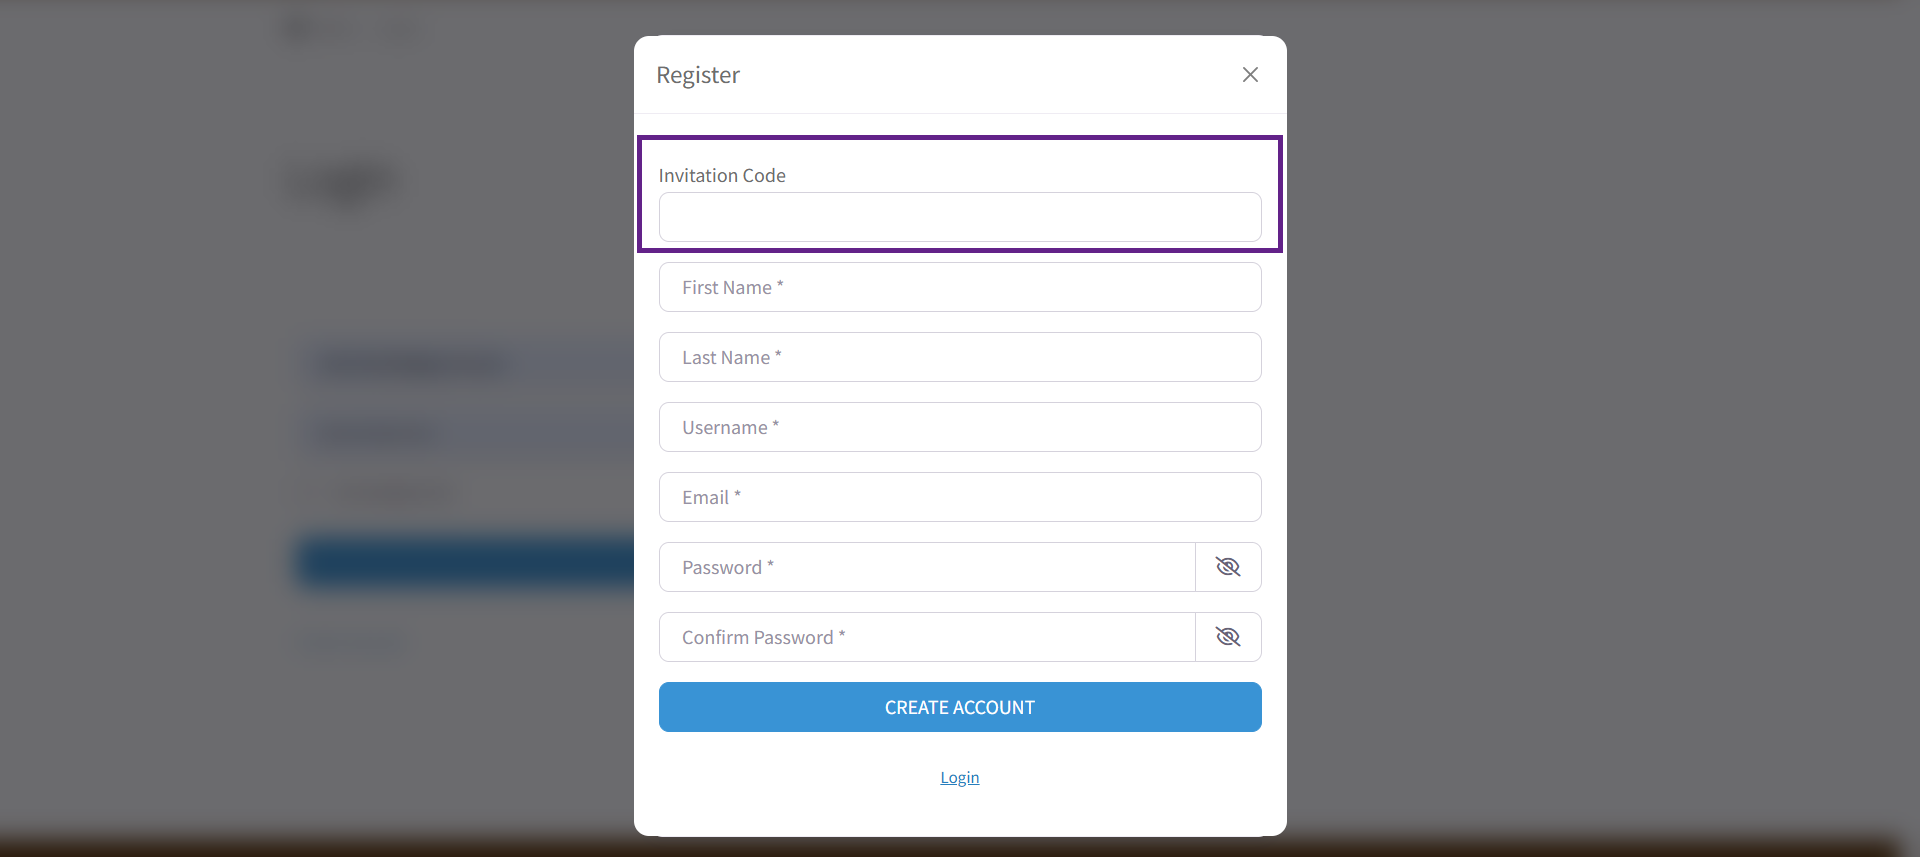
- Now, go to the website’s UsersWP login page and click the Create account button.
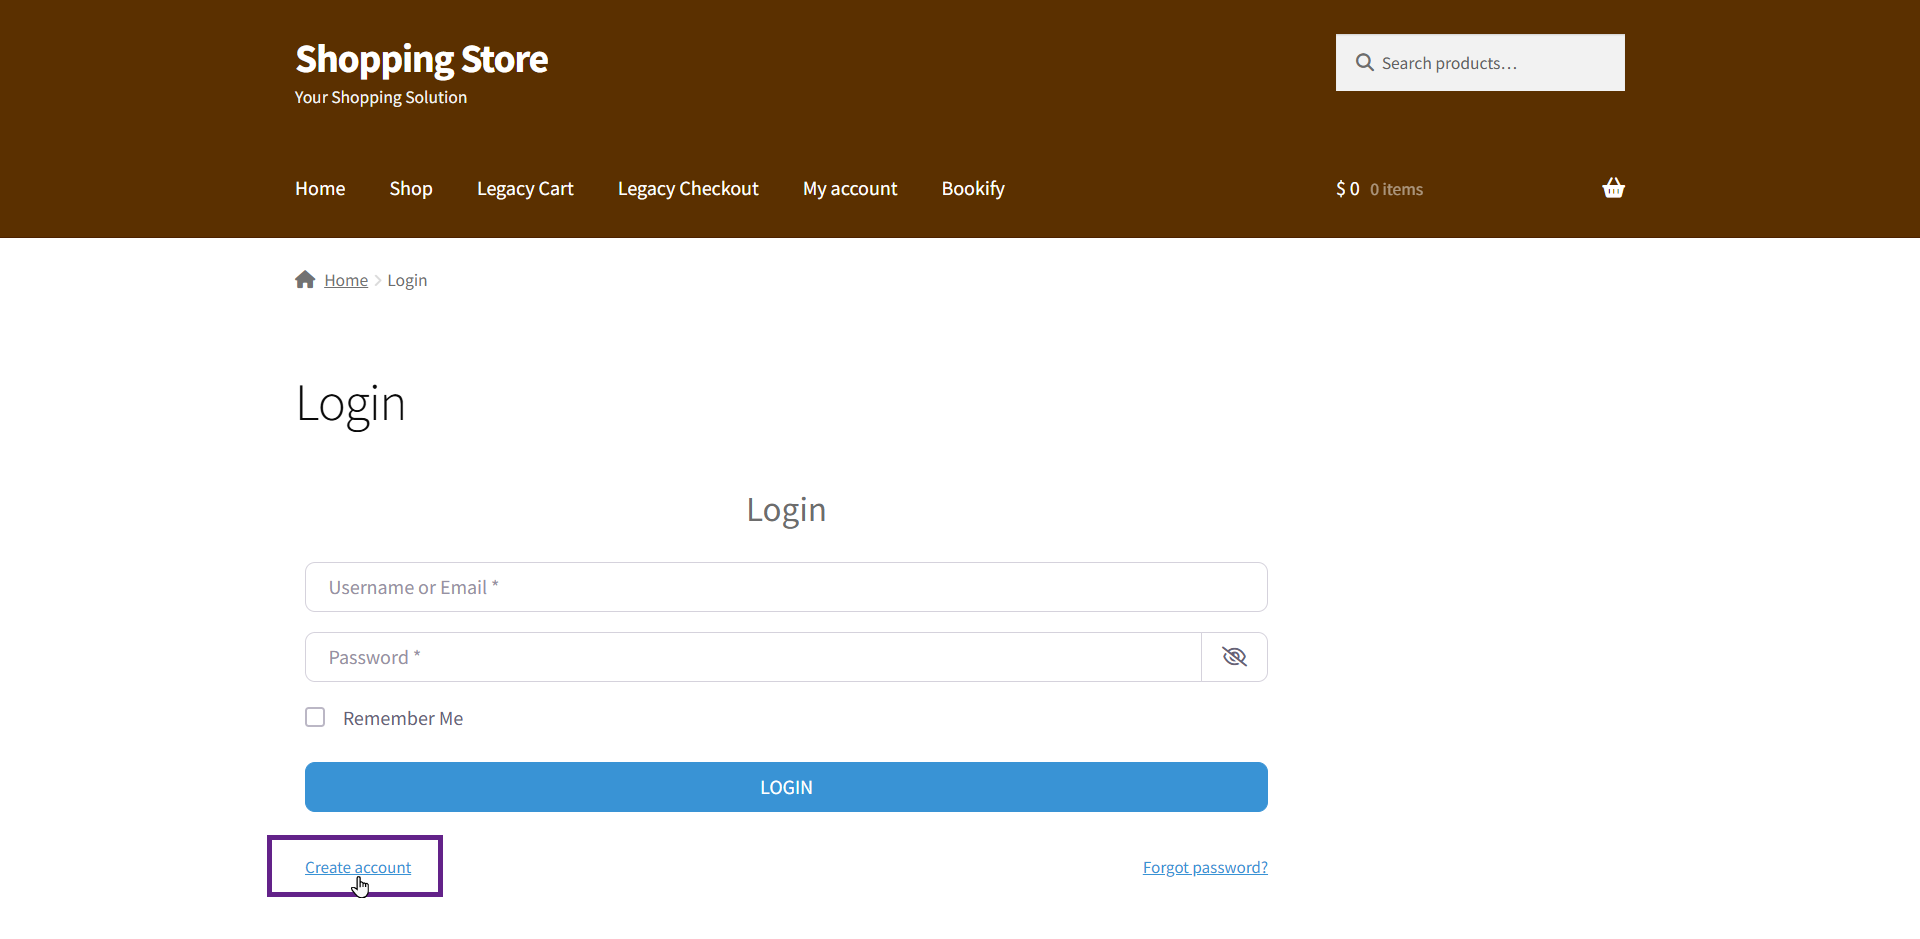
- As you can see, the Invitation code field is visible on the front end.
Please note: Ensure that the invitation codes are created in the backend.
- Once a user signs up with an invitation code, their account will be automatically approved.

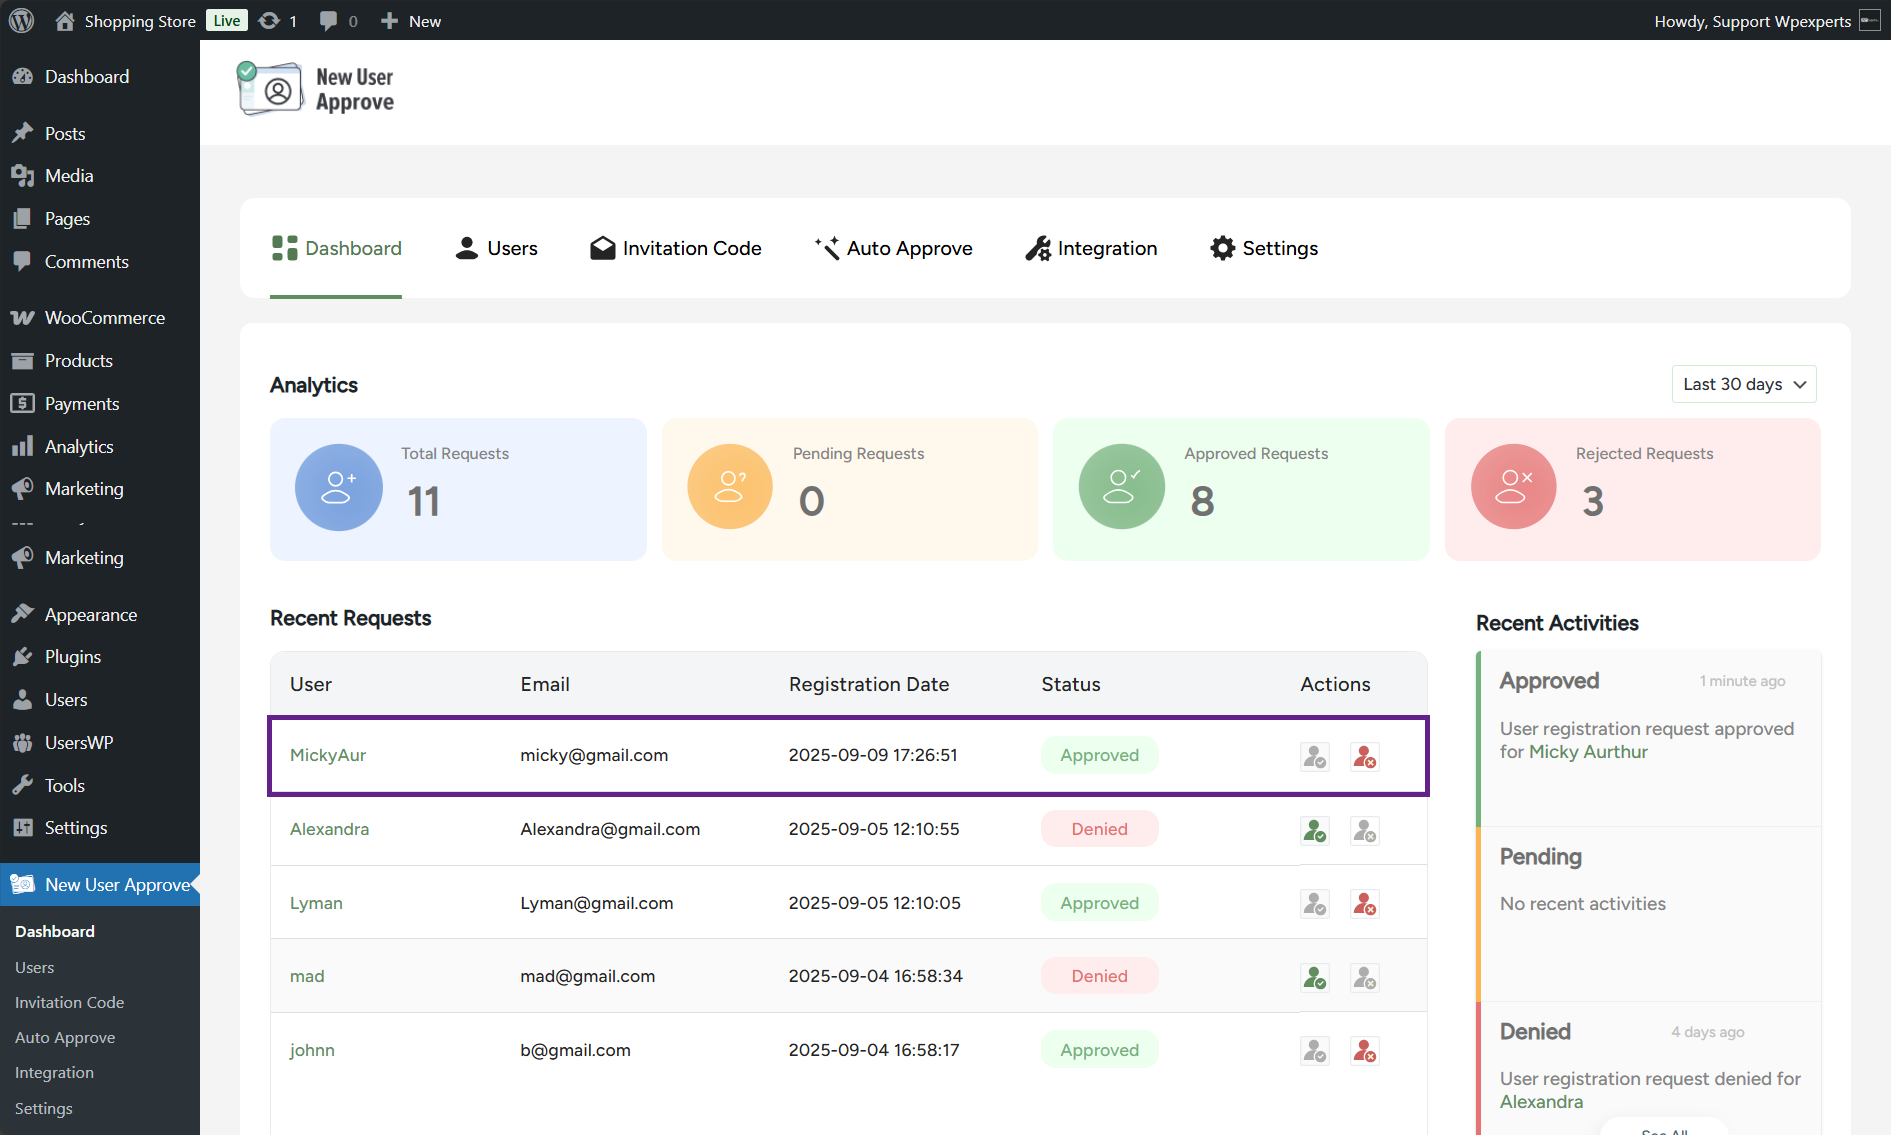
- To confirm whether a user is auto-approved via an invitation code, go to Admin Dashboard > New User Approve > Dashboard.