Overview
Under the User header, there are five sub-tabs: All Users, Approved, Pending, Denied, and Role Change Request. Each tab displays users based on their status, such as approved, denied, pending, or all users. Additionally, in the Role Change Request tab, the admin can review and act on role change requests submitted by users.
- Go to the Admin Dashboard > New User Approve > Users.

All Users
- When the admin opens the Users section, the All Users sub-tab page is displayed.

- In the All Users sub-tab, all user requests are displayed.

- The admin can approve or deny each request at their discretion.
Note: As you can see, when the first request was denied, its status changed from Pending to Denied. The status always updates based on the admin’s action.
- A user can be directly searched for by using the provided search bar.

- The filter allows the admin to control how many user entries are displayed per page (e.g., 10, 20, 50, 100).

Approved
- In the Approved sub-tab, only the list of approved users will be displayed.
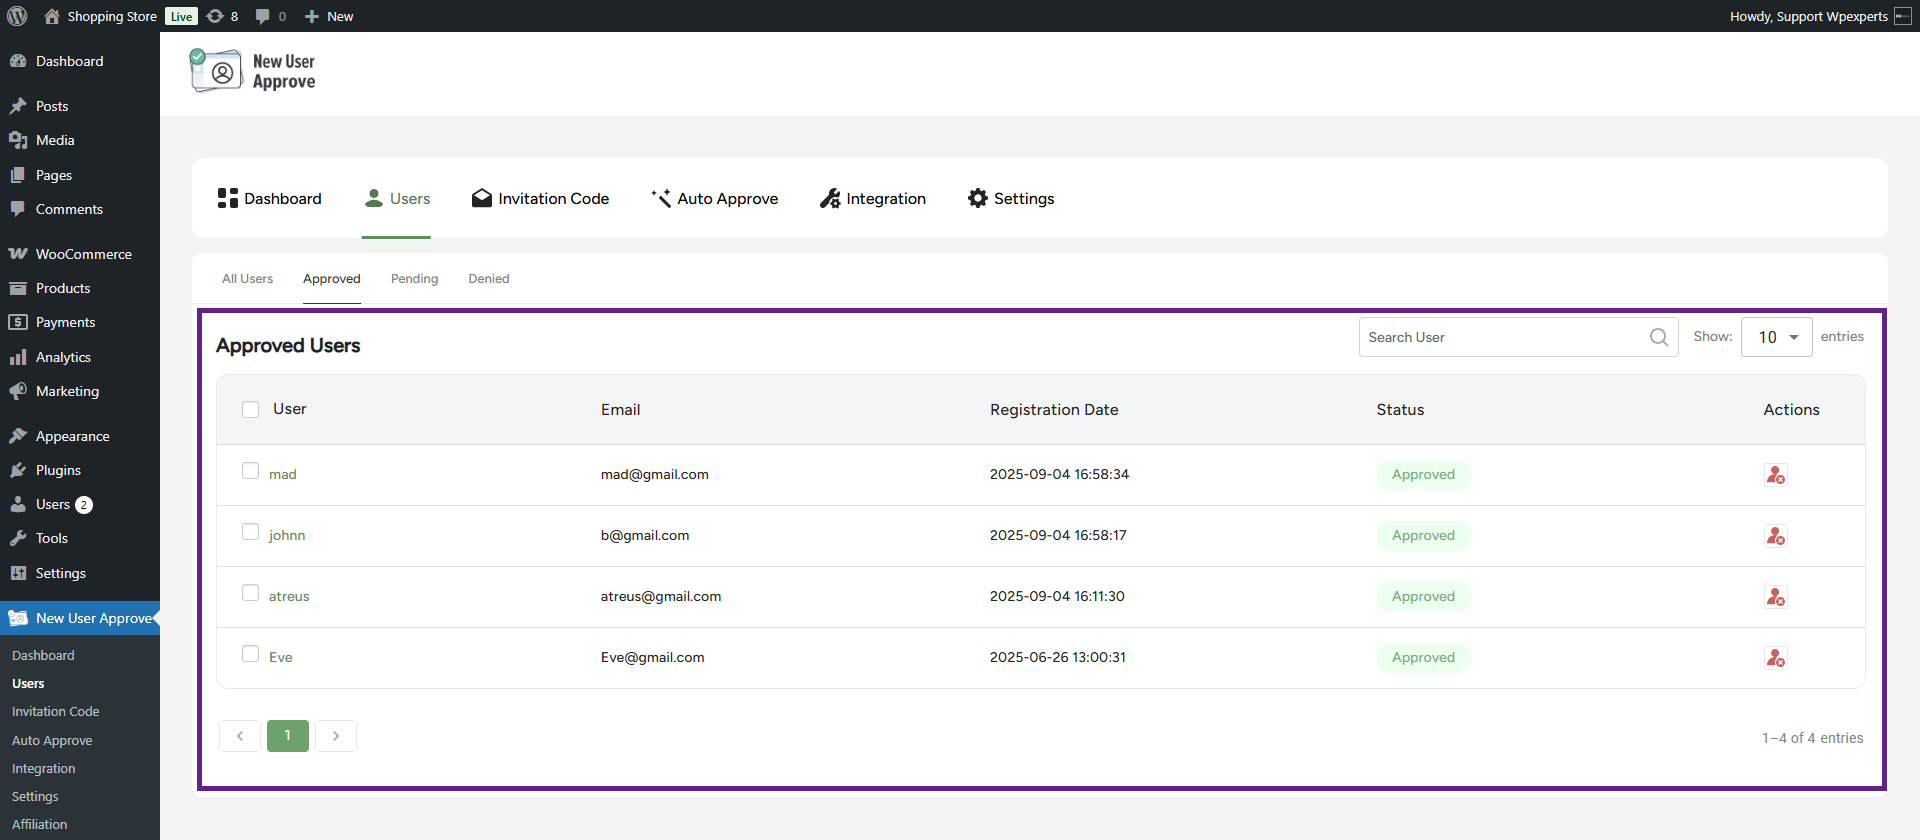
- Approved users can also be denied access by clicking the deny icon, even if their request was initially approved.

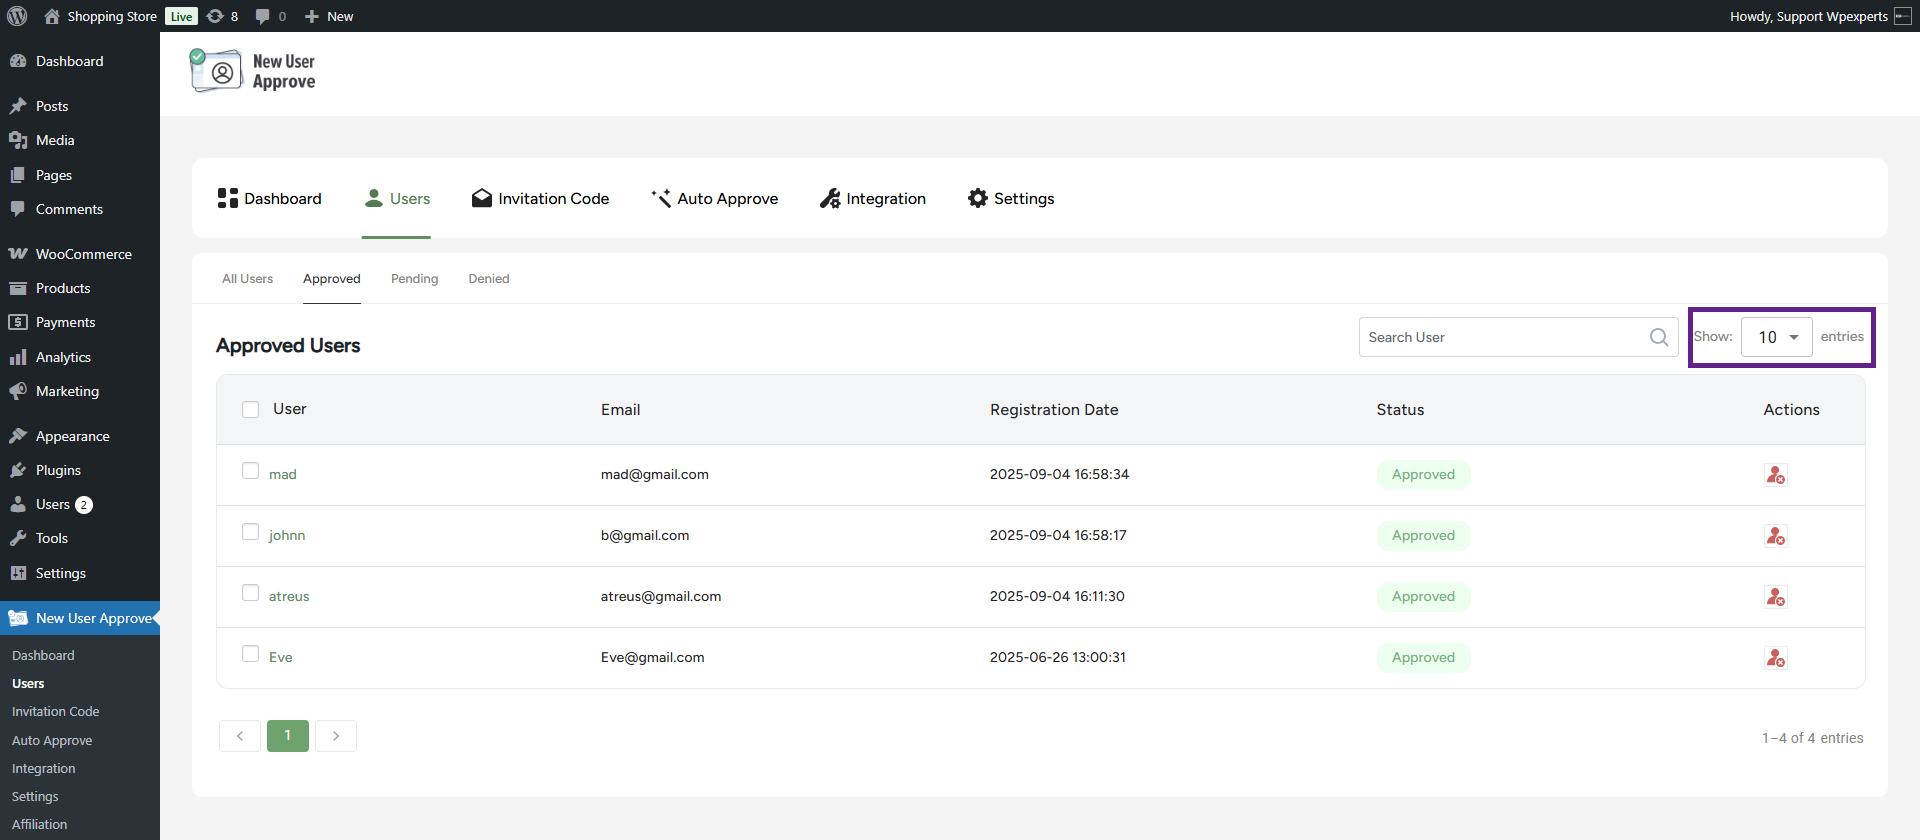
- The filter allows the admin to control how many user entries are displayed per page (e.g., 10, 20, 50, 100).
- The admin can also deny multiple users at once using the bulk action option.

Pending
- In the Pending sub-tab, only the list of pending users will be displayed.
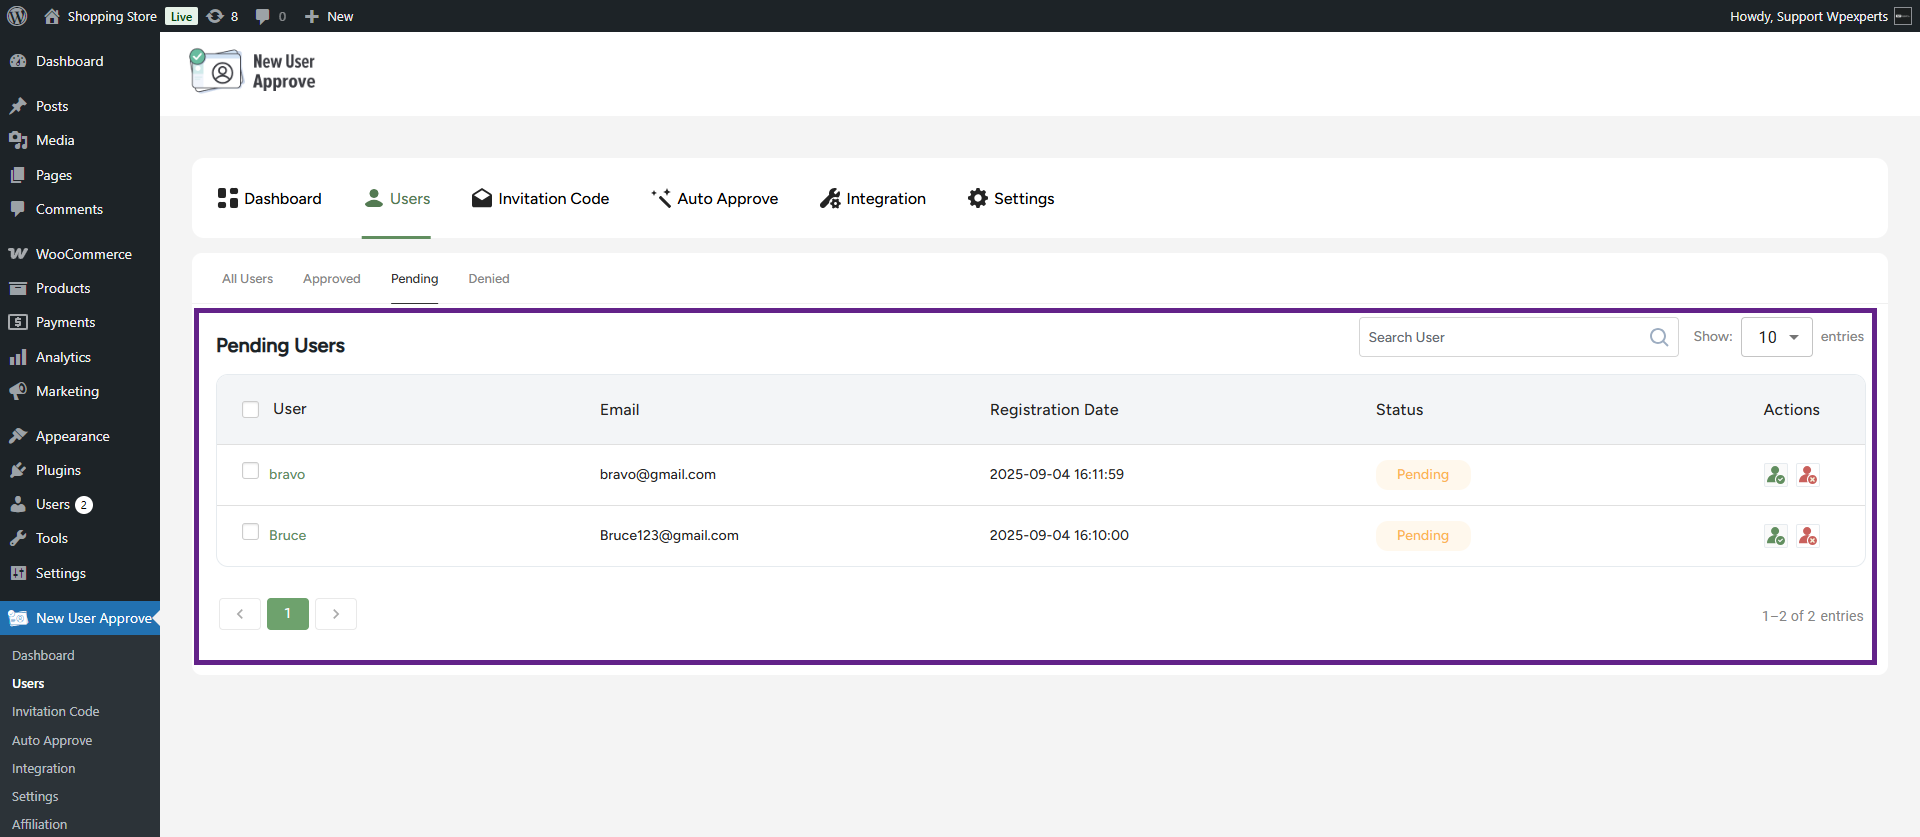
- The admin can directly approve or reject requests from the Actions column.

- The filter allows the admin to control how many user entries are displayed per page (e.g., 10, 20, 50, 100).

- The admin can also deny or approve multiple users at once using the bulk action option.
Denied
- In the Denied sub-tab, only the list of denied users will be displayed.

- Denied users can also be granted access by clicking the approve icon, even if their request was initially rejected.
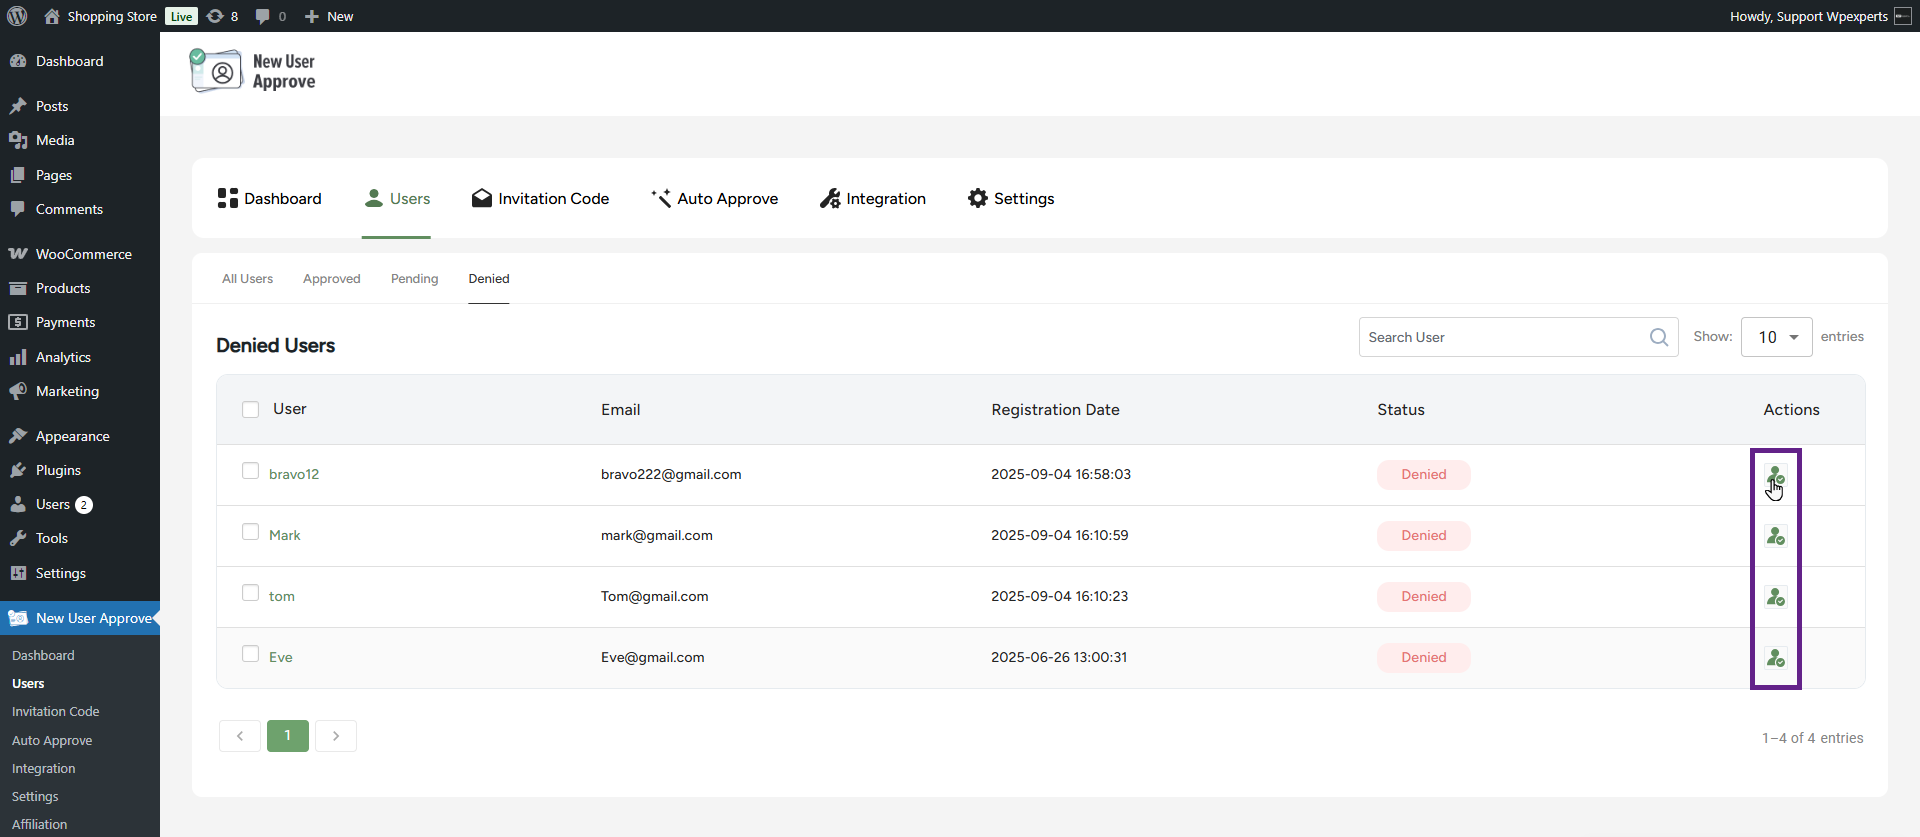
- The filter allows the admin to control how many user entries are displayed per page (e.g., 10, 20, 50, 100).

- The admin can also approve multiple users at once using the bulk action option.
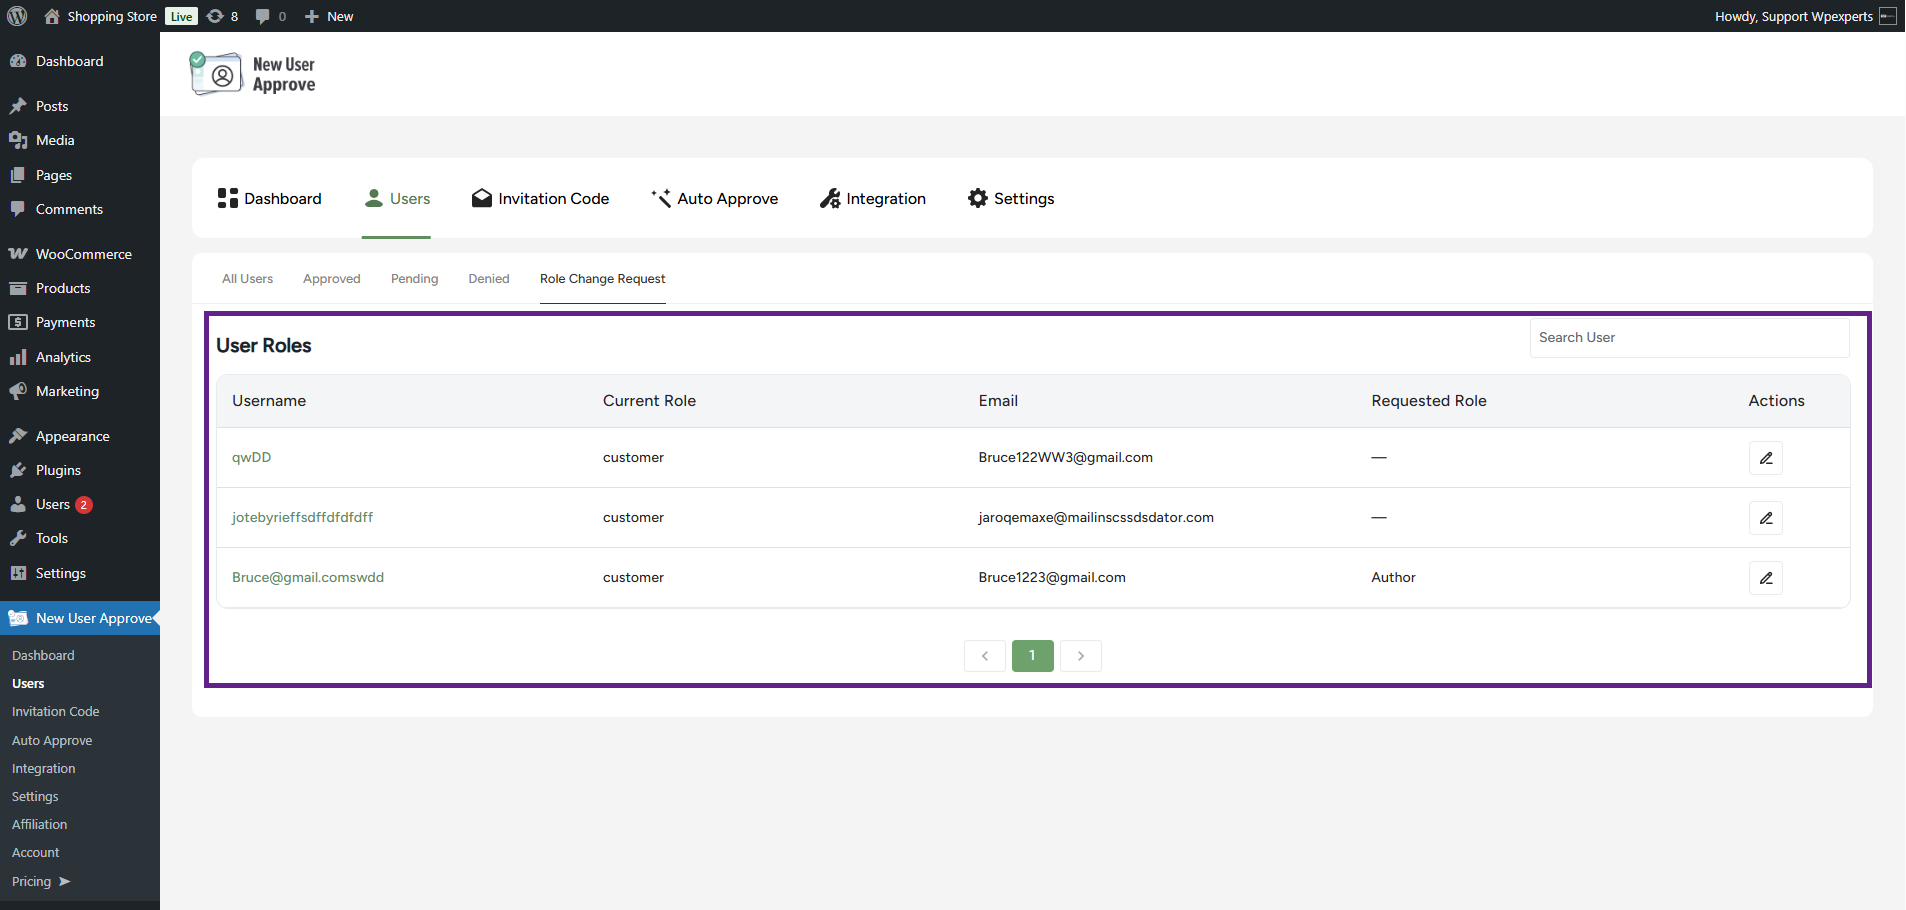
Role Change Request
- In the Role Change Request sub-tab, the requests from users who want to change their role will be displayed here.
Note: All approved users will appear in this list.
Back-End
- Go to the Admin Dashboard > New User Approve > Settings.
- The admin will be directed to the General sub-tab. In the Role Management Settings section, activate the Allow User Role Change Request (My Account) toggle button.
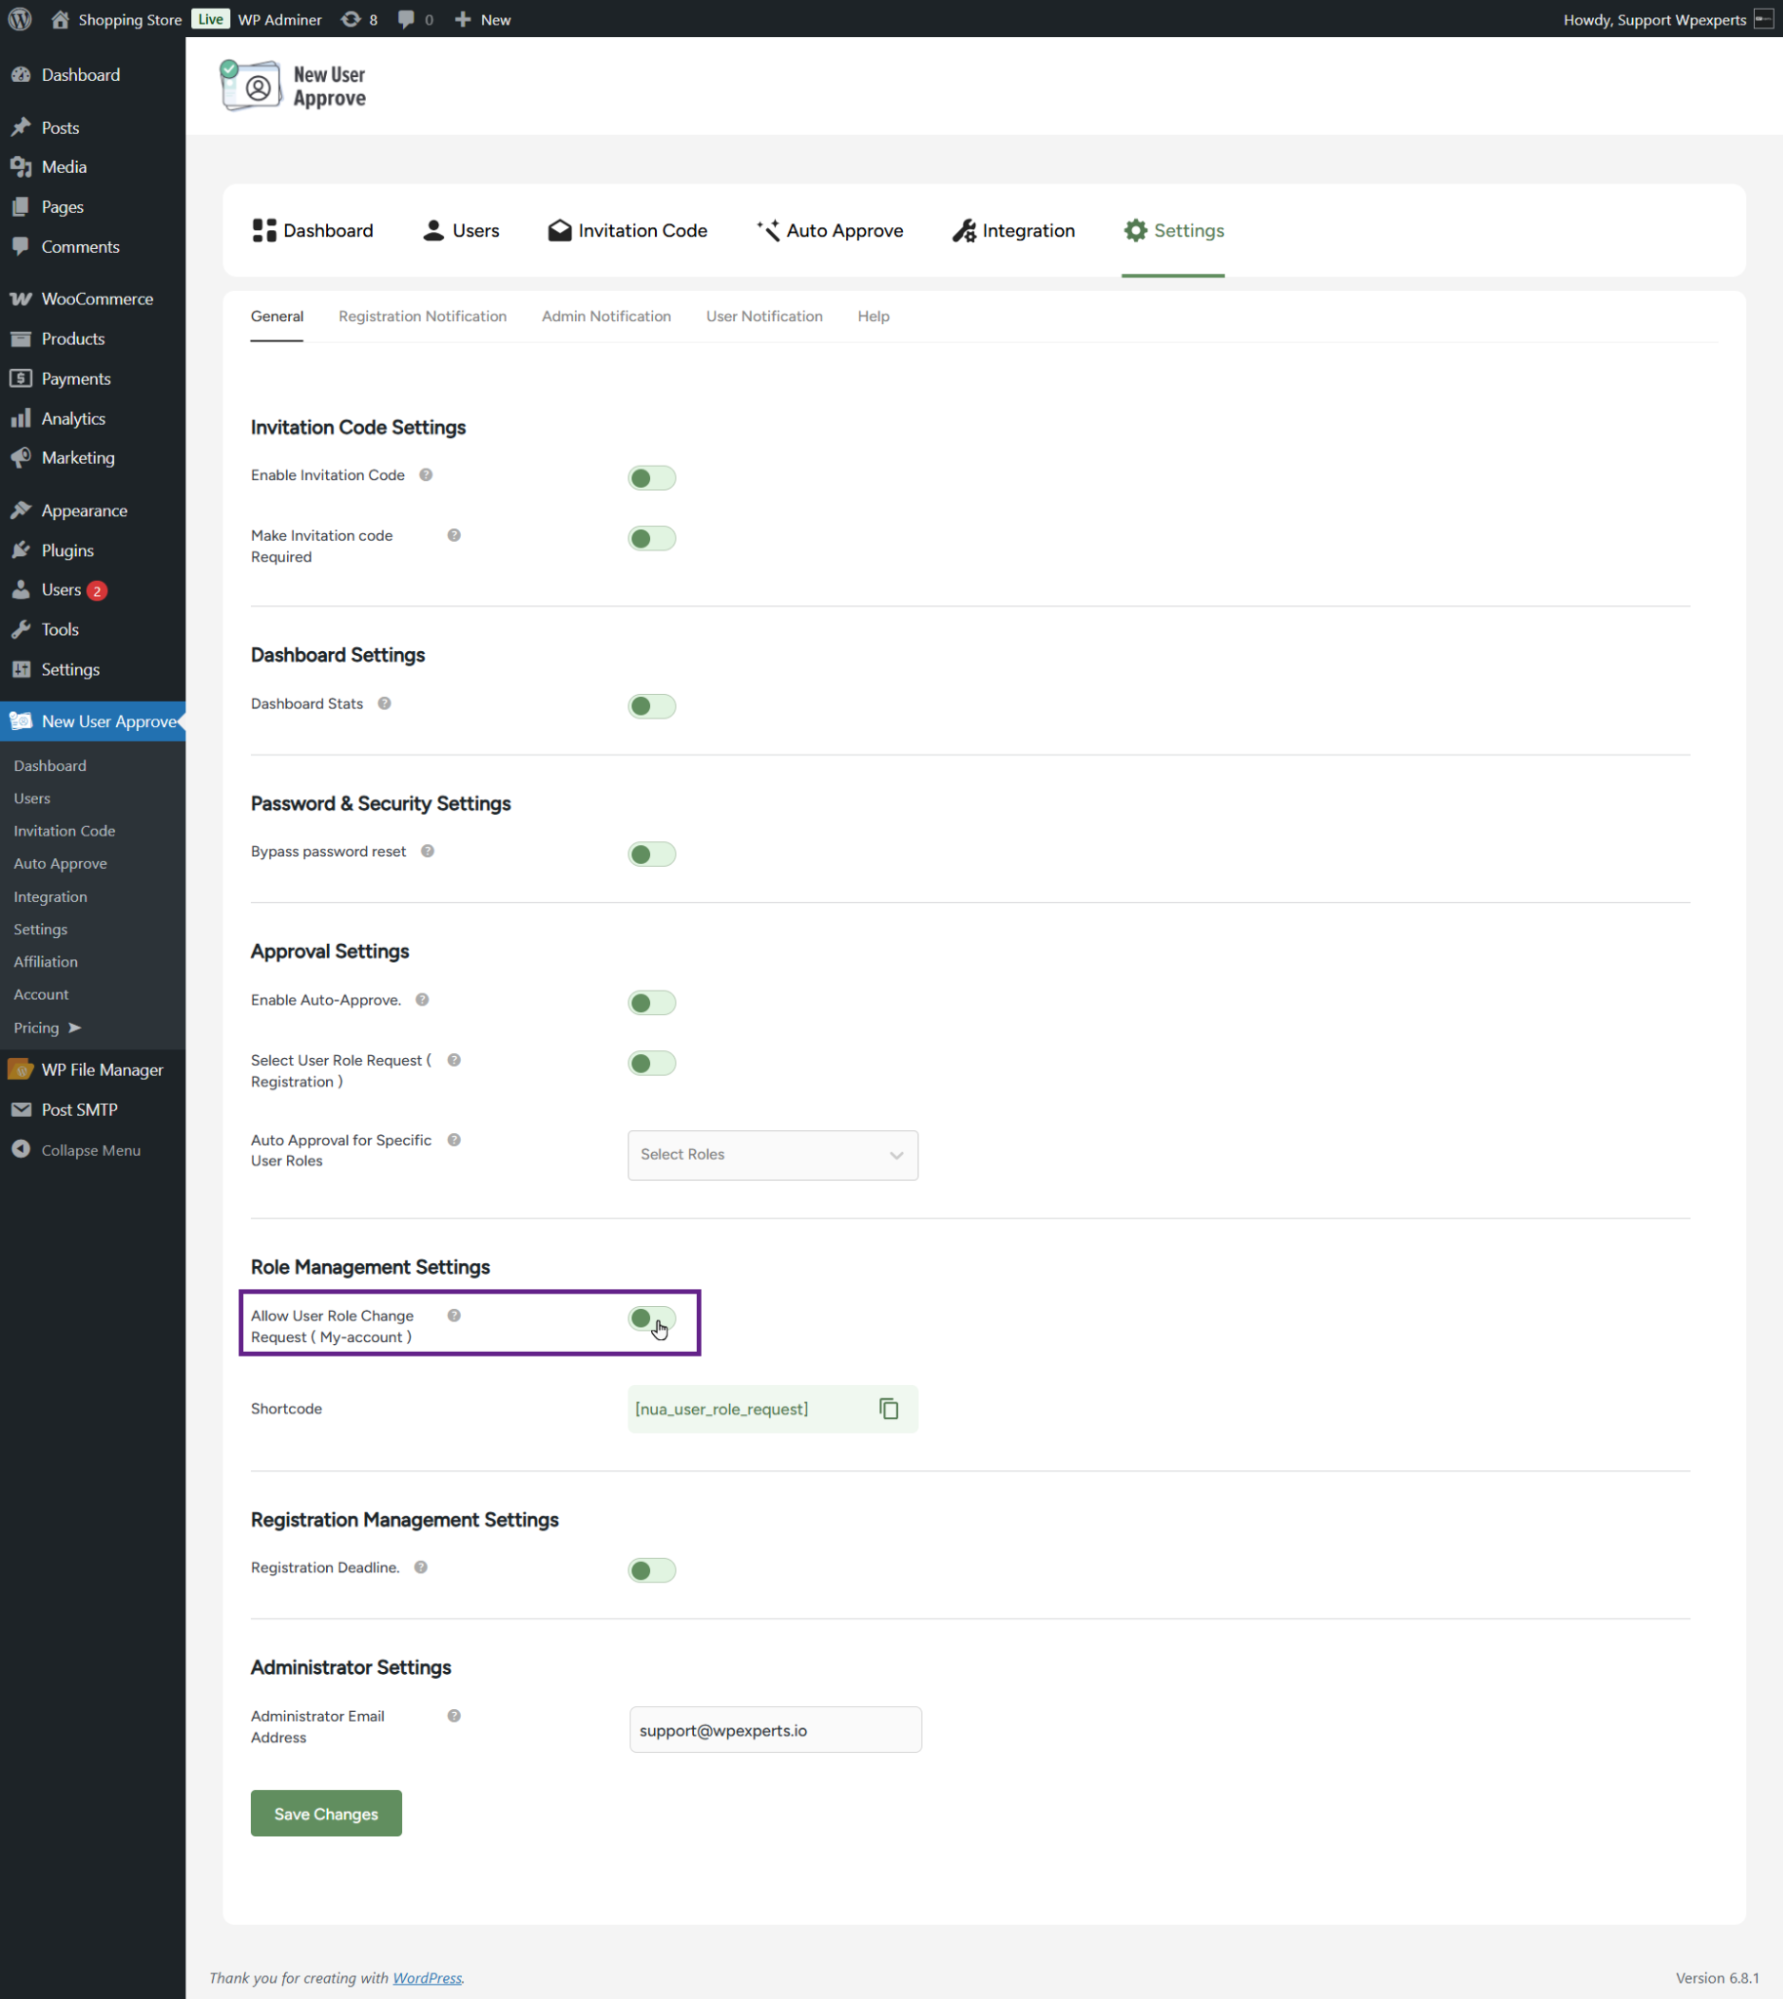
- A shortcode can also be used for this feature. Simply copy and paste the [nua_user_role_request] shortcode onto your desired page.

- Once done, click the Save Changes button.

System Impact (Front-End)
- Go to the website.
- Navigate to the My Account page.
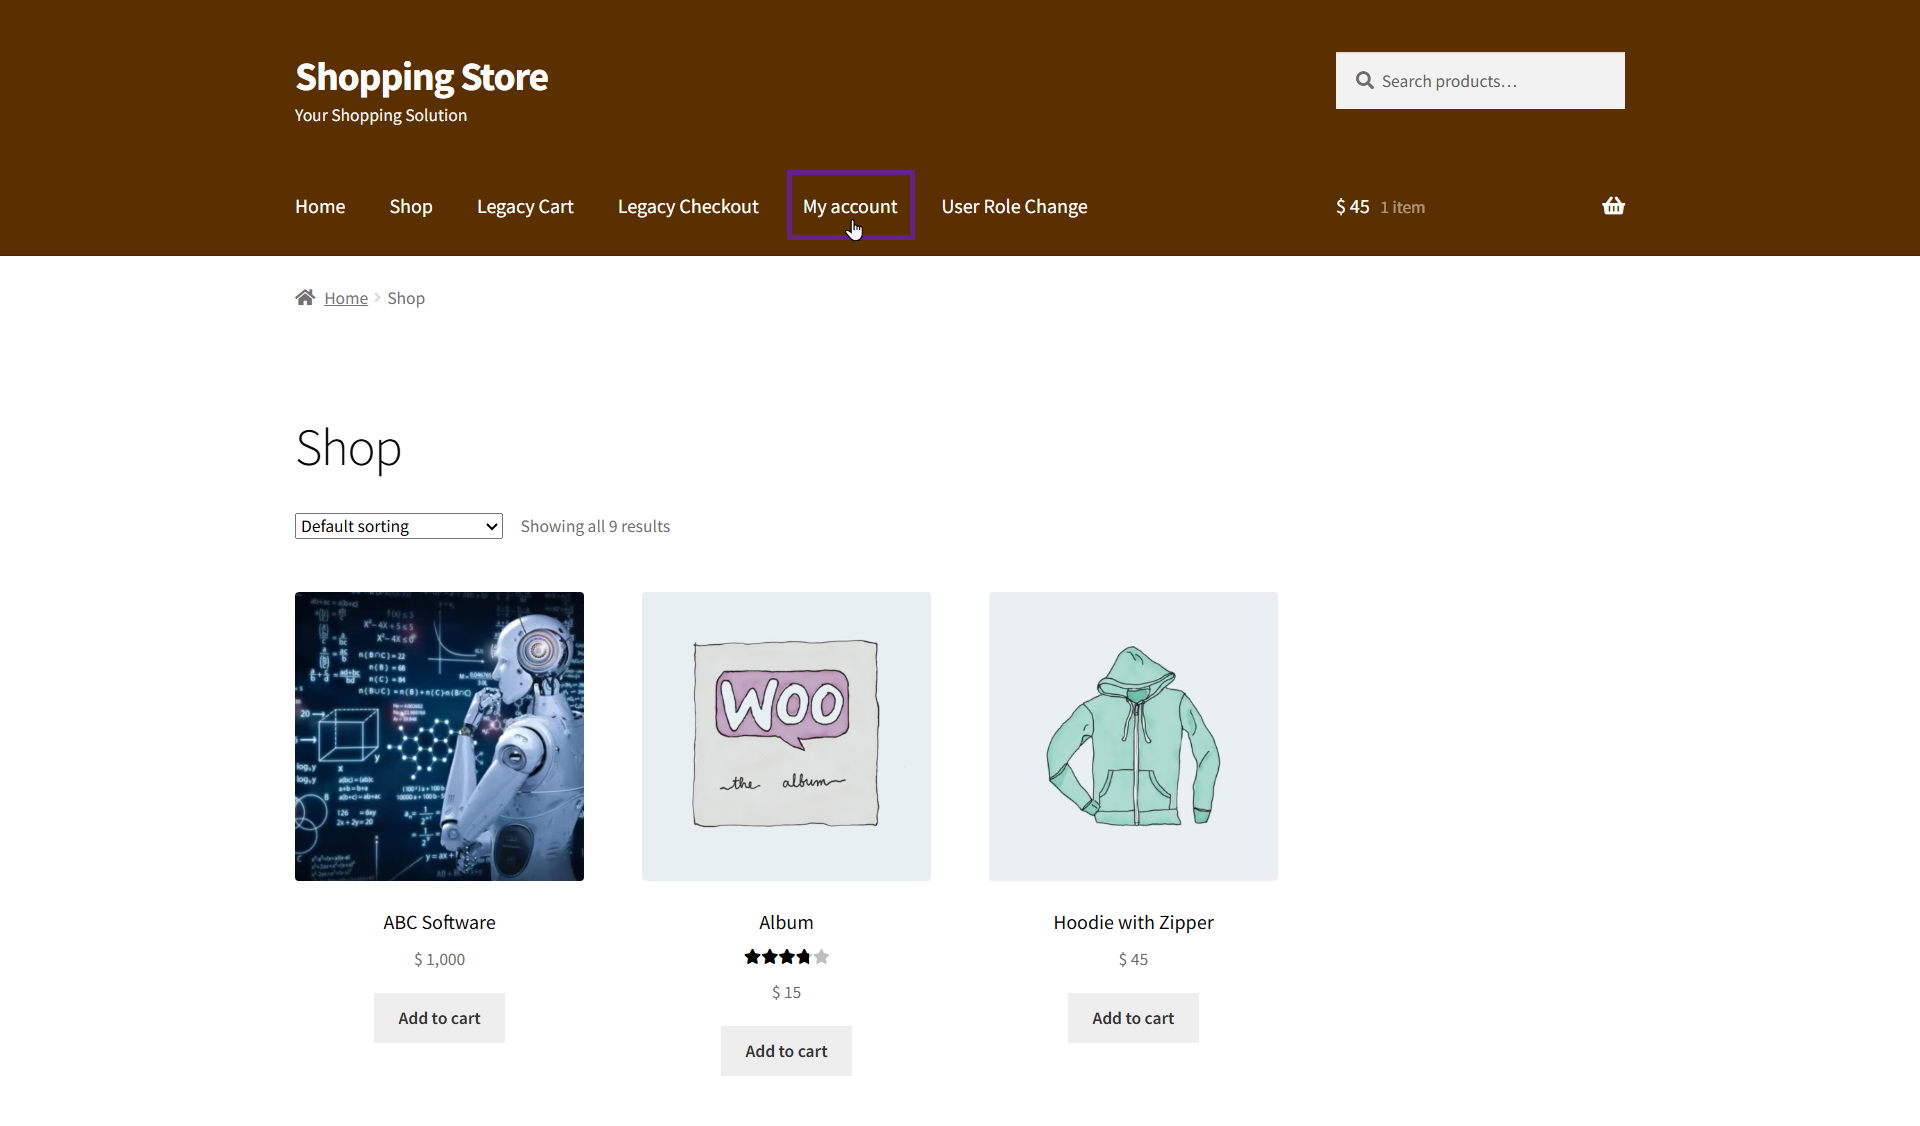
- Navigate to the Upgrade Your Role tab.

- Select your desired role and click the Submit button.
- This is how the user role change request will appear on a separate page when using the shortcode.

System Impact (Back-End)
- Now, navigate back to the Admin Dashboard and go to New User Approve > Users > Role Change Request.
Before:
- The user’s current role is Subscriber, and no role change request has been submitted yet.
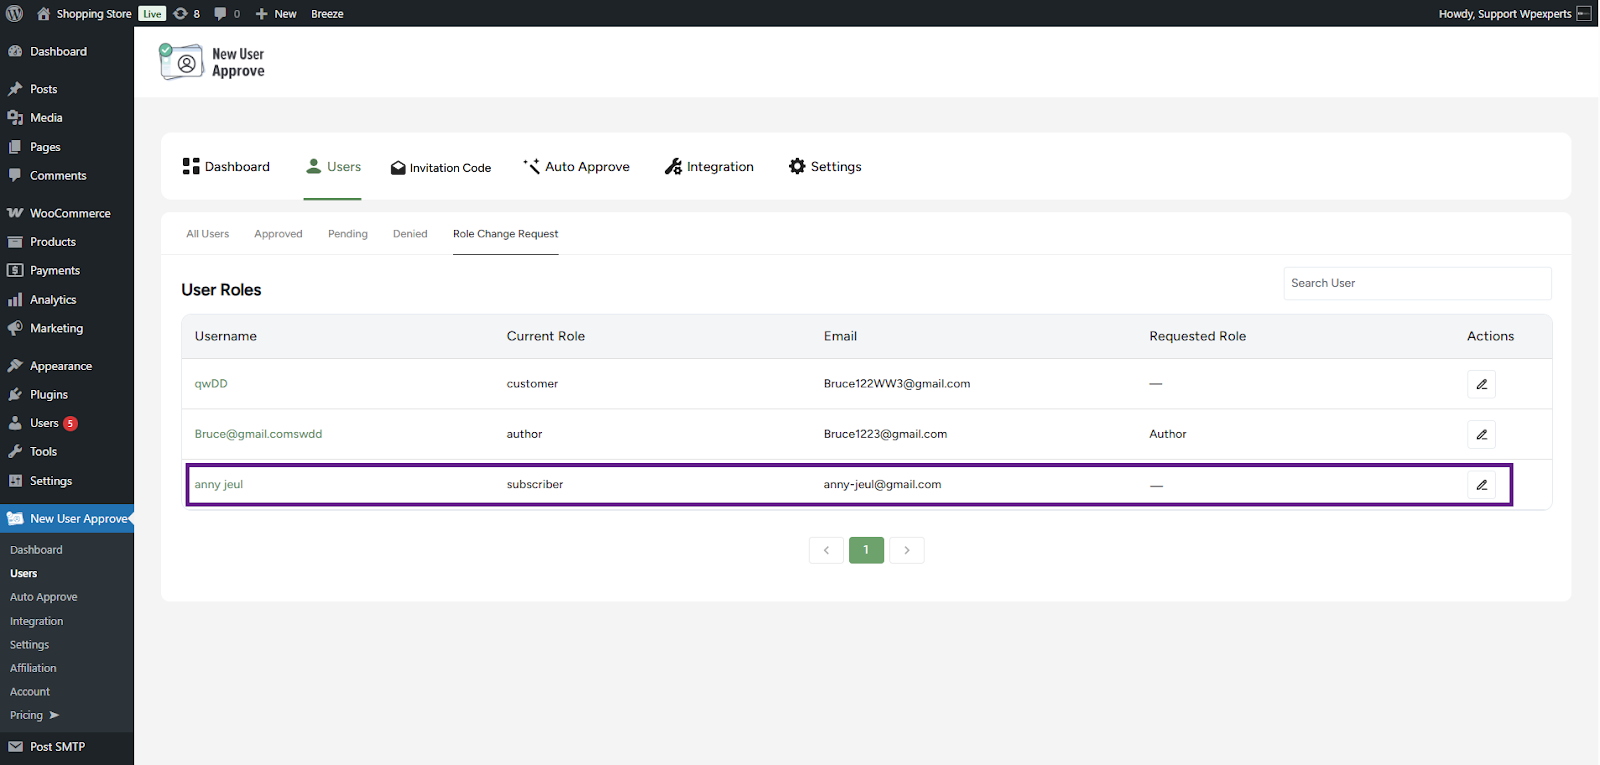
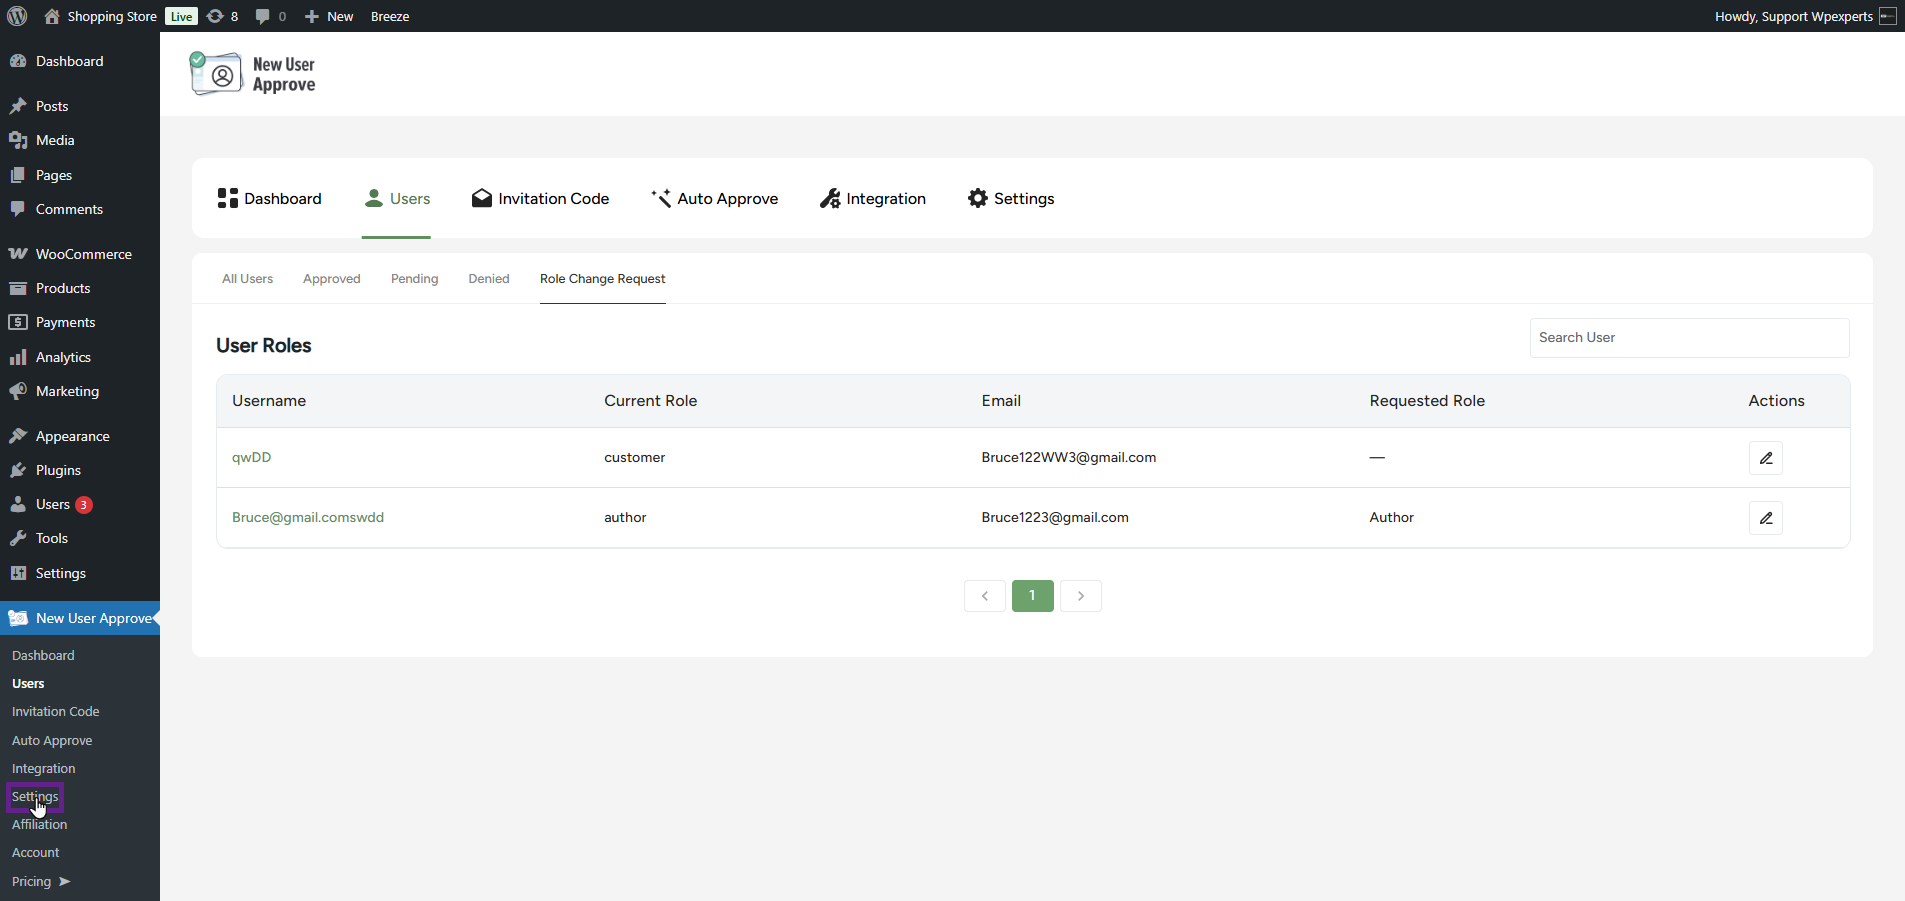
After
- As you can see, the user’s current role has now been requested to change to Author in the Requested Role column.

- The admin can easily change a user’s role by clicking the Edit icon. A pop-up window will appear, allowing the admin to modify the user’s role.