

Summary Snippet
v3.4 adds 4 new features: a Queue Counter that shows registrants their position in the approval queue, configurable Blocked Notifications for users who can’t register, a combined Block and Delete action in the Users tab, and Automatic Denial for pending registrations that sit without review past a set time limit.
This release note covers what each feature does, where the settings live, and what your users see on the front end.
This product update adds 4 new features focused on user approval control: a live queue counter for new registrants, a configurable message for blocked users, a one-step block-and-delete action, and a time-based rule that automatically denies pending registrations.
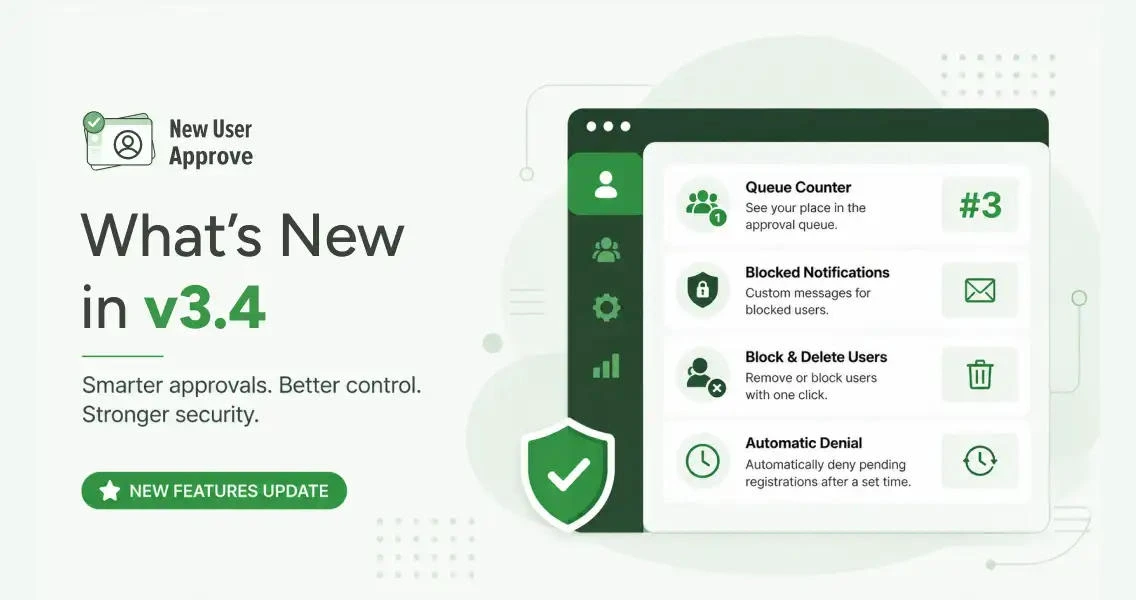
What’s new in New User Approve v3.4
This release brings 4 new features:
- Queue Counter — shows registrants their live position in the approval queue on the confirmation screen
- Blocked Notifications — lets admins set a custom message for blocked users who try to re-register
- Block and delete users — permanently removes an account and bars its email in one step, with an optional unblock from the Blocked Users list
- Automatic denial — sets a time window on pending registrations and denies them automatically if the window closes without approval
Queue Counter
The Queue Counter shows a registrant their exact position in the approval queue, right on the registration confirmation screen.
It works through a single dynamic tag: {queue_number}. When the confirmation screen loads after registration, that tag is replaced with a live number.
Setup
Go to New User Approve → Settings → Registration Notification.
Under the Registration Complete Message field, you’ll see a list of dynamic tags below the text editor. Copy {queue_number} and paste it into the message where you want the position to appear.

Click Save Changes.
What registrants see
After clicking Register, the visitor lands on the confirmation screen. The {queue_number} tag is replaced with their live position in the queue.

Blocked Notifications
When a user whose account has been blocked tries to register again, they now see a configurable message.
The message is set under Settings → Registration Notification, in the Blocked Notification section (labeled “Blocked User Message”).
The default text reads: ERROR: Your account is blocked.
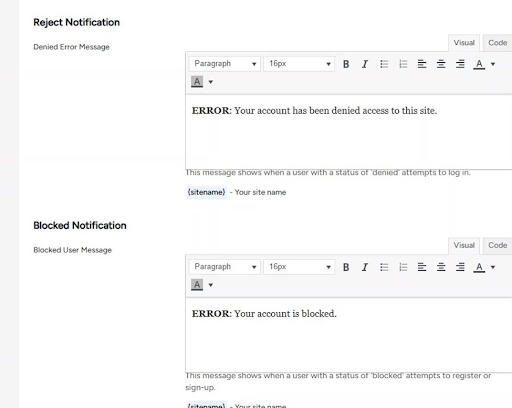
You can replace the default text with any message. Dynamic tags listed below the field are replaced with live values when the message is shown.
Click Save Changes to apply.
Block and Delete Users
The Users tab now lets you permanently delete a user and block their email in one step, or delete without blocking if that’s all you need.
Both actions are in the Actions column on every user list: Approved, Pending, and Denied.
Deleting a user
Go to New User Approve → Users. Open any list (Approved, Pending, or Denied) and click the red delete (trash) icon in the Actions column for the user you want to remove.

A confirmation dialog appears.

Leave the Do you want to block this user? checkbox unchecked and click Delete. The account is permanently removed.
Blocking a user on delete
Open the same delete dialog and check the Do you want to block this user? checkbox before clicking Delete.

Click Delete. The account is removed and the email address is added to the Blocked Users list. A confirmation notification reads: User(s) deleted and blocked successfully.

The Blocked Users list
Go to New User Approve → Users → Blocked Users to see every blocked account. Each row shows the username, email, Blocked Date, and status.
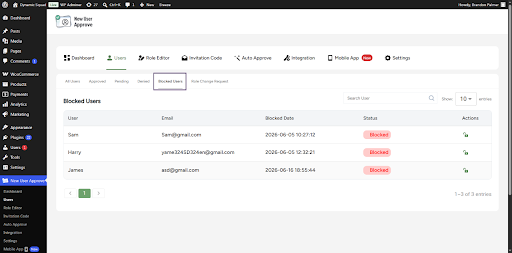
To restore a blocked user, click the unblock icon in the Actions column.

A confirmation dialog appears. Click Unblock to restore the user.
Once unblocked, the email is cleared from the blocked list and the user can register again.
A note on how delete and block differ:
Deleting removes the account. Blocking additionally prevents that email from registering again. When you delete and block together, both happen at once. The block can be undone from the Blocked Users list. The deleted account cannot be restored.
Automatic Denial Of Pending Registrations
Automatic Denial puts a time limit on how long a new registration can stay in the Pending state. If you don’t approve it within the window you set, the plugin denies it automatically with no manual action required.
Pending requests that would otherwise sit open indefinitely are cleared on a schedule you control. You can still approve any request manually before the window closes, and denied users can be reviewed at any time from the Users list.
Enabling automatic denial
Go to New User Approve → Settings → General.

Scroll down to the Denial Settings section.
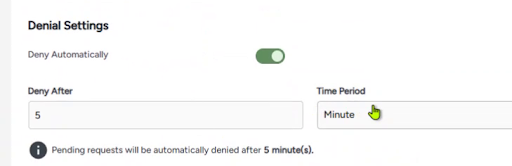
Switch the Deny Automatically toggle on. Two fields appear below it:
- Deny After — enter a number
- Time Period — choose the unit (Minute, Hour, Day, etc.)
The helper line below the fields confirms the rule in plain language.
Click Save Changes at the bottom of the page. A “Settings saved successfully” message confirms the rule is active.
What registrants see
The registration experience is unchanged. Visitors fill in the form, submit, and land on the confirmation screen. Their account is now Pending.

What you see in the admin
In the Users list, the account first appears with a Pending status (shown in orange).

Once the time window closes without approval, the status changes on its own from Pending to Denied (shown in red). The username, email, and registration date stay the same.
Only the status updates.

Denied accounts are reviewable at any time using the Denied filter at the top of the Users list. Any of them can still be approved manually if you change your mind.
One rule to know: Automatic Denial only acts on registrations that are still Pending. Accounts you’ve already approved are never affected.
Why This Product Update Matters
- The Queue Counter gives registrants a clear signal that their request is in the system and shows exactly where they stand.
- The Blocked Notifications message gives admins full control over what blocked users see on re-registration attempts. The text is editable, supports dynamic tags, and sits alongside the other notification messages in the same Settings screen.
- The Block and Delete feature puts deletion and email blocking into one dialog. Both happen together if you check the box, or just the deletion if you don’t.
- Automatic Denial removes a maintenance step that most admins handle manually. Set the time window once and the plugin clears unreviewed pending requests on its own.
Ending Note
New User Approve v3.4 is live. Update your plugin from the WordPress dashboard to get all 4 features.
We developed New User Approve to give WordPress site owners complete control over who gets in. v3.4 adds more of that control, specifically for the parts of registration management that used to require manual steps or separate tools.
Update, explore, and let us know what you think.


