


Have you just bought a new domain for your website and are concerned about how to set up a user profile page in WordPress? If so, you’re in the best place.
This post will discuss how to add a new user to your WordPress website and provide step-by-step instructions on how to create one.
So, keep reading all the way through!
Custom WordPress User Profile Page – Why You Should Create It?
You may manually update user information and create a new user profile in WordPress through backend settings.
The ability for users to modify their user profiles via the website is absent, nevertheless. For this reason, a website must have a unique WordPress account page.
You can easily design one in a matter of minutes and add it to your website with the right WordPress plugin. Selecting the appropriate one allows you to have additional customization power.
By adding their photograph, bio, and important details, users can customize their account page to suit their tastes.
Also, as a website owner, you can obtain a wealth of data from your users for your own purposes.
In short, having a unique user profile page on their website is the greatest advantage for online businesses.
Furthermore, it enhances the way users interact with your website.
Now, let’s get into the detailed procedures to quickly and easily establish a user profile page in WordPress.
How to Create a User Profile in a WordPress Site?
Step 1: Select a Frontend Plugin for User Profiles
Firstly, select a feature-rich user management plugin that enables you to build a unique user profile page in WordPress.
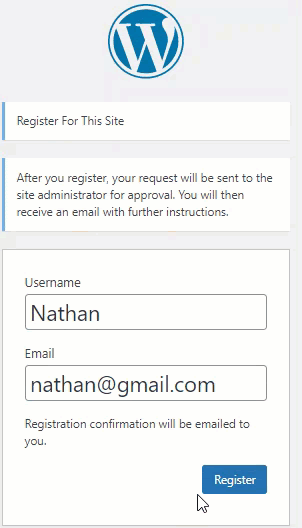
There are plenty of front-end user profile plugins available for a WordPress site. But we advise that you select the New User Approve plugin.
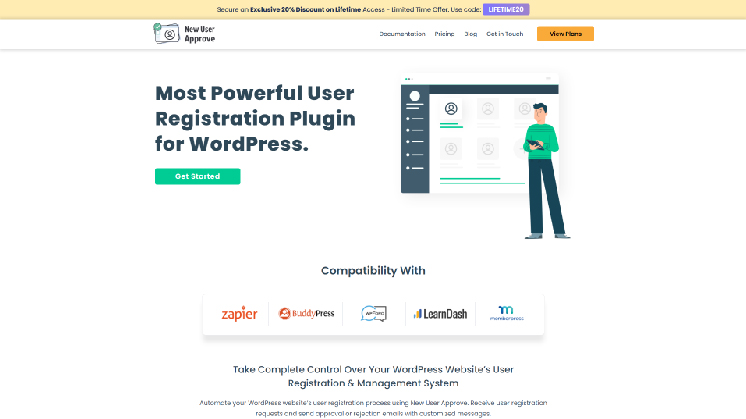
One of the greatest WordPress plugins available for making gorgeous, personalized user registration forms for your website is this one.
By just dragging and dropping fields into the form, you can quickly make any kind of registration form.
Step 2: Log into Your WordPress Dashboard
Go to the WordPress site’s dashboard.
Open a browser and access your WordPress login page. For example, yourwebsite.com/wp-admin.
Type username and password.
After logging in, a WordPress dashboard will appear, which is your website’s control center.
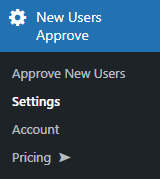
Step 3: Go to Approve New Users Setting
After logging into your dashboard, locate the area to manage WordPress users.
Look at the left sidebar of your dashboard.
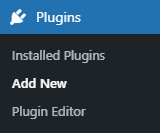
Click on “Settings”. This will expand the menu.
From the expanded menu, click on “Add New”. This will take you to the page where you can create a new user.
Step 4: Fill in User Details
You are now on the Add New User screen. Here, you need to enter specific information about the new user.
- Enter a unique Username (required).
- Enter a unique and valid email address.
- First Name: This is optional but can help personalize the user’s account.
- Ensure your password is strong and contains:
- A minimum of 7 characters with upper and lower case letter
- Use numeric characters with symbols such as “!@#$%^&”
Step 5: Assign a Role to the New User
Roles in WordPress define what a user can and cannot do on your site. It’s crucial to assign the correct role based on the user’s responsibilities.
Here is a complete walkthrough of a new user management roles we have discussed in this blog
Pick and install the appropriate user role in WordPress based on your website’s user needs.
Step 6: Inform the New User
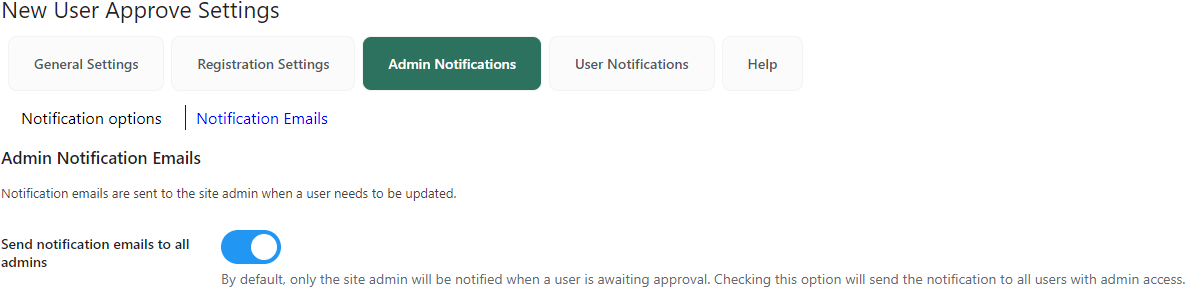
Admin can notify users about their status via New User Approve.
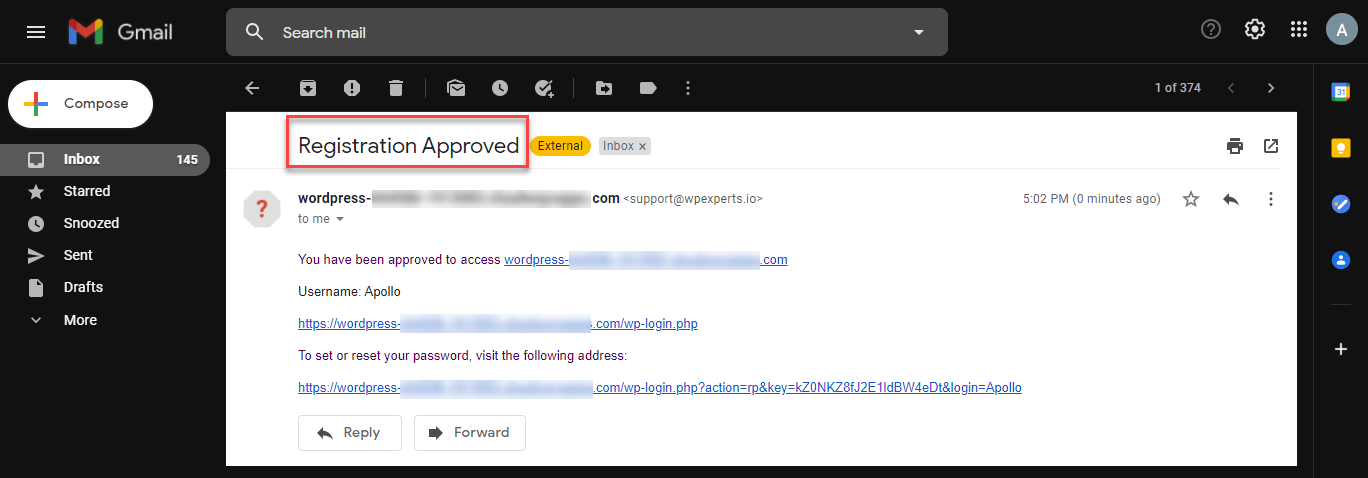
The Admin Notifications feature can be used to keep track of user registration activities. As the plugin generates email notifications for the registration process from pending requests, registration success, and password reset with the help of the Admin Notifications feature.
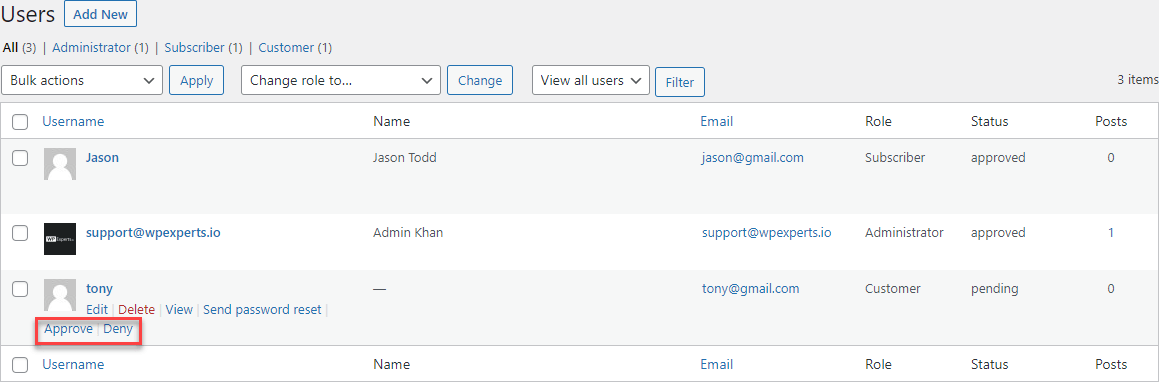
Step 7: Review and Manage Users
To ensure everything is running smoothly, you can always review the users you’ve added.
Go back to the Users section in the sidebar.
Click on All Users to see a list of everyone who has access to your site.
From here, you can edit user details and change roles. You can also reject a user or keep him in the pending list.
Final Words
Adding a new user to a WordPress website is simple and can significantly increase the team potential of your website. You can quickly add a new user, contributor, or any other kind of user to your WordPress site by following the above instructions. Put security on your priority list by creating strong passwords. Equipped with this knowledge, you can safely and efficiently manage the user base on your WordPress website.


