Building a consistent WordPress site needs a competitive asset to manage multiple user accounts and relevant tactics on your WordPress-enabled website. The essence of adding new users and authors to your WordPress website focuses on maintaining the quality of key metrics constituted in the entire configuration process and plugin support for your WordPress-enabled site.

As a WordPress user, there are a variety of options to consider that can easily set up a new user approve plugin along with maintaining multiple user accounts on your WordPress site. For example, a team of professionals working collaboratively to manage multiple factors of your site, including managing content, maximizing sales, providing technical support, and many more. Notably, it allows front-end users to register and can help you increase brand loyalty and leverage recurring business experiences to the peak.
Significantly, WordPress allows multiple options to add new users with cutting-edge features and provides users with multiple user roles and permissions using multiple plugins that allow you to assign them multiple roles significantly. This blog sheds light on the setup and integration process of New User Approve. This powerful and robust WordPress plugin helps you to add new users to your WordPress site.
What is New User Approve?
New User Approve is a powerful and robust WordPress plugin used to automate the registration process of a user on your WordPress-enabled website. You will need to automate the user registration process on your WordPress site via New User Approve. When new users register, their unique identity is stored in the site’s database.
An email will be directed to the new users with authorized login credentials. The user needs to be as simple as possible to proceed ahead. Still, it implies that there are wide levels for measuring the customization aspects. The users waiting for approval or denial will not be able to log into your website. And the user’s status can be changed right away, even after the first approval or denial.
Features
The key features of New User Approve are listed below:
- Welcome ‘Message’ Customization
- Custom’ Pending Error’ Message
- Custom’ Registration Complete’ Message
- Admin Email Customization
- Approved Status Email
- Denied Status Email
- Template Tags
- Removes Admin Panel
- Allows Invitation Code
- Allows Auto-Approve
- Compatible with LearnDash and WP-Foro
Getting Started with New User Approve
If you want to get started with new user approve, follow the steps below to install the plugin:
Installation of New User Approve
- Login to your WordPress Admin Panel.
- Scroll to the WordPress Admin, Click on Plugins, then Add New.
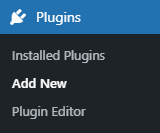
- Click on the Add Plugin button at the top left corner of your Screen.
- Then, Click on the Choose file button in the box displayed below.
- Choose the ZIP file that you have downloaded and upload it.
- Click on the Activate Plugin button.
Compatibility and Support
New User Approve is fully compatible and supported with the following extensions:
- MemberPress
- BuddyPress
- WooCommerce
- BuddyBoss
- WP Foro
- Zapier
WooCommerce Configuration & Settings
If you want to set up and install New User Approve on your WordPress website, you need to fulfill the below steps:
Step # 1
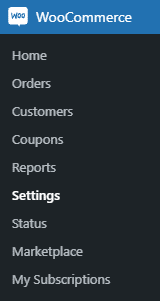
Hover to the WordPress Admin Dashboard, Click on Settings, and then General.
Step # 2
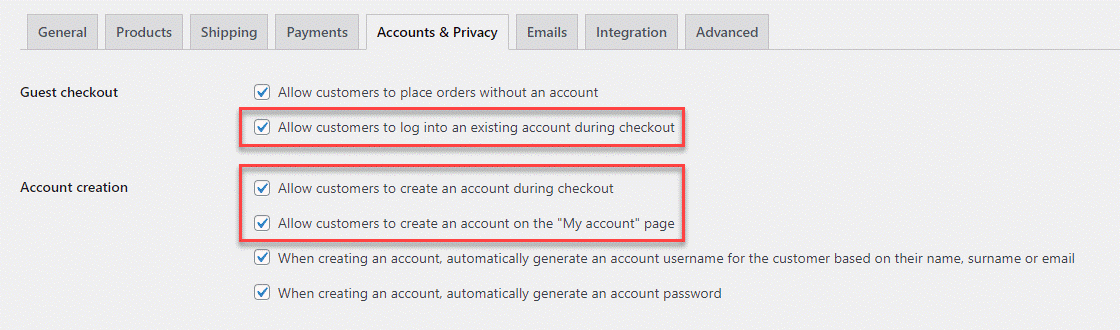
Now, move to the Accounts & Privacy tab.
Step # 3
In the Accounts & Privacy settings page, go to the Guest checkout section checkmark that enables customers to log into a current account within the checkout checkbox.
Step # 4
Also, on the Account creation section, a checkmark enables customers to create an account in the checkout checkbox and to create an account on the “My Account” page checkbox.
Step # 5
Now, click on the Save Changes button.
Experiencing New User Interface
The new user interface constitutes of the following elements:
Step # 1
This new update gives the plugin a unique look and feels with a mesmerizing and appealing design. There are multiple colors for buttons and toggles have been used to differentiate between the functionalities when they are active and disabled.
Step # 2
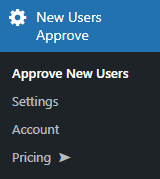
Hover to Admin Dashboard, Go to New Users Approve, and Click on Approve New Users.
Step # 3
The panel would be visible, which is referred to as Legacy Panel.
Step # 4
There are almost 3 tabs in the Legacy Panel.
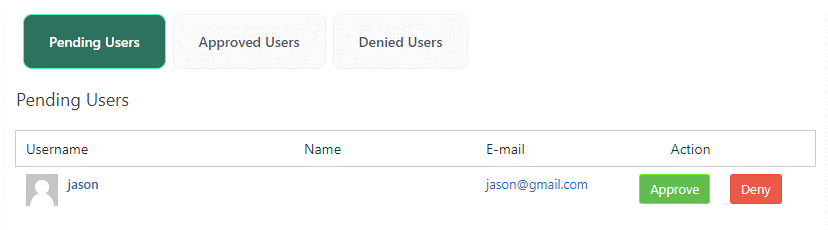
Pending Users
- Allows users to register from the registration page and proceed to the pending users’ sections.
- The admin will have the authority to approve them or deny them.
User Registration Approval
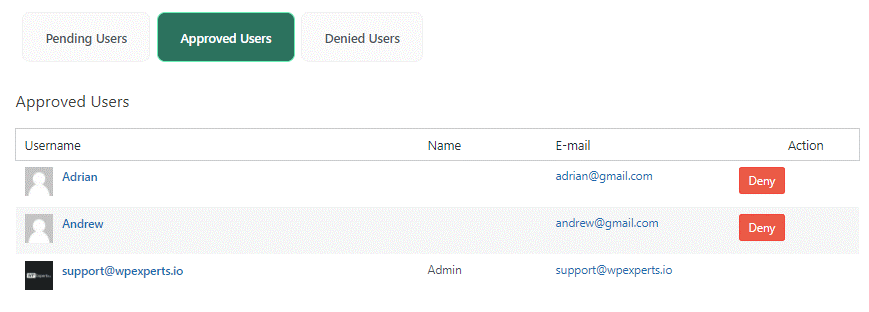
Approved Users
- All the approved users in the list in the Pending Users sections are moved to the Approved Users section.
- Within the Approved users section, the admin has the authority to deny any user via clicking on the deny button in the Action column. And that particular user will move to the denied users sections.
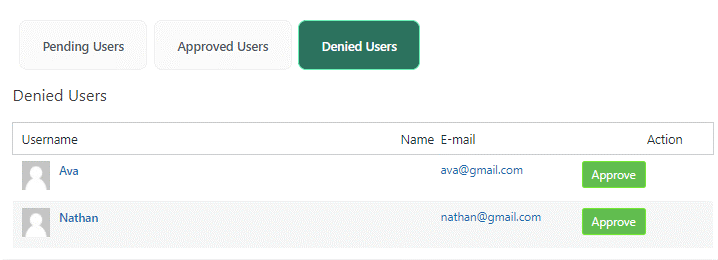
Denied Users
- It allows the denied users into the pending users’ section, and the approved user’s section is transited to the denied users’ section.
- The admin can add any user by clicking on the approve button in the Action column, and that user will be transitioned to the “Approved” user’s section.
Adding Invitation Code
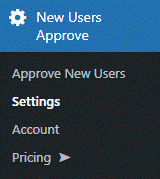
- Navigate to Admin Dashboard, Click on New Users Approve, then Settings.
- Allow Invitation Code via clicking on the toggle button.
- Then Click on the Save Changes button.
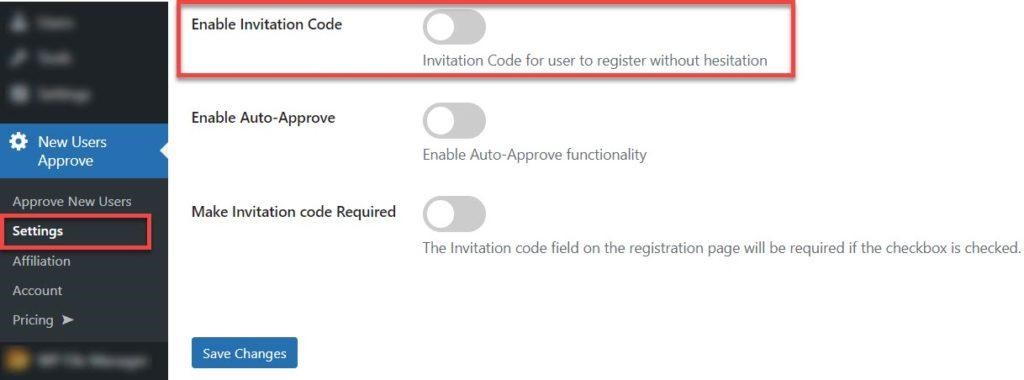
- The invitation Code will be showcased in the New User Approve tab.
Adding Codes
- After incorporating the invitation code, click on the “Add Codes” box.

Import Codes
- After you have clicked on add codes, click on import codes and choose a CSV file.
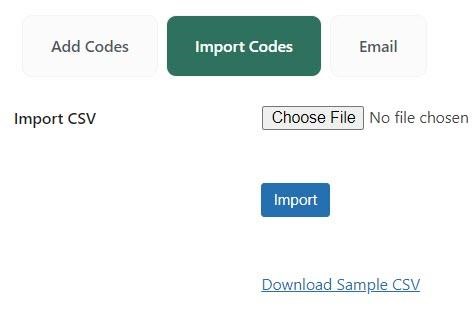
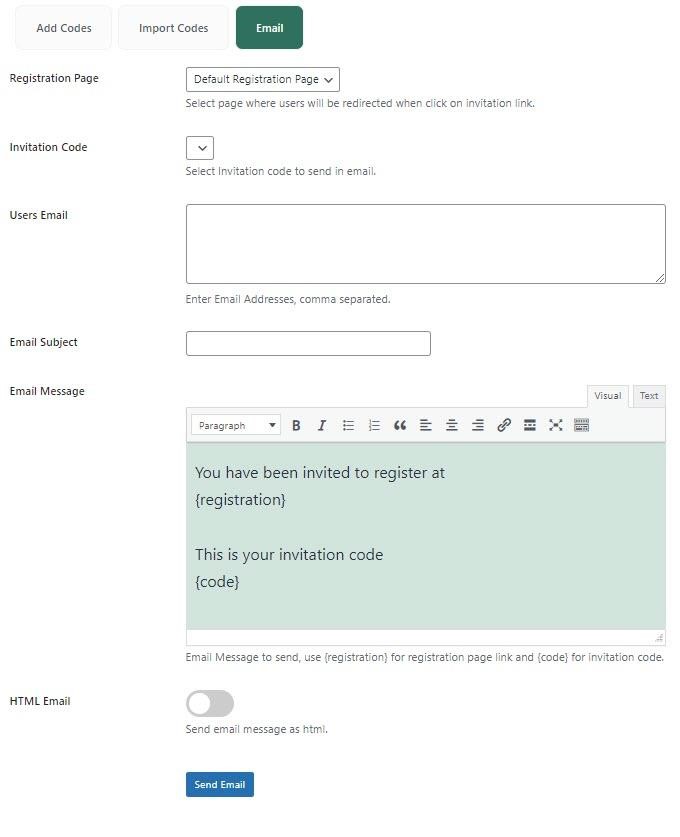
- After importing codes, click on the email tag and fill in the required details.
Approving New Users Settings Tabs
- The plugin has added a new menu, which can be simply accessed via navigating to the Admin Dashboard and then clicking on New User Approve and Move to Settings.
The above 5 tabs are placed in the sections,
General Settings
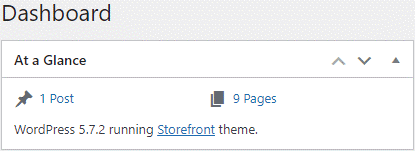
Hide Dashboard Settings
- If the Hide Dashboard Stats option is enabled, it will delete all the stats from the WordPress Dashboard.
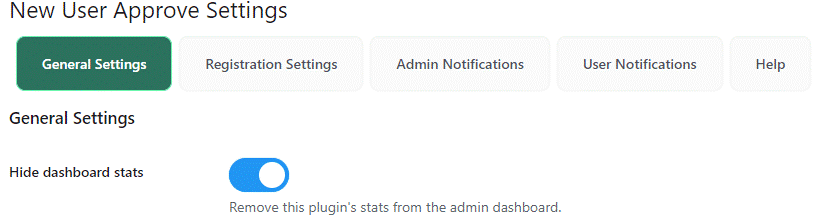
- Now, you need to click on the Save Changes button to apply your settings.
Front End Display
● Before
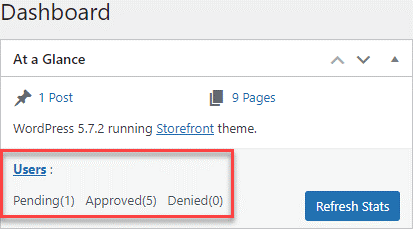
● After
Final Verdict
In a nutshell, it’s proven that New User Approve is a seamless and powerful plugin that helps the user to automate the user registration process on their WordPress-enabled site. Through the New User Approve Plugin, the main ways to add new users and authors to a WordPress site have been talked about above.
For further information, read the technical documentation here.